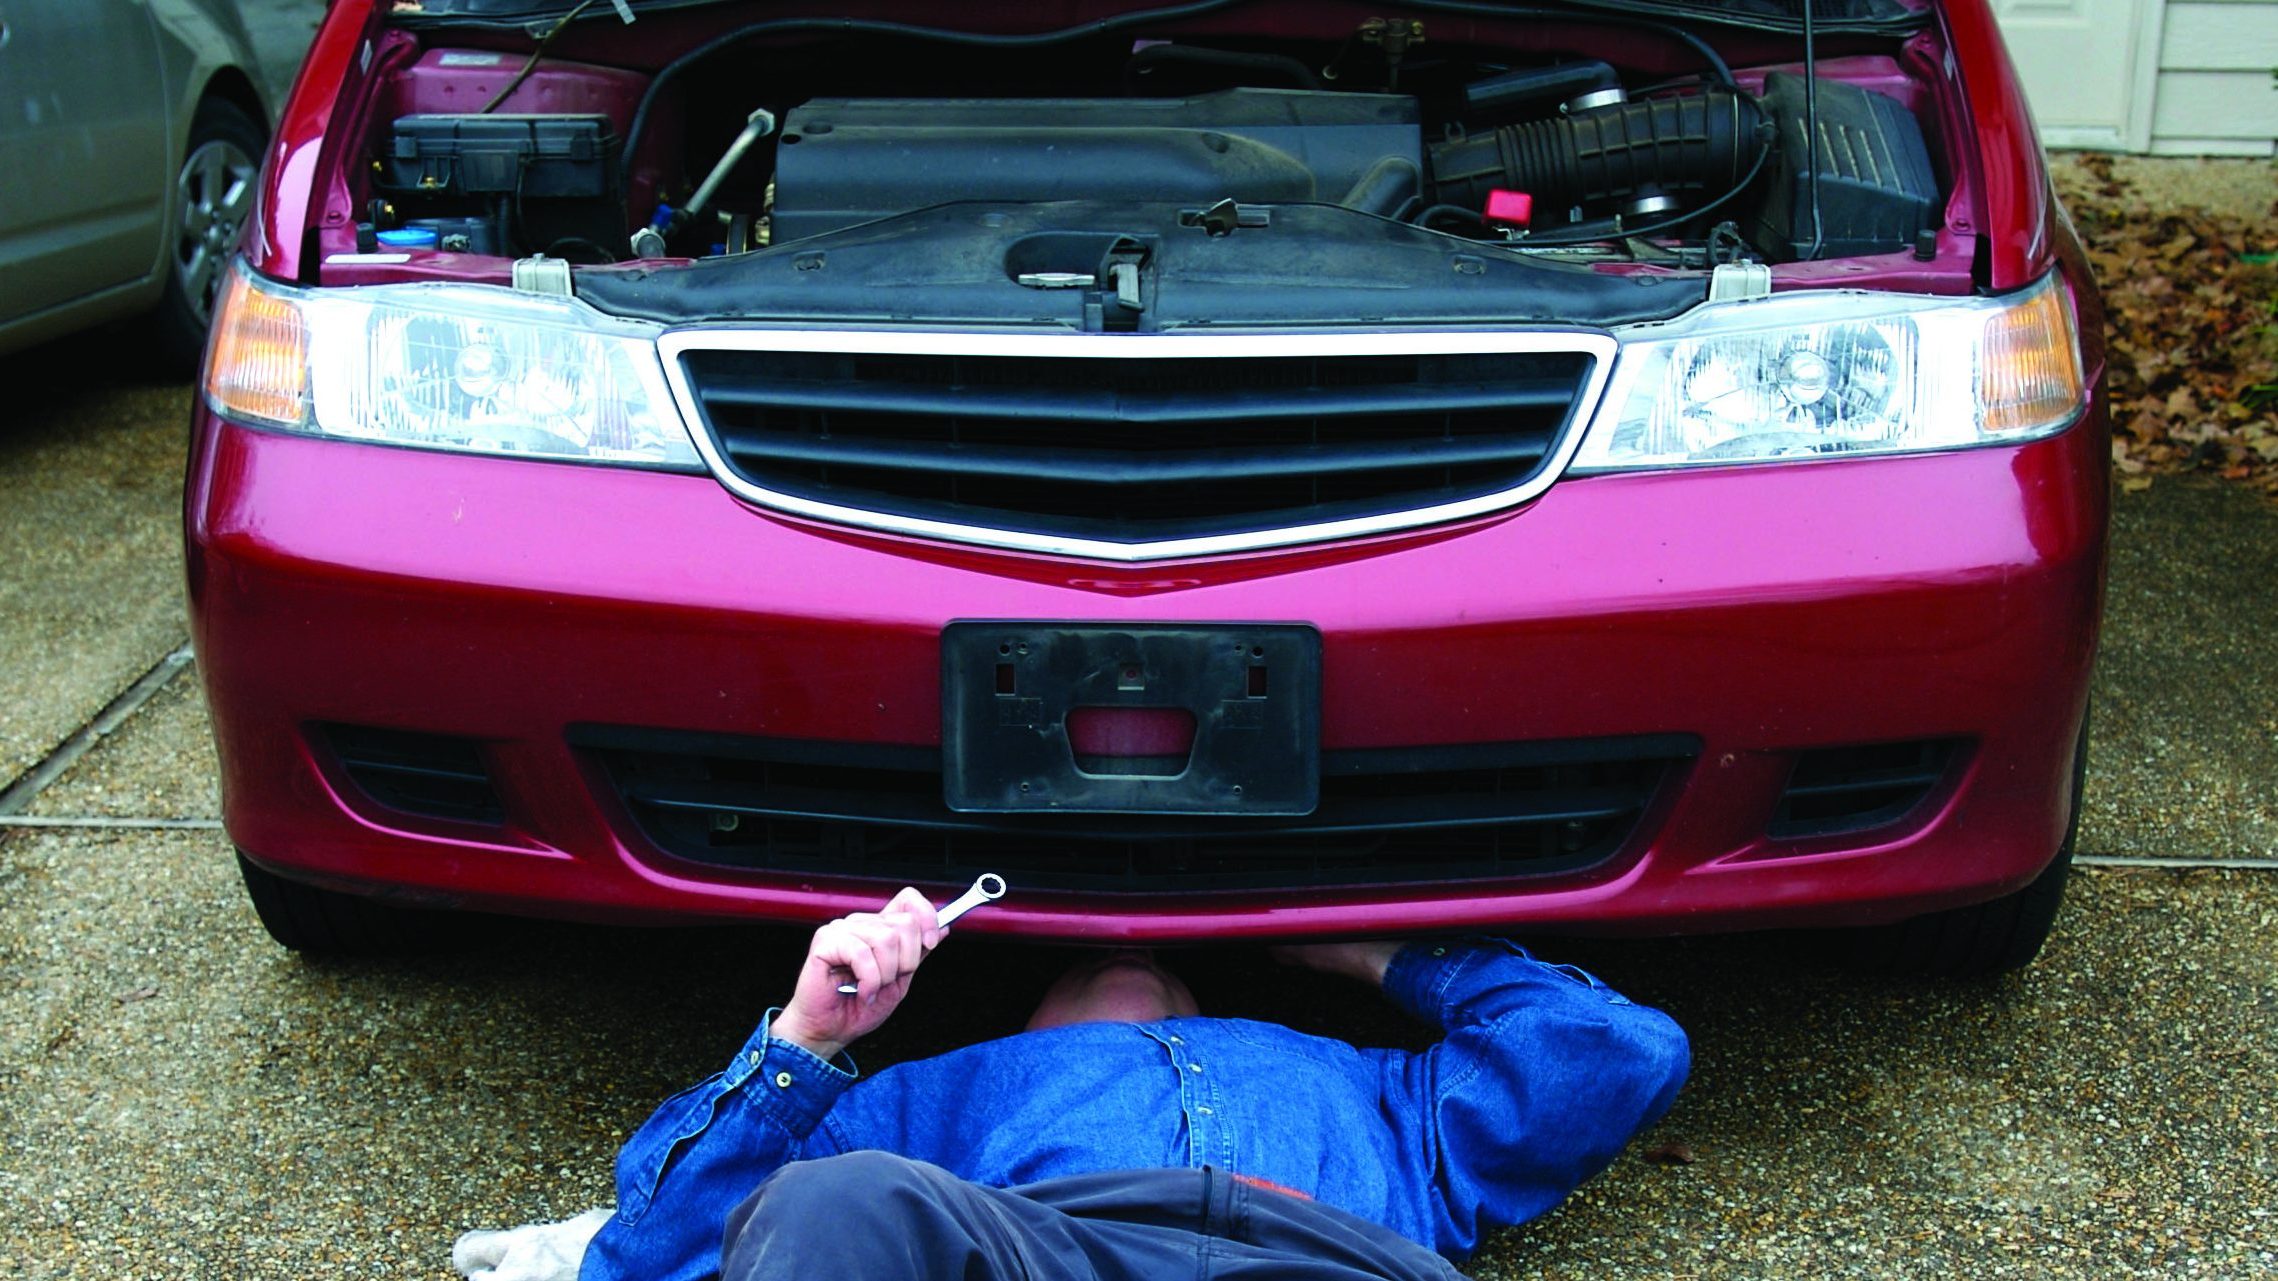
As the pace of life has increased and engine technology has grown more complicated, most people now pay a professional to take care of vehicle maintenance. But a devoted segment of the population still loves crawling under their vehicles and changing their own oil.
We DIYers may have changed oil hundreds of times, but it doesn’t hurt to get reminders of mistakes you can make when performing an oil change.
Here are a handful of gaffes to avoid next time you change your own oil.
1) Install the wrong oil
By “wrong oil” I mean the wrong viscosity. Engines vary, as do their motor-oil requirements. If your Ford F-150 calls for 5W-20 oil, then don’t use 10W-40.
Find the Right Viscosity Oil for Your Vehicle
Using diesel oil instead of gasoline oil, or vice versa, is another potential pitfall. However, you can use diesel oil in your gas engine if it meets the appropriate specifications, as we explain here.
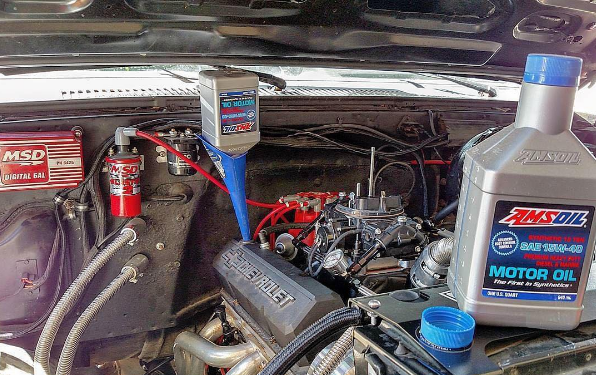
A third way to mess up is to use something other than a premium synthetic oil. This is my opinion, but if you have a mechanically sound engine and you care about your vehicle, you ought to use synthetic motor oil.
Oil protects the engine from wear and premature breakdowns. It seems silly to me to buy expensive auto insurance and cheap oil. Car insurance is just a piece of paper you keep in a drawer. The piece of paper doesn’t really do anything. The oil is doing things that make a difference.
Enough said.

2) Forget to reinstall the oil-fill cap
I did this once. Duluth, Minn., where I live, is a beautiful city on a hillside overlooking Lake Superior, the largest freshwater lake in the world.
I had just changed my oil and driven up the hill to visit a friend. Unfortunately, I’d forgotten to reinstall the oil-fill cap.
When I got to my friend’s house, hot oil had splashed all over the engine compartment. It was a mess. Worse yet, the cap was missing, so I needed to not only deal with the mess, I had to get a cap and more oil.
Well, the story goes downhill from there.
Because my friend lived at the top of the East Hillside, I decided to coast down the hill eight blocks and drive the two blocks to an auto parts store.
My wife was behind me driving our other car and I was watching her in the rear-view mirror as I drove instead of paying attention in front of me. When we arrived at the store, she was upset because I had run over and killed a squirrel. Fortunately it was only a squirrel and not someone’s dog, infant or grandmother.
Key points to remember: put the oil-fill cap back on and don’t drive forward while watching the rear-view mirror. (Would you believe it? On yet another occasion I was watching someone in the rear-view mirror to make sure they were still following me and I nicked a deer.)
3) Underfill or overfill the crankcase
Last year I got a call from a friend whose car was making a “funny” noise. He wondered if I could diagnose it. I drove to town and listened to the noise. It sounded like the engine was hollow, like there wasn’t any oil in it. He said he’d just changed the oil, but when we checked, it was three quarts low. Since the drain plug was on tightly and there was no evidence of leaking, we chalked it up to not paying attention to how many quarts he’d installed. Fortunately he only drove it one day like that.
Find out how much oil your vehicle takes and make sure you have enough on hand. Our handy Product Guide often provides that information.
After changing oil, run the car for a few minutes to circulate the oil, shut it down for a few minutes then check the oil level one final time.
Find AMSOIL Products for Your Vehicle
4) Strip the drain plug threads
As I was working on this blog post, someone asked if forgetting to reinstall the drain plug would be one of the mistakes I cited. Yes, that is a mistake folks have made, again mostly due to absent-mindedness.
Fortunately, if you are changing oil in your garage or driveway, you will notice very quickly by the trickling sound near your feet that you missed this step.
I think there’s a more serious mistake you can make involving the plug.
It’s more common than you think in the quick-lube world since employees in a hurry can become careless. At a quick-lube convention workshop once, a speaker reported that two to three percent of drain plugs at one chain of quick lubes were mis-threaded or stripped. The result is a slow leak and a not-so-easy fix. Be careful when reinstalling the drain plug.
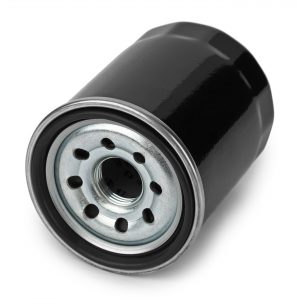
5) Leave the O-ring behind
The time to change your oil filter is when you are changing the oil. There are three things to know about changing the oil filter.
- First, when you remove the filter, make sure the O-ring comes off with it. There will be a new O-ring on your filter that you’re supposed to use. You do not want to put the new filter on and have two O-rings there.
- Second, before you screw the new filter on, moisten the O-ring with a fingertip of oil. Don’t put the filter on dry. Lubing the O-ring helps the filter and engine mate better, and it helps you more easily remove the filter at your next oil change.
- Finally, don’t over-tighten. You only need to hand-tighten the filter. Make it snug, but don’t overdo it.
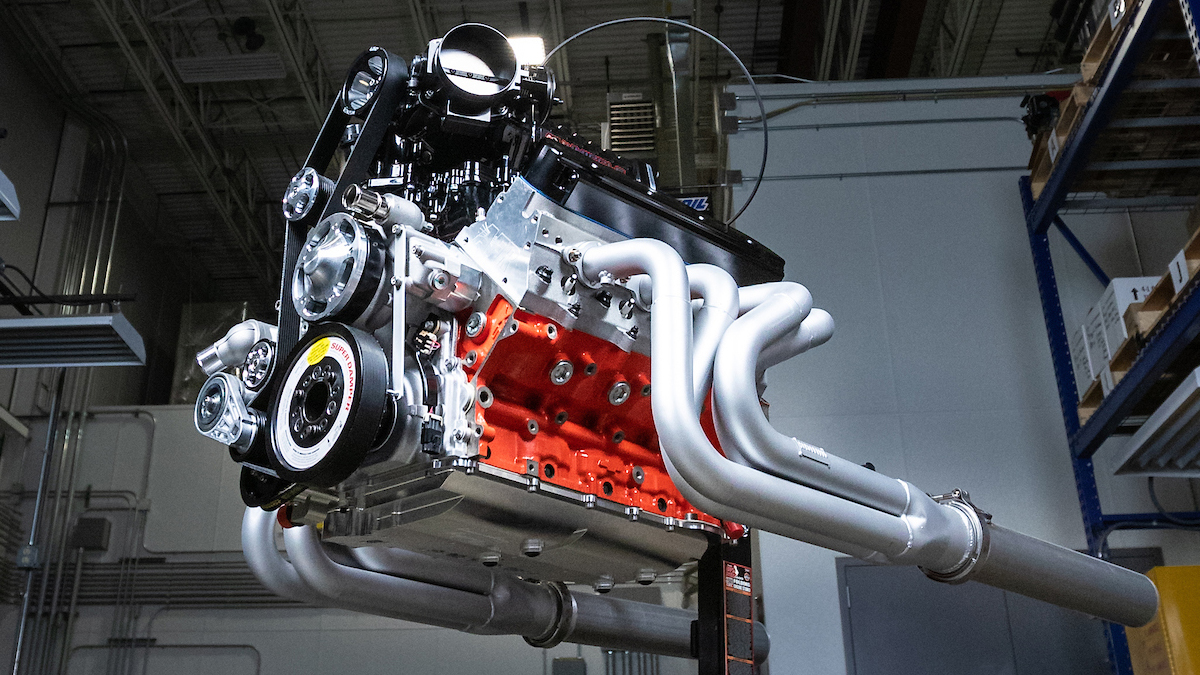
Performing a DIY oil change isn’t rocket science. In fact, it can offer a great deal of satisfaction at a job well done…provided you don’t make any of the mistakes I listed here.
Find AMSOIL Products for Your Vehicle

Comments
Share: