

How to true a dirt bike rim
A common maintenance task you should perform after riding your dirt bike is to check spoke tension. Improperly tensioned spokes can break, cause the rim to bend or, worse, cause a crash.
Here’s what you’ll need:
- Two ratchet straps
- Two black Sharpie markers
- Duct tape
- Spoke wrench
- Spoke torque wrench
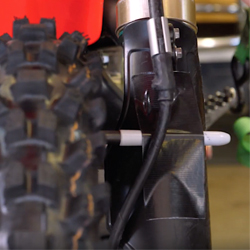
Secure the handlebars
If you don’t have a truing stand, secure the handlebars using ratchet straps so the wheel doesn’t move from side to side.
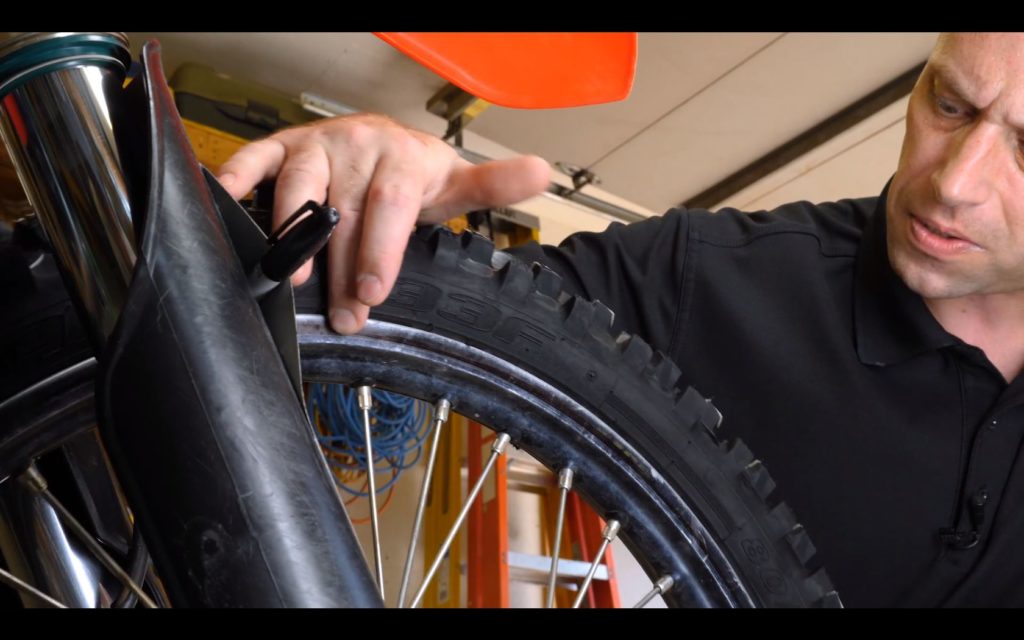
Use markers and tape
The rim used in this example is outside the run-out specification, as noted by the presence of a marker line on the rim. To correct the out-of-spec area, we need to adjust the spokes.

Adjust the spokes
Use the correct spoke wrench to adjust the spokes on your bike, depending on the style of nipples on the spokes. Starting at the beginning of the marker line, make small adjustments first, loosening the side that is bent a quarter turn. Stay only on the side that’s bent for now.
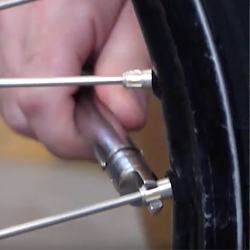
Check spoke tension
Next, check spoke tension using a spoke torque wrench. You can find one online for about $100. Refer to your owner’s manual or the wheel manufacturer for the correct torque specs for your spokes. Start by identifying a reference point, like the rim lock or valve stem. Check the first spoke, then count to the third spoke after the one you just checked. Continue checking every third spoke until you’ve gone around the wheel.
After completing one revolution, you’ll end on the spoke on which you started. To complete the second pass around the wheel, move one spoke forward and complete another revolution, tensioning every third spoke. Repeat the process until you’ve tensioned all the spokes.