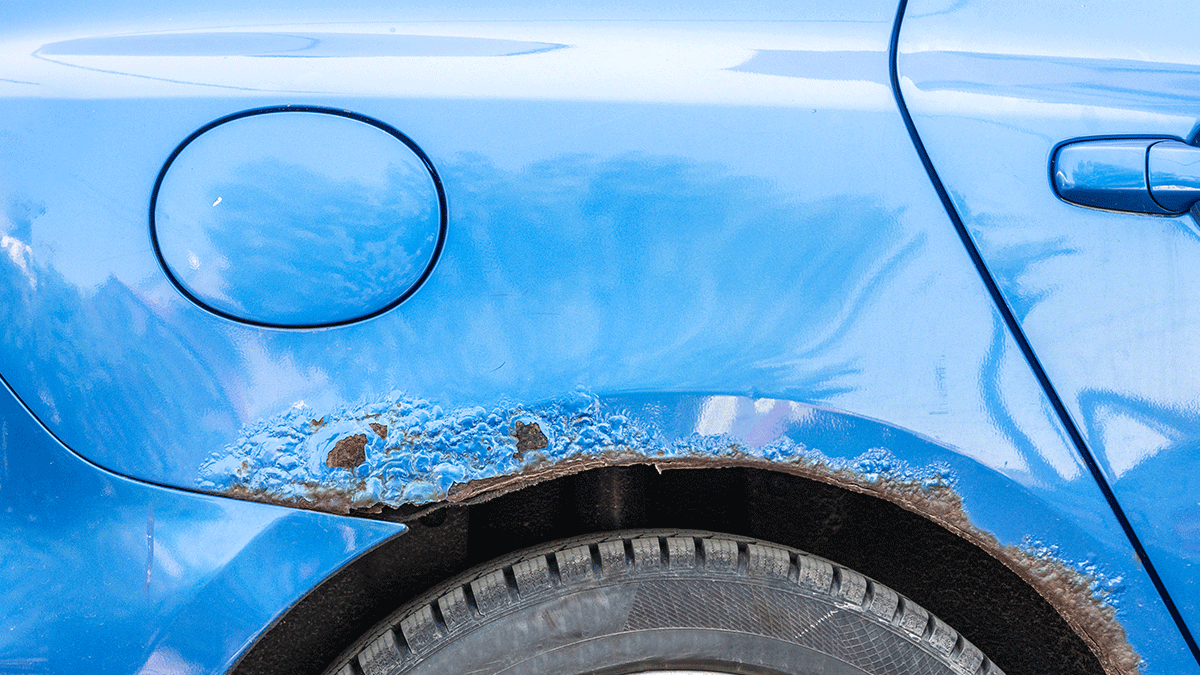
Most vehicle-restoration projects eventually run into rust. At some point you’ll need to repair rust holes or rusty panels. For starters, it’s unsafe; once rust starts, it tends to spread and eventually weaken the vehicle’s structure. And it looks horrible. Here’s how to fix rust on a car.
To provide tips on removing rust from a car and welding in new sheet metal, we reached out to expert welder John Ward. He boasts 30 years of welding experience, including time running his own contractor business. Today, he focuses much of his time on writing articles for his website (www.kingsofwelding.com), although he still works on projects in his workshop when possible.
Fix rust on a car: cut out the rusted area first
Before welding, identify the full area of rust on the metal. Use a sandblaster to remove the paint on the metal until you can clearly see the clean metal that surrounds the rust.
Once you’ve identified the area of metal you want to replace, remove it from the workpiece and replace it with an exact cutout of steel. Ideally you want to leave as much of the original metal as possible, provided it’s in good condition.
Think carefully about the shape you’re cutting out; curved areas will be harder to replace than flat, and you want to have a simple shape. If possible, cut out a simple rectangle that’s easy to replicate.
There are a few different ways of doing this.
- One option is to measure a piece of sheet metal to fit the area you want to replace. Once you’ve cut out the plate, place it on top of the rusted metal. Then mark around the edge of the plate with a scribe. When you mark metal, using a scribe is most accurate. You can use a Sharpie, but they are quite wide and don’t accurately tell you where to cut the metal.
- Another option, which I prefer, is to cut out the piece of rusted metal and measure another piece of metal to match it. Often, the rusted metal won’t be on a completely flat surface, so it’s best to cut out some thin cardboard to measure the exact area. Then, place the cardboard on your flat sheet metal and measure the correct area. Once you’ve removed the rust and measured out the replacement metal, you’ll need to weld it into place.
Which welding process to use?
When fixing rust on a car, the two best welding processes you can use are MIG and TIG.
MIG is the most popular method because it’s simpler, quicker and more cost-effective. But TIG is a great option because it allows more control and produces cleaner welds.
MIG welding
When MIG welding, leave a small gap between the new metal and the original metal for the filler metal. For your shielding gas, you’re better using a CO2 and argon mix than CO2 alone since you don’t need aggressive penetration.
TIG welding
If you’re using a TIG welder, you won’t need a small gap and you want the patch metal to be as tight a fit as possible.
TIG welding is a more difficult process to learn, but will produce a softer weld that’s easier to hammer and dolly without the weld cracking. You’ll also be using a lot lower amperage, so there’s less chance of the metal distorting from overheating. TIG welding is a more intricate process, so I’d only use this if I’m worried about distortion or the weld cracking under hammering. MIG still produces great results.
Weld the patch in place
Make sure the panel fits the space as well as possible. The metal also must line up as well as it can and be flat on the top and bottom. If the metal isn’t flat, then when you grind it down you will simply make the metal thinner and weaker.
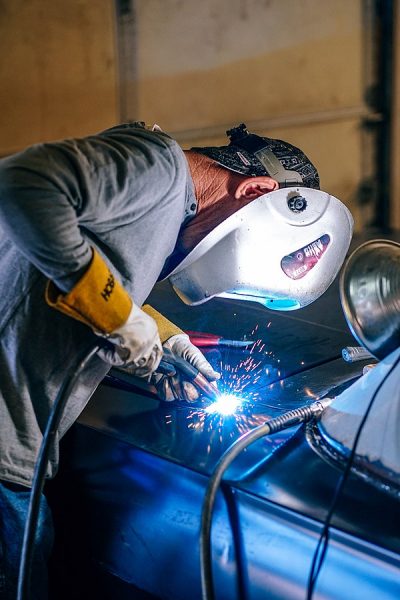
Once the metal is in place, tack weld the corners and the areas where the metal fits most perfectly. You can then weld the full patch of metal. Take your time when welding to avoid overheating and distorting the metal.
Don’t just set the welder to high amperage and go around the edge continuously. Weld different areas around the perimeter until the whole edge is securely welded. Try placing a wet cloth on the metal between welds to keep it cool.
Grind the metal
When the metal has been welded solidly, grind down the filler metal and remove any slag. You don’t need to apply too much pressure when grinding; just make it nice and smooth. Keep the head of the grinder flat at all times and, when you’re finished, you should have a new rust-free piece of solid sheet metal that’s ready to paint.
Welding autobody is fun, and it isn’t that hard to achieve great results. Try practicing on some old metal before you dive in, but don’t be afraid to give it a try.
Updated. Originally published Nov. 21, 2018.

Comments
Share: