

There’s something oddly satisfying about watching oil quietly drain from a machine that’s built to scream. We captured the soothing rhythm of an AMSOIL oil change on our Polaris RZR Pro XP Turbo* UTV. No voiceover, no music, just the pure mechanical symphony of tools and the smooth flow of AMSOIL 100% Synthetic ATV/UTV Motor Oil.
The video is packed with subtle nuance for anyone who wants to keep their UTV running like new. Here’s a complete step-by-step guide for changing the oil on a RZR, including tools, tips and oil requirements.
Note: Requirements vary for different years, makes and models.
Check your owner’s manual.

Tools & Supplies
Safety gear:
- Safety glasses
- Nitrile gloves
Essential tools:
- Ratchet
- 6mm Allen wrench for drain plug
- 8mm socket wrench
- T40 Torx wrench for cargo box removal
- Torque wrench for precise tightening
- 64mm Oil filter wrench (2.5-inch)
- Funnel
- Drain pan
- Shop rags
Oil & filter:
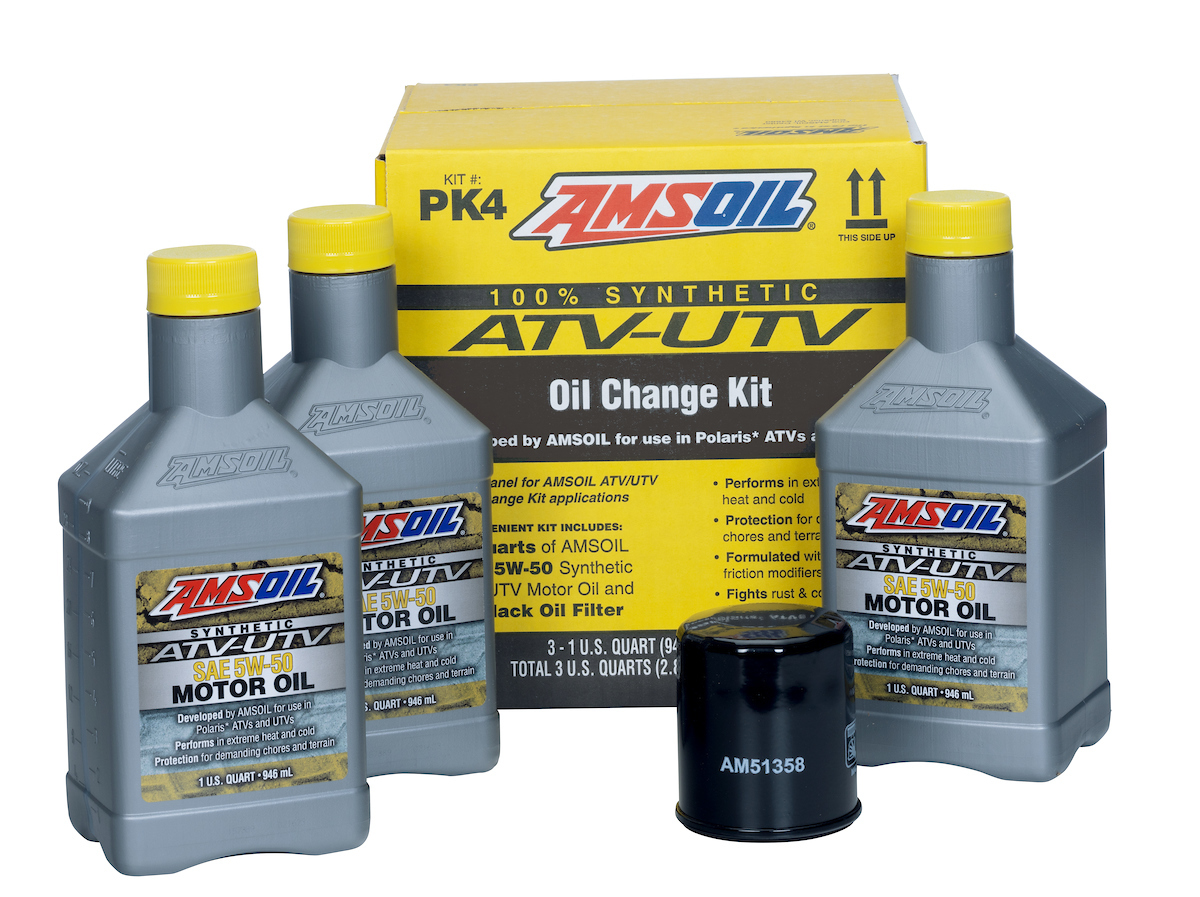
AMSOIL ATV/UTV Kits for Polaris® Vehicles – includes oil, filter and sealing washer
Or use our convenient Product Guides to find the right AMSOIL products for everything in your garage.
Step-by-Step Instructions
- Prepare the Vehicle
- Park on a flat, level surface.
- Place the transmission in PARK and set the parking brake.
- Start the engine and let it idle for 2–3 minutes to warm the oil and help it drain completely.
- Turn off the engine.
-
Remove the Cargo Box
- Remove the four T40 Torx fasteners securing the cargo box.
- Lift the cargo box straight up and set it aside.
-
Access the Oil Fill & Drain Points
- Clean the area around the oil fill cap and remove it.
- Clean the area around the drain plug.
-
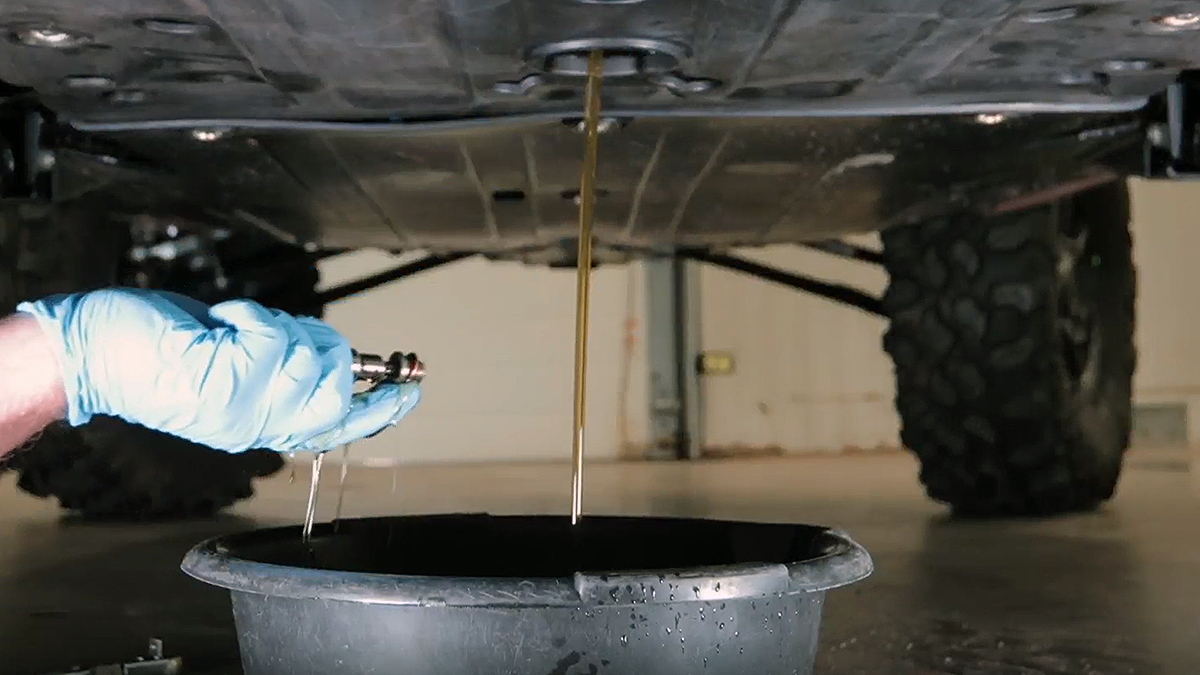
Drain the Old Oil
- Position the drain pan under the crankcase.
- Remove the drain plug using a 6mm Allen wrench.
- Allow oil to drain completely. Use caution: oil may be hot.
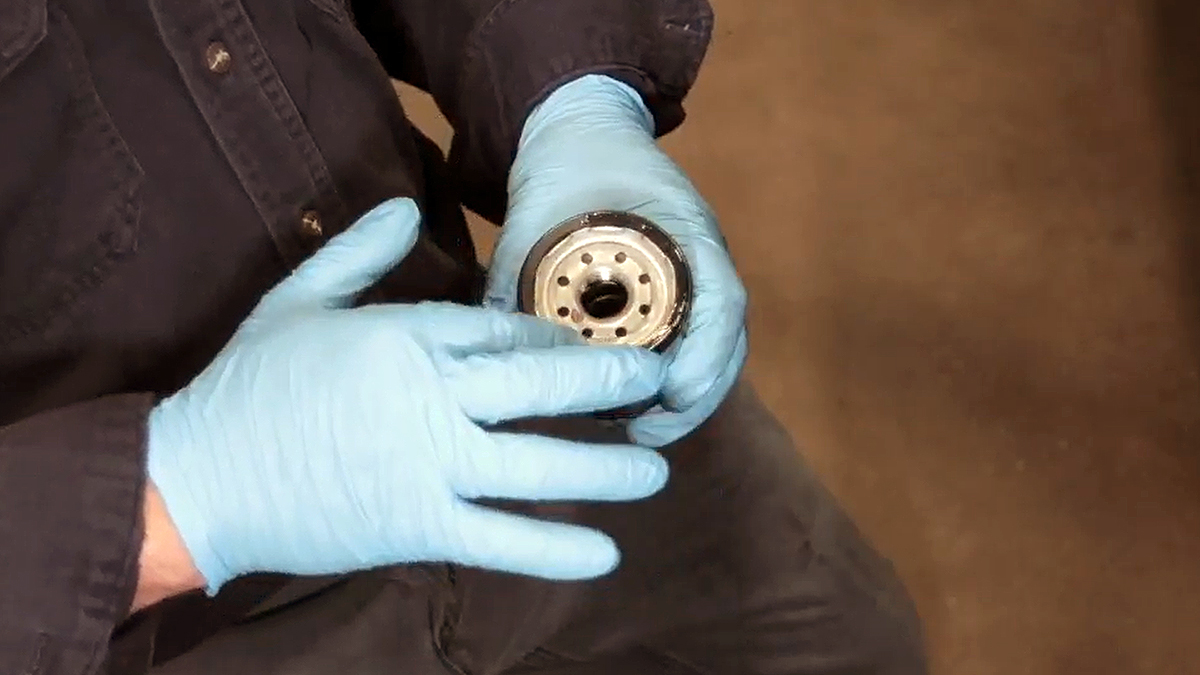
- Remove & Replace the Oil Filter
- Access the oil filter through the driver’s rear wheel well.
- Use the 64mm oil filter wrench to remove the old filter.
- Clean the sealing surface on the crankcase.
- Lubricate the O-ring on the new filter with fresh oil.
- Install the new filter by hand until the gasket contacts the surface.
- Tighten per instructions in your owner’s manual (typically an additional ¾ turn).
- Reinstall the Drain Plug
- Inspect the drain plug and replace the sealing washer to prevent leaks.
- Clean the sealing surfaces.
- Reinstall the drain plug and torque to the specification in your owner’s manual (typically 12 lb-ft or 16 Nm).
⚠️ Pro Tip: Do not over-tighten the oil filter or drain plug.
-
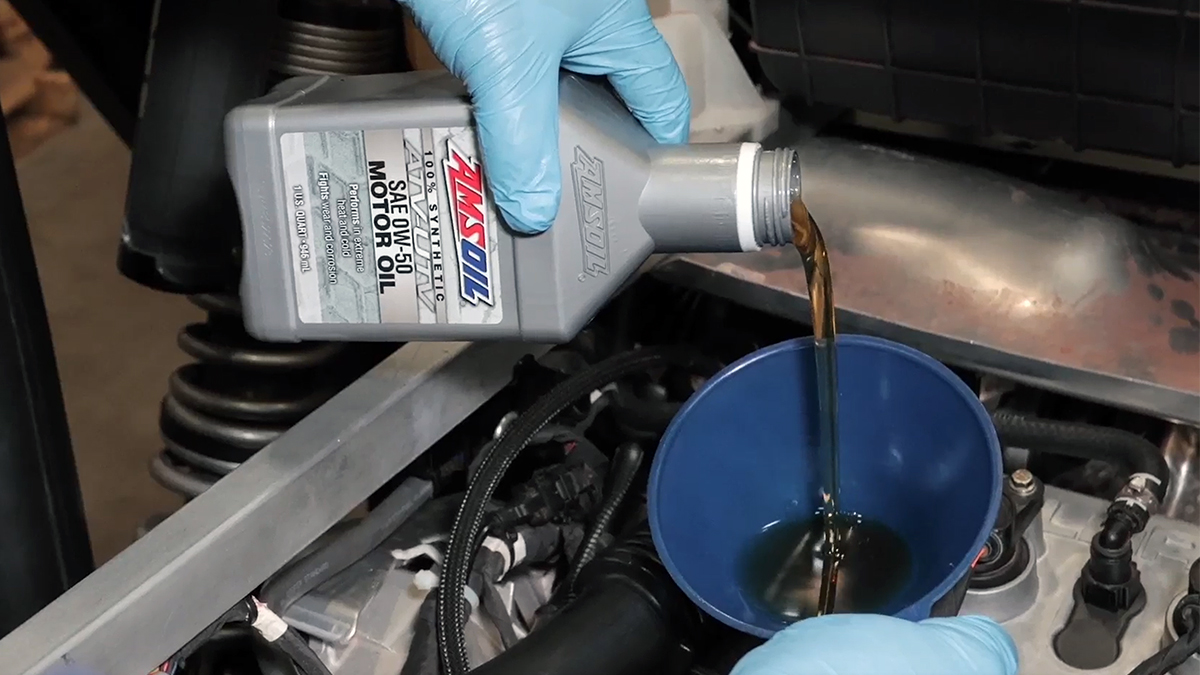
Add New Oil
- Pour 2.75 quarts (2.6 liters) of AMSOIL 0W-50 Synthetic ATV/UTV Motor Oil or AMSOIL 5W-50 Synthetic ATV/UTV Motor Oil into the fill port.
For different vehicles, verify the correct viscosity and volume of oil in your owner’s manual or use our convenient Product Guides. - Reinstall the oil fill cap.
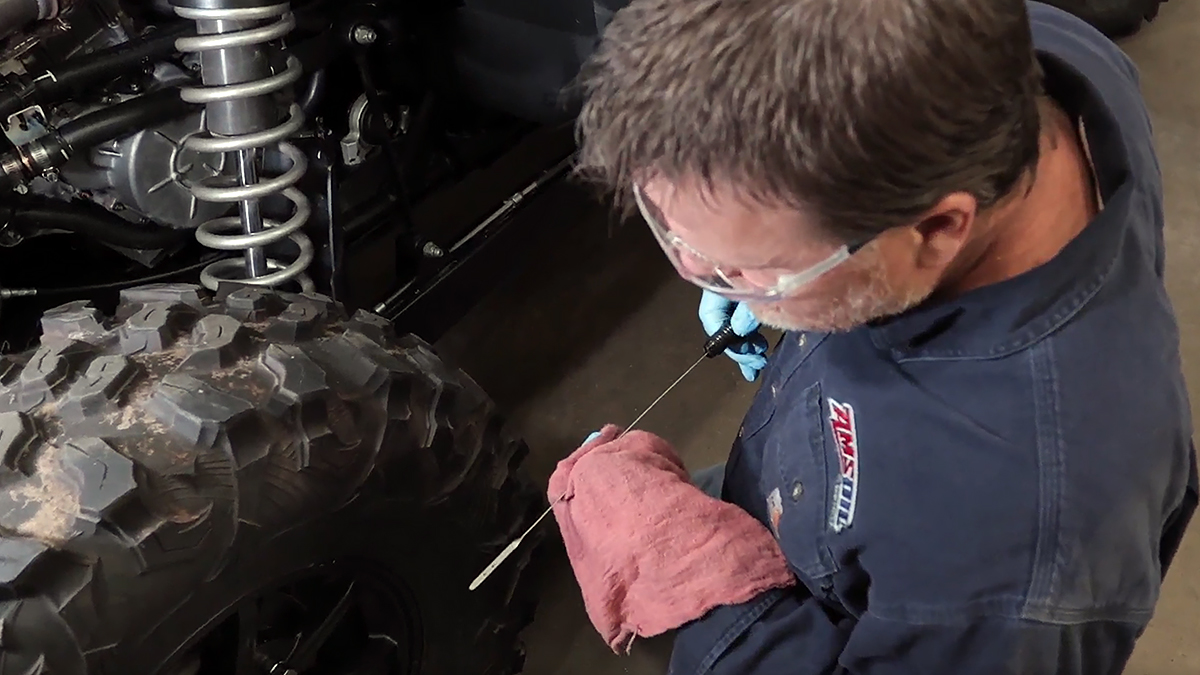
- Check Oil Level
- Start the engine and let it idle for 1–2 minutes.
- Turn off the engine and wait 1–2 minutes.
- Remove the dipstick, wipe it and reinsert.
- Remove the dipstick again to check the oil level.
- Add oil to reach the upper mark if needed.
-
Final Steps
- Inspect for leaks.
- Wipe up any residual oil.
- Reinstall the cargo box.
- Dispose of used oil and filter properly.
Optional: Change the Differential and Transmission Fluid
Bonus Tips
Warm Up: Warm oil flows better, helping carry more contaminants out of the crankcase. It’s a simple step that makes a big difference in oil cleanliness and maintenance efficiency.
Cleanliness: Maintaining a clean work area and wiping the area around the drain and fill plugs before removal prevents debris from getting into the oil.
Magnetic Drain Plugs: Magnets catch metal shavings before they circulate through your engine. It’s a small investment that can also help reveal early signs of wear.
Drain Completely: Letting the oil drain fully ensures you’re not mixing fresh oil with old, contaminated oil.
Torque to Spec: Use a torque wrench to secure the drain plug and oil filter to manufacturer specs. Over-tightening can strip threads; under-tightening can cause leaks.
Track Drain Intervals: Whether you’re using MyAMSOILGarage™ or a simple notebook, tracking oil changes helps you stay on top of maintenance and spot trends in oil condition or consumption.
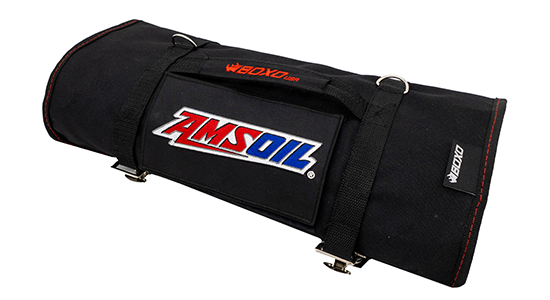
Tackle almost any trailside UTV repair with the compact, 66-piece AMSOIL BOXO UTV TOOL ROLL. It is designed to fit in any vehicle and includes the most commonly used tools, hand-picked by enthusiasts and built to the high standard of the professional grade tool market.
Follow the AMSOIL YouTube channel and subscribe to the AMSOIL Inside Track email newsletter below for more useful tips.

Comments
AMSOIL Technical Writer and 20-year veteran of the motorcycle industry. Enjoys tearing things apart to figure out how they work. If it can’t be repaired, it’s not worth owning.
Share: