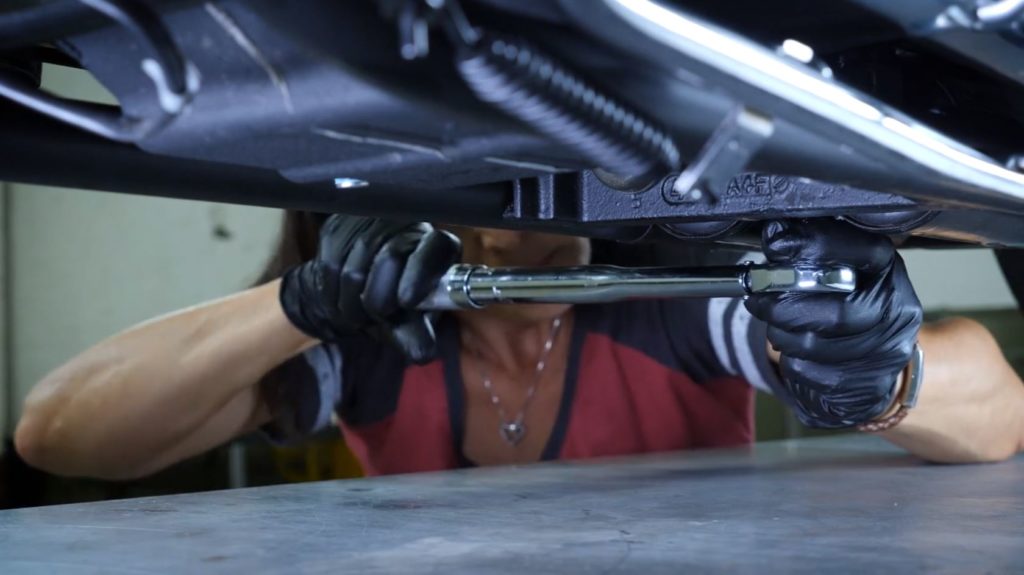
For this demonstration, we’re using a Harley-Davidson Softail, specifically a 2014 Fat Boy Lo.
Tools you need to change motorcycle transmission fluid
- Drain pan
- New drain-plug O-ring
- 5/8-inch socket with a socket wrench
- Torque wrench
- 3-inch extension
- 3/8-inch ball-end Allen wrench
- Funnel
- AMSOIL V-Twin Transmission Fluid
Use the ratchet, 3-inch extension and 5/8-inch socket to remove it. Once it’s loose, finish removing the drain plug by hand to prevent it from falling into the drain pan.
While the transmission fluid is draining, clean the drain plug. Make sure to remove all the debris and check the plug for damage. Slide the new O-ring onto the transmission plug and run it all the way to the bottom. Re-install the drain plug. Snug it up by hand, then use the torque wrench set at 14-21 foot-pounds torque to tighten it.
Fill the transmission with fluid
Some bikes require checking transmission fluid when it’s on the kickstand. Check your owner’s manual for specific instructions for your bike, then pull the dipstick and verify the fluid level.
