


Your vehicle’s brakes are one of its most overlooked components when it comes to maintenance. Reliable, high-performing brakes, however, are vital to your safety. Follow the guidelines in your vehicle owner’s manual for how often to change brake fluid. If none are given, it’s good practice to bleed brakes every other year or whenever you change the brake pads. In this video, we show you how to bleed brakes.
Watch: How to Bleed Your Brakes
Tools you need to bleed brakes
- Bleeder-valve wrench
- About 24″ of clear plastic tubing with an inside diameter of 1/4″ – 3/8″. Ensure it slides snugly over the bleed screw.
- Catch pan
- Hydraulic floor jack
- Jack stands
- Brake fluid
Secure and raise the vehicle
Starting at the furthest wheel from the brake-fluid reservoir, use the hydraulic jack to raise the vehicle off the ground. Slide a jack stand underneath the vehicle’s pinch weld or similar support point. Slowly let the vehicle down onto the jack stand.
Don’t support the vehicle with the hydraulic jack alone since it can collapse – make sure it’s supported with jack stands.
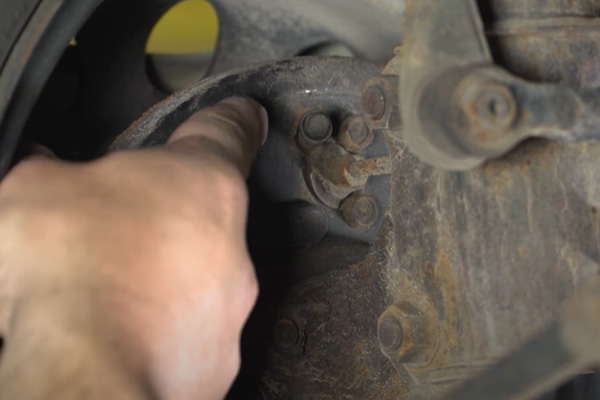
Locate the bleeder valve
The bleeder valve is often covered with a rubber cap. You may need to remove the tire for access.
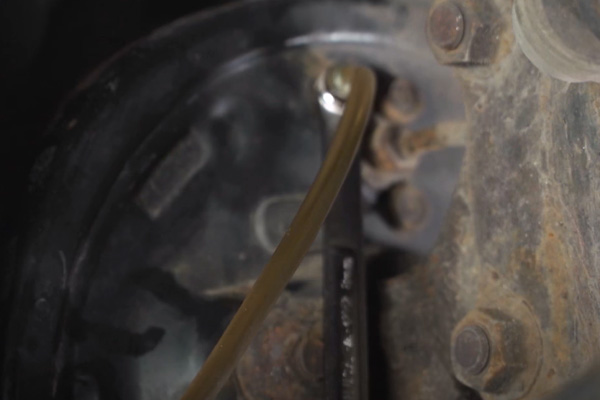
Remove any dirt or debris and remove the cap. Slide the wrench over the bleeder valve and then push the plastic tubing over the screw to route the fluid into the catch pan. Ensure the tubing is snug on the bleeder screw.
Have a helper pump the brake pedal
While underneath the vehicle holding the bleeder-valve wrench, have someone sit in the vehicle and pump the brakes until the system builds pressure.
With the person in the vehicle holding the pedal down firmly, open the bleeder valve. Brake fluid should travel down the tubing into the catch pan. It’s important to use clear tubing so you can see any air bubbles in the fluid.
Communication is key
Throughout the process, maintain communication with the person depressing the brake pedal.
He or she should indicate when the brake pedal has hit the floor. Then close the bleeder screw and notify the person in the vehicle. He or she can then release the brake pedal. Pump the pedal to build pressure and repeat the process until clear, new fluid with no air bubbles emerges from the bleeder valve.
Air is compressible, which leads to spongy pedal feel, so make sure to remove all the air from the lines.
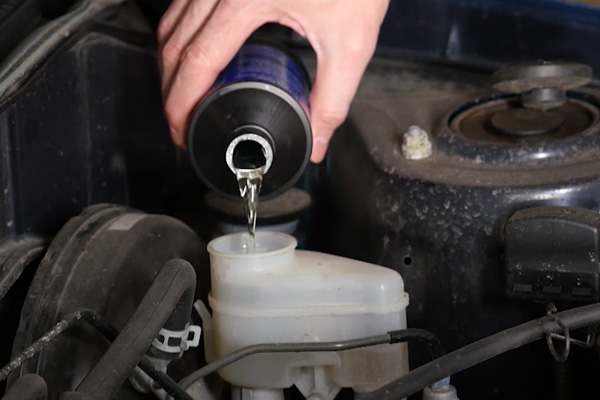
Check the reservoir level
Throughout the process, pause occasionally to check the brake-fluid reservoir level. Use fresh fluid to ensure it’s full. (Make sure to use the correct brake fluid, usually DOT 3 or DOT 4.) Allowing it to deplete will introduce air into the system, which will require you to bleed it from the lines.
Once you’re finished, tighten the bleeder screw. Make sure you wipe the area down since brake fluid can be corrosive, especially to painted surfaces. In some situations, you’ll want to use brake cleaner or plain water to rinse brake fluid off surfaces. After the area is clean, reinstall the rubber cap.
Move to the next brake
Remove the jack stand from the wheel where you’re working and move to the next-furthest wheel from the reservoir, which is likely the other rear wheel. Again, raise and support the vehicle. Then repeat the above process, being mindful to continually check the brake fluid in the reservoir.
Top-off the reservoir
After bleeding all the brakes, top-off the brake fluid in the reservoir before driving the vehicle.
That’s how to bleed brakes. It can be a challenge, especially if you run into a stubborn bleeder valve that doesn’t want to open. Use penetrating oil to loosen it and be patient. Most do-it-yourselfers with a little experience can bleed brakes without issue.