Changing a dirt bike tire can seem intimidating, but most riders with a little mechanical aptitude and access to a few tools can complete the project unscathed. In this video, our experts show you how to change a dirt bike tire.
Step-by-Step: How to Change a Dirt Bike Tire
Tools required:
- Tire spoons
- 5-gallon bucket
- Plastic hammer
- Spray bottle of soapy water
- Wrench to remove rim-lock nut
- New tire and tube
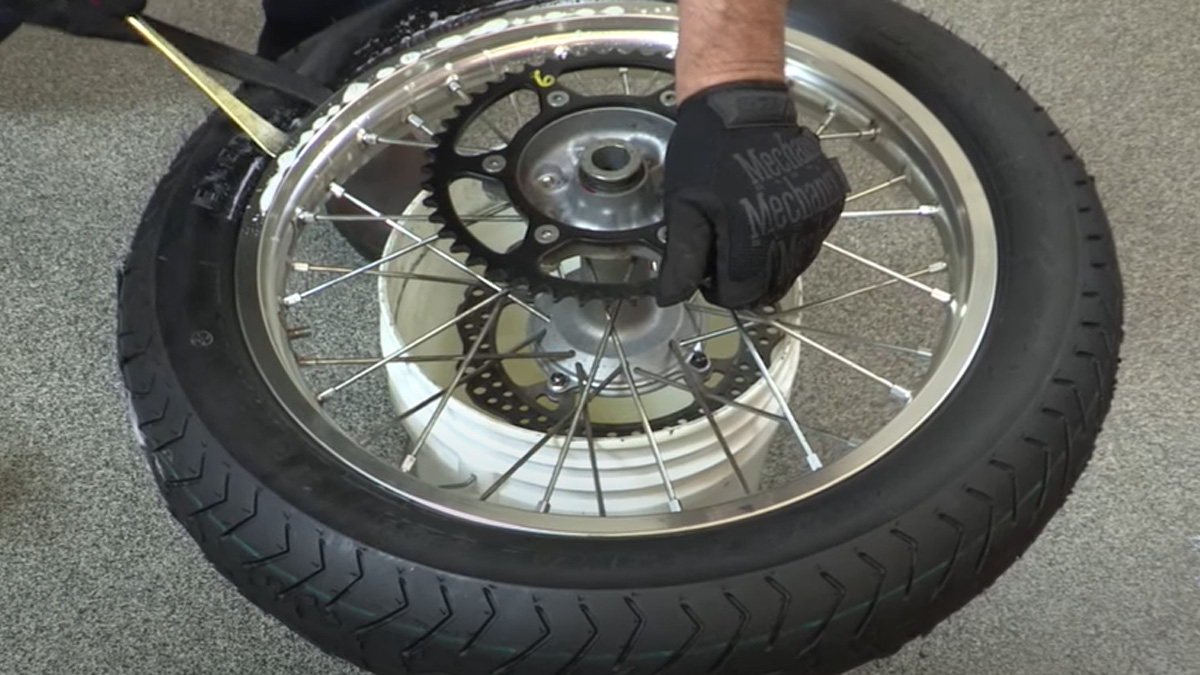
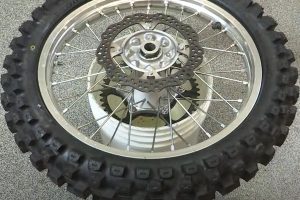
First, remove the tire from the bike and position the tire off the ground using a bucket.
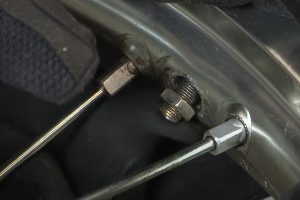
Using a core-removal tool, pull the valve core out and deflate the tire. Now’s a good time to remove the dust seal since you eventually need to remove the tube from the tire. Make sure you loosen the rim lock since it must be loose to remove the tire.
A little bit of soapy water goes a long way in this project, so use soapy water as a lubricant around the edge of the tire. Use a tire spoon on the edge of the tire to break the bead free from the rim. Work your way around the tire to unseat the bead.
Now, flip the tire over and repeat the process until the tire is off the bead.
Next, starting at the rim lock, put your tire spoons underneath the tire on the rim, being careful not to pinch the tube. Start working the tire around the rim with the tire spoons. Once it’s removed about three quarters of the way, it will start to come off a little easier.
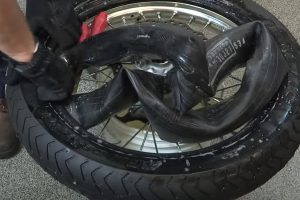
After one half of the tire is off the rim, reach in and remove the tube.
Now, remove the other half of the tire from the rim. Spray soapy water to lubricate the tire and rim, then slide a tire spoon underneath the tire. If you have a plastic hammer, carefully hit the bead, taking care not to bend the rim. Work your way around the tire to help push it off the rim.
Installing the new dirt bike tire
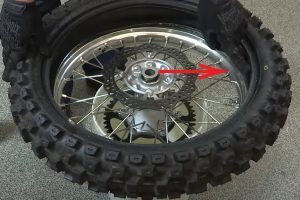
Again, use plenty of soapy water to lubricate the tire and set it on the rim. Locate the yellow dot on the rim and align it with the rim lock. This is very important for balancing the tire.
Start the tire onto the rim by hand, then use a tire spoon to push the tire on the rim the rest of the way.
Reinstall the valve core into the tube, and reinstall the tube into the tire. Take your time to ensure the tube doesn’t pinch or wrinkle. Push the valve stem through the rim and screw on a nut to hold the valve stem through the rim.
As you finish installing the tube into the tire, make sure the yellow dot is lined up with the rim lock. Also, ensure the valve stem is straight.
Using tire spoons, start at the rim lock to install the tire. Make sure the tube isn’t pinched between the tire spoon and rim. Use your knee to work the tire around the rim. It’ll go easy until about the halfway point, and then it’ll become difficult. At this point, be careful that you’re not pinching the tube as you gain a new bite with the tire spoons. A good trick is to use a plastic hammer to help as the tire becomes difficult to move.
At this point, add a little air to the tube. Check the bead all the way around on both sides to be sure the tube isn’t sticking through and that everything is aligned properly.
Now, be sure the tube is in the tire properly. Remove the valve core again and deflate the tube. Push back and forth on the valve stem to verify it isn’t pinched. Once you confirm the tube isn’t pinched, reinstall the valve core and add some air to the tire. If you see a few bubbles come out, don’t panic – that’s just the soapy water, which is normal. Again, check the bead on both sides.
Now, inflate the tire to the correct pressure. Look in the bike owner’s manual or on the side of the tire for the correct tire pressure. Install the dust seal and put on the valve cap. Finally, tighten the rim lock, which ensures the tire stays on the rim in the event of a flat.
Now you know how to change a dirt bike tire. Take your time and work carefully to help avoid problems so you can get back to riding. Don’t forget to check out AMSOIL products for your dirt bike.



Comments
Share: