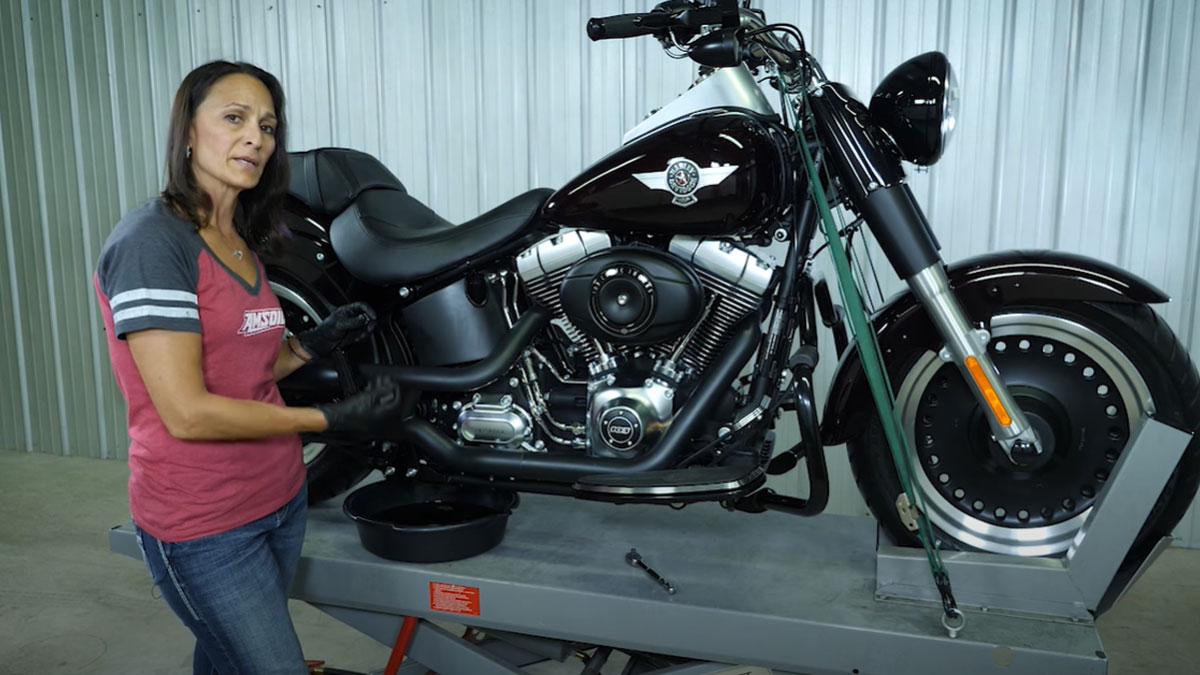
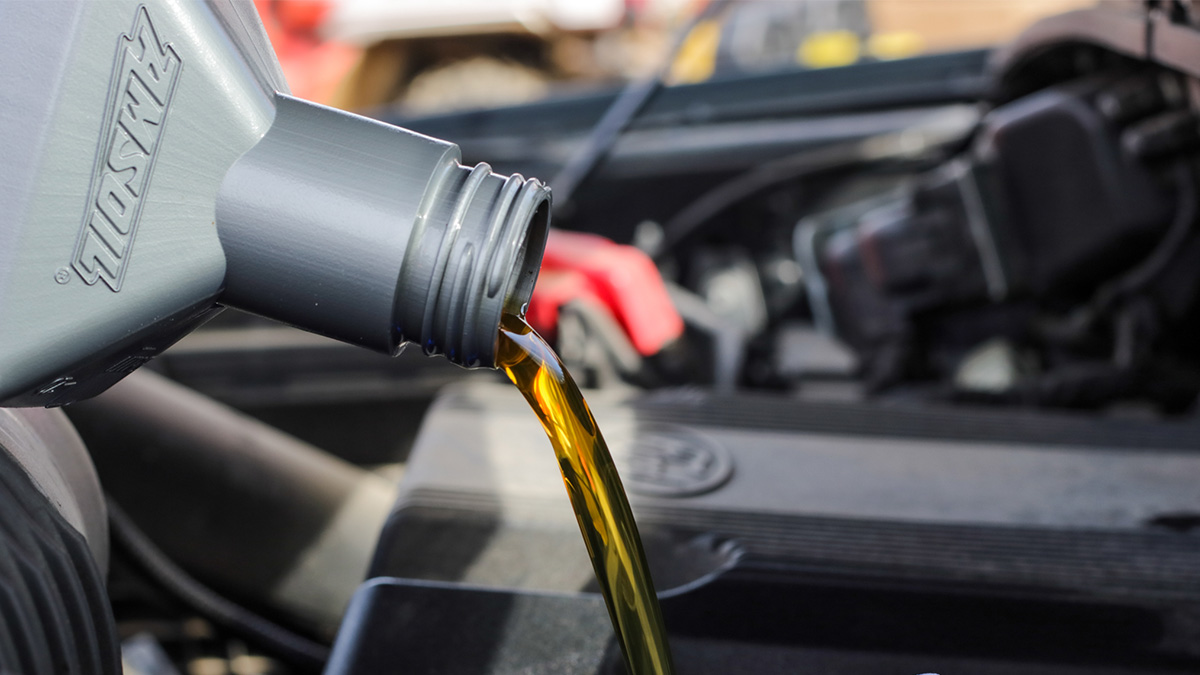
Using a good motorcycle oil and changing it according to recommendations is the best way to ensure optimum protection against wear and deposits, particularly when riding in extreme summer heat that can breakdown some oils. Here’s how to perform a Harley-Davidson oil change.
For this demonstration, we’re using a 2014 Harley-Davidson Softail Fat Boy Lo with a 103-ci engine.
Tools you need for a Harley-Davidson oil change
- Oil-drain pan
- Ratchet
- 5/8-inch socket
- 5-inch extension
- Torque wrench
- Filter wrench
- Oil filter
- Motorcycle oil (20W-50 in this case)
Before you begin, it’s a good idea to start your engine and let it run for a bit. This will warm up the oil so it flows easily when you’re ready to drain it.
- On Softail models, the oil reservoir is located under the seat. Look directly below and slightly behind the seat underneath the frame to find the oil drain plug.
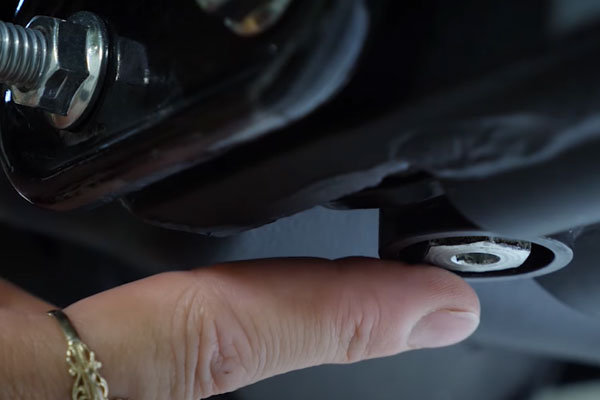
- Use a ratchet and 5/8-inch socket to remove the drain plug. Once loose, finish removing the plug by hand to avoid dropping it into the oil pan. Remove the oil reservoir cap to increase oil flow.
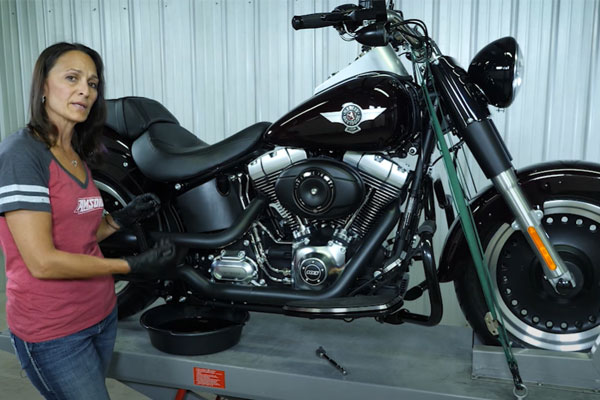
Ensure the motorcycle is vertical
- Place the bike in a vertical position to drain all the oil. If you’re working on a lift, you’re okay. But if you are working with the bike on its kickstand, straighten the bike to an upright position to ensure removal of all the oil.
- Next, remove the oil filter. Place a few rags underneath the filter to catch any drips. You can also slide the oil pan underneath to catch oil that drains from the filter.
- Loosen the filter using a ratchet, 5/8-inch extension and filter wrench. Finish removing it by hand and quickly move it into your oil pan. Take some shop towels and clean up any residual oil that may have spilled when you removed the filter.
- Next, apply a thin film of oil to the gasket on the new filter. Don’t overdo it. You want a light film to ensure a proper seal when you put the new filter back on.
- Thread the filter onto the engine until you feel the gasket draw snug. Turn it another half to three-quarters of a turn to complete the install.
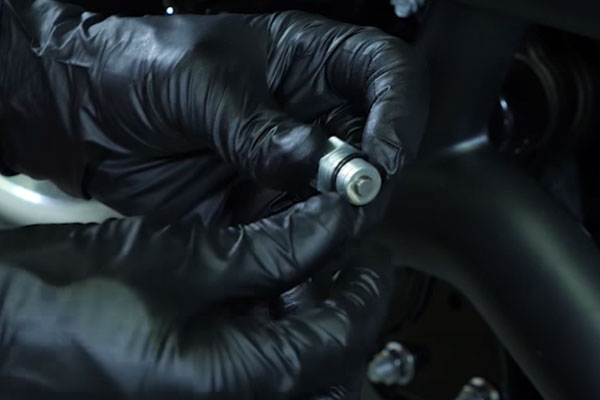
- Clean the residual debris from the drain plug, install a new O-ring and thread it back into the engine. Snug it up, then use a torque wrench to finish the install. The torque wrench should be set at 14 to 21 foot-pounds of torque.
Add the motorcycle oil
- Now it’s time to add oil. The Softail calls for three quarts of oil. Start with 2 1/2 quarts. It’s important not to overfill the reservoir.
- Next, take the bike for a short ride to bring the engine to operating temperature. Check the oil level and top-off as necessary. Remember to check the oil while it’s hot and the bike is on the kickstand.
- Once it’s topped-off, insert the dipstick and check the fluid level one more time.
Check out our posts on how to change transmission oil on a Harley-Davidson and how to change primary fluid on a Harley.
That’s all there is to performing a Harley-Davidson oil change. Make sure you dispose of the used oil and filter properly. For your specific bike, consult the owner’s manual for oil capacity and viscosity, or check out the AMSOIL Product Guide.
Harley-Davidson owns the trademark rights to Harley-Davidson and the motorcycle models listed. No affiliation or endorsement claim, express or implied, is made by their use.

Comments
Share: