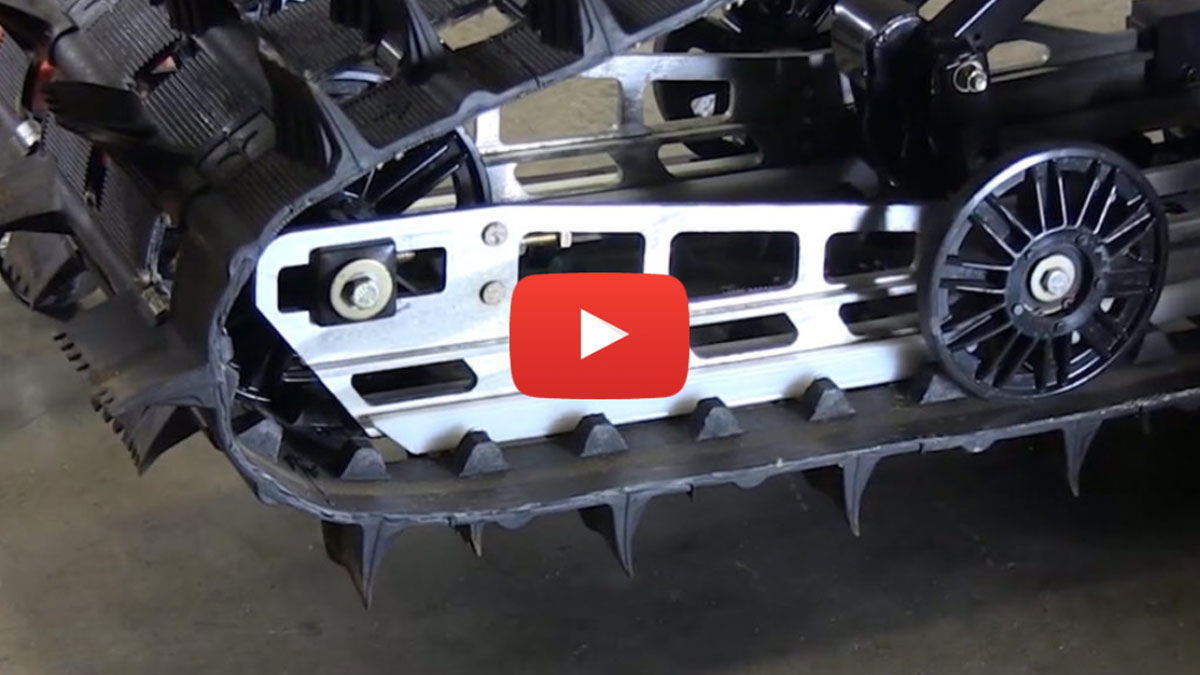
Riders sometimes ask how to perform a snowmobile track adjustment. It’s not difficult for those with a little mechanical aptitude, as we show here.
Time needed: 15 minutes.
How to Perform a Snowmobile Track Adjustment
- Raise the snowmobile off the ground
Since the track needs to spin for this procedure, make sure the sled is securely hoisted.
- Loosen the rear axle
Depending on the sled, you should find a bolt on each side. Loosen both bolts. You can’t do it one bolt at a time; generally, you have to put a wrench on each side to loosen the axle.
- Check the track tension
With the axle loose, check the tension to determine if the track is too tight or loose. Once you’ve made your determination, loosen the adjuster bolts. Back the jam nuts off both sides and give them a spin to back them out of the way.
- Tighten the track
If the track needs tightening, turn the bolts on either side of the axle clockwise with a ratchet and socket. Watch the track while tightening. Pay close attention to the distance from the track to the slide. As you tighten, the track will rise up toward the slide. That means you’re getting close. Push down on the track to gauge its tightness.
- Measure track deflection
Once the track seems close to the proper tension, take a measurement at the distance in front of the axle noted in the owner’s manual. Push down with about 10 pounds of pressure and look for 3/8 to 1/2 inch distance between the track and the rear slide while applying pressure. You can purchase a tool that measures pressure. Otherwise, approximate 10 pounds. Perform the same procedure on the other side of the snowmobile.
- Make sure the axle is square
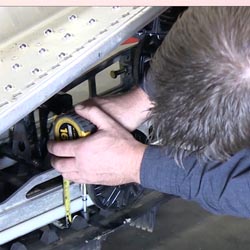
Once the track is properly adjusted, make sure the axle is square. Measure from the adjustment block to a fixed point on the slide. Repeat this step on the other side.
- Align the snowmobile track
Now it’s time to align the snowmobile track. Start the sled and rotate the track. It will find its own alignment. Shut off the snowmobile and look at the position of the track clip relative to the slide. Do this on both sides. The track may have shifted in one direction, creating more space on one side versus the other. You can either tighten one side or loosen the other to adjust the angle of the axle and align the track.
After making any necessary adjustments, start the sled and rotate the track again. Shut off the snowmobile and again check the distance between the track clip and slide on both sides of the snowmobile. Once they’re equal, the track is aligned. - Tighten the jam nuts
Finally, tighten the jam nuts. Then, tighten the axle bolts so the axle can’t shift. Sometimes people forget this step, so be careful and check both sides to be sure.
That’s how to perform a snowmobile track adjustment. Your track is now properly tensioned and aligned.
And, don’t forget to take care of your sled with AMSOIL snowmobile products so it’ll deliver the performance you demand.


Comments
Share: