A Beginner’s Guide to Changing Oil in 10 Simple Steps

Changing your own motor oil can save you time and money, and it may be easier than you think.

Shop the article

Signature Series Synthetic Motor OilAMSOIL 100% Synthetic High-Mileage Motor OilAMSOIL 100% Synthetic Hybrid Motor Oil
Brad Nelson
by Brad Nelson
May 13, 2024

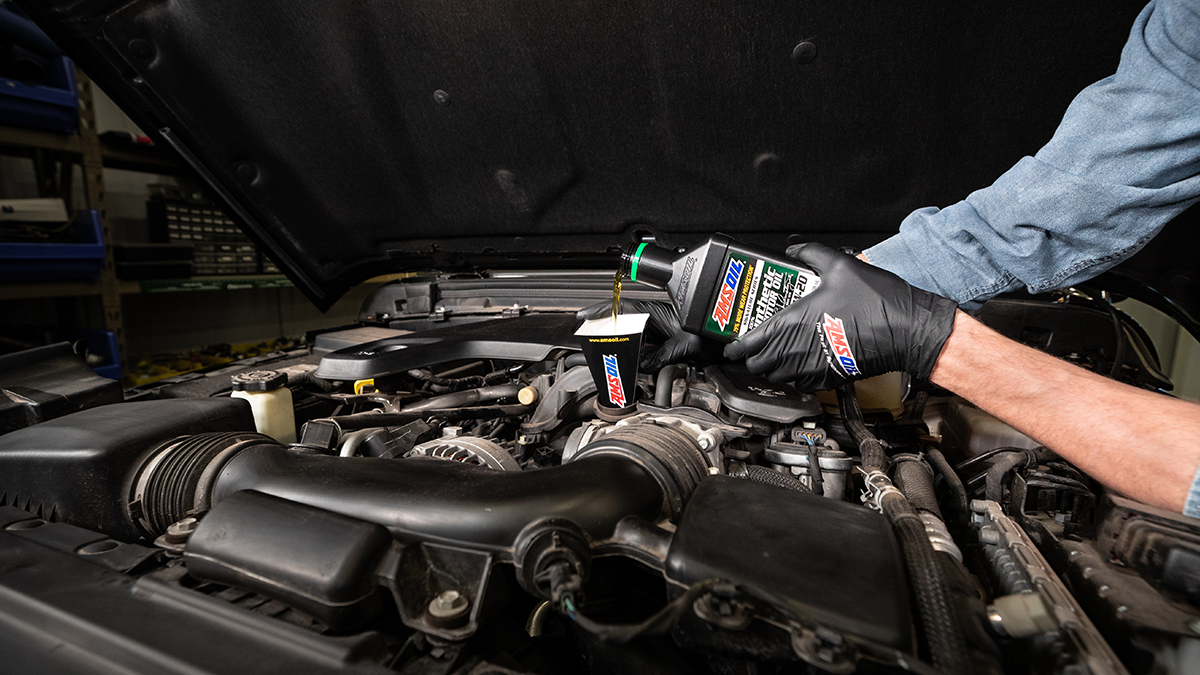
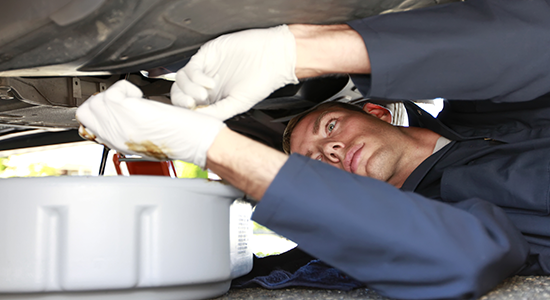
Changing your car’s motor oil might seem daunting at first, but with the right tools it’s a task you can easily tackle yourself, saving time and money. Follow these 10 simple steps to perform a successful oil change:

1. Gather your supplies

Before you start, you will need to purchase the following supplies:

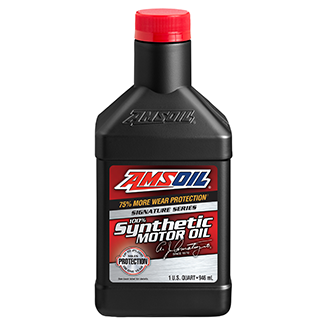
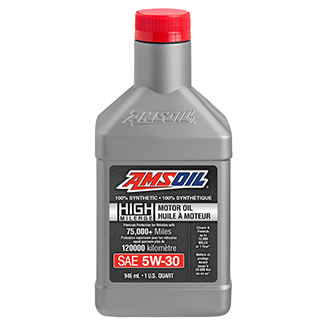
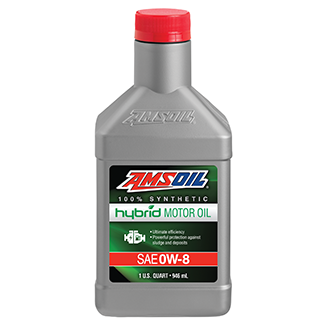
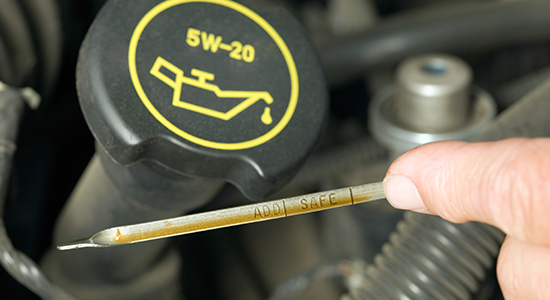
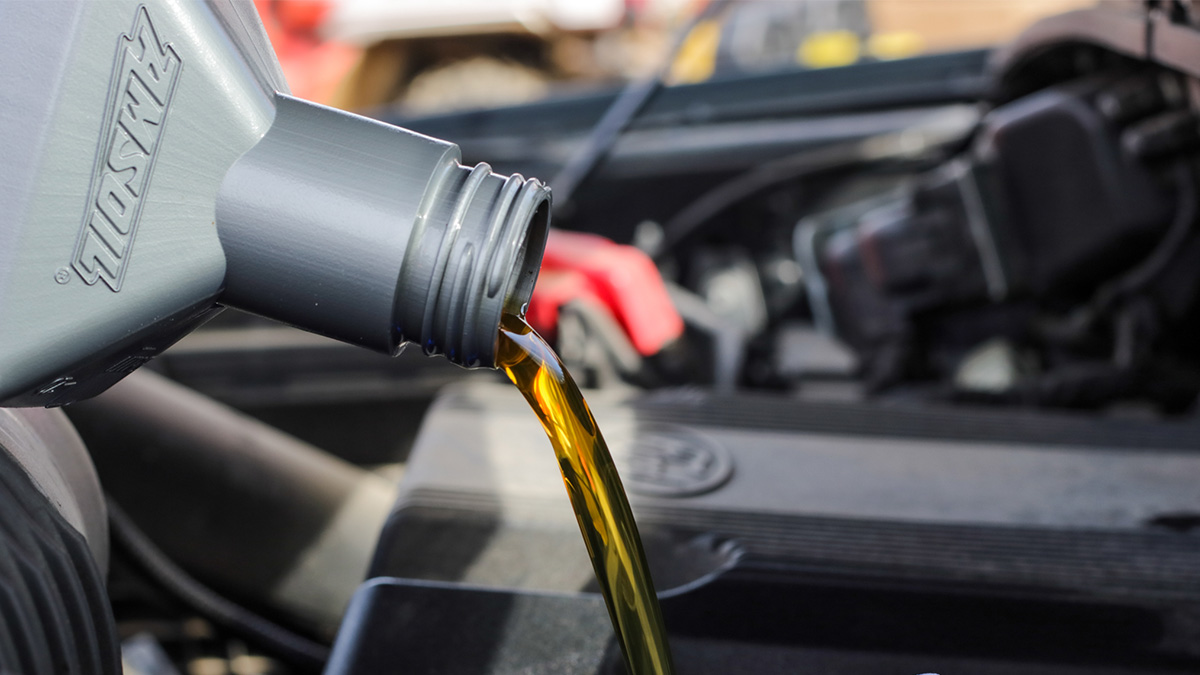
  • Motor oil – Use our Lookup Guide to order the recommended motor oil for your vehicle.
  • Oil filter – Use our Lookup Guide to order the right oil filter for your vehicle.
  • Box-end wrench or socket for loosening the drain plug
  • Funnel
  • Disposable gloves
  • Safety glasses
  • Jack, jack stands and wheel chocks – consult your owner’s manual to make sure you use proper jack points to lift your vehicle.

AMSOIL
VEHICLE LOOKUP GUIDES

  • Find products for your vehicle: autos and light trucks, motorcycles, ATV/UTVs, snowmobiles, marine, PWCs, heavy duty, and more.
  • Vintage vehicle lookup guide.
  • Filter lookup and cross-reference guides.
Check out the guides

2. Prepare and lift your vehicle.

  • Park on a level surface, engage parking brake and turn off engine.
  • Jack up the vehicle.
  • Never get under a vehicle only supported by a jack! Support your vehicle with jack stands and put wheel chocks in place before working underneath the vehicle. Wheel chocks help ensure the wheels on the ground do not roll and cause the vehicle to fall off the jack stands.
  • If your car has been running recently, give it some time to cool off to avoid burning yourself with hot oil.
  • Open the hood and remove the engine-oil dipstick. This will help the oil drain.

3.  Locate the oil drain plug

  • After the vehicle is safely secured on jack stands, put on your safety goggles and gloves and slide under the vehicle.
  • Locate the oil-drain plug underneath the engine. Look for a long-bolt head at the bottom of the oil pan. Be aware that some vehicles have two drain plugs.

4. Drain the spent motor oil

  • Position the catch pan beneath the drain plug. Make sure the pan you use is large enough to hold the entire volume of spent oil in your engine. Consult your owner’s manual if you are not sure.
  • Using your wrench, loosen the drain plug in a counterclockwise direction (“lefty loosy”). Be prepared for the oil to start flowing. Be careful, the oil may still be hot.
  • Allow the oil to drain completely into the pan to ensure all contaminants are removed. This will take several minutes.

5. Replace the oil filter

  • While the oil is draining, locate the oil filter. It’s usually cylindrical in shape and can be found near the drain plug or on the side of the engine.
  • Using an oil-filter wrench, loosen the old filter and remove it.
  • Check to make sure the filter gasket has come off with the filter. If it’s still clinging to the engine mounting plate, remove it and any remaining residue.
  • Before installing the new filter, apply a thin layer of fresh oil to the rubber gasket on the new filter to make sure it seats on the engine correctly.
  • Screw the new filter onto the engine by hand until it’s snug, then give it an additional ¾ turn.
  • Cartridge oil filter replacement procedures vary. See owner’s manual for instructions.

6. Replace the drain plug

  • Once the old oil has drained completely, clean the oil pan and oil-drain plug with a shop rag. Inspect the washer or O-ring for damage.
  • If necessary, replace the drain-plug gasket. Some OEMs recommend this with every oil change.
  • Reinstall the drain plug and tighten it with your box-end or socket wrench to the manufacturer-specified torque as specified in your owner’s manual.

7. Install new motor oil

  • Locate the oil filler cap on the top of the engine and remove it.
  • Place a funnel in the filler hole and pour in the appropriate amount of new motor oil. Use the viscosity specified in your car’s manual or use our Vehicle Lookup Guide.
  • Once you’ve added the oil, replace the filler cap securely.

8. Start your vehicle & check the oil level

  • Start your car and let it idle for a minimum of 30 seconds to allow the new oil to circulate through the engine.
  • Do not rev the engine until the motor oil has had a chance to circulate throughout the engine.
  • Carefully inspect for any oil leaks, especially around the oil drain plug and oil filter.

9.Check the oil level

  • Turn off the engine and wait a few minutes for the oil to settle back into the oil pan.
  • Using the dipstick, check the oil level. Add more oil until the oil reaches the correct level marked on the dipstick.

10. Clean up and dispose of spent oil

  • Clean up any spilled oil from around the oil-filler cap, drain plug and oil filter.
  • Dispose of the old oil and filter responsibly by taking them to a recycling center that accepts used motor oil.

Congratulations! You’ve successfully changed your vehicle’s motor oil, saving yourself time and money. With regular maintenance like this, you can keep your car running in peak form for many years to come. And, hopefully, you enjoyed the garage time and sense of accomplishment that comes with DIY maintenance.

by Brad Nelson

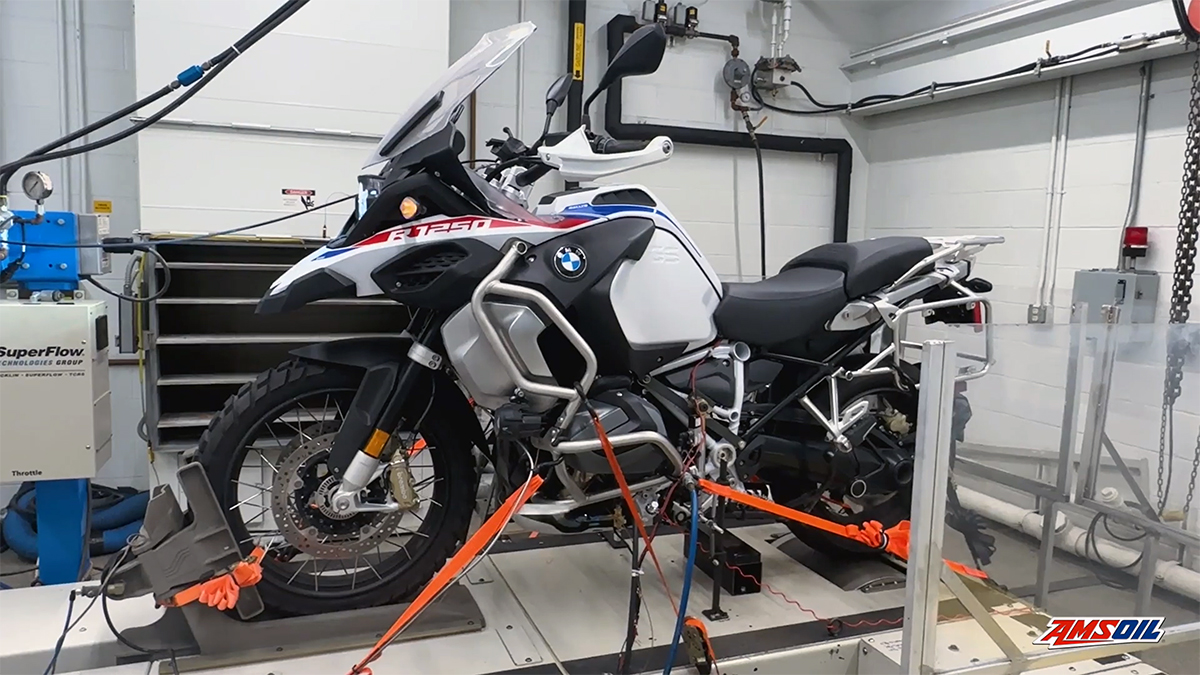
Brad Nelson is a staff writer for AMSOIL. Outside of work he enjoys family adventures, wilderness exploration and riding/wrenching on vintage metric motorcycles.

Shop the article

Signature Series Synthetic Motor OilAMSOIL 100% Synthetic High-Mileage Motor OilAMSOIL 100% Synthetic Hybrid Motor Oil