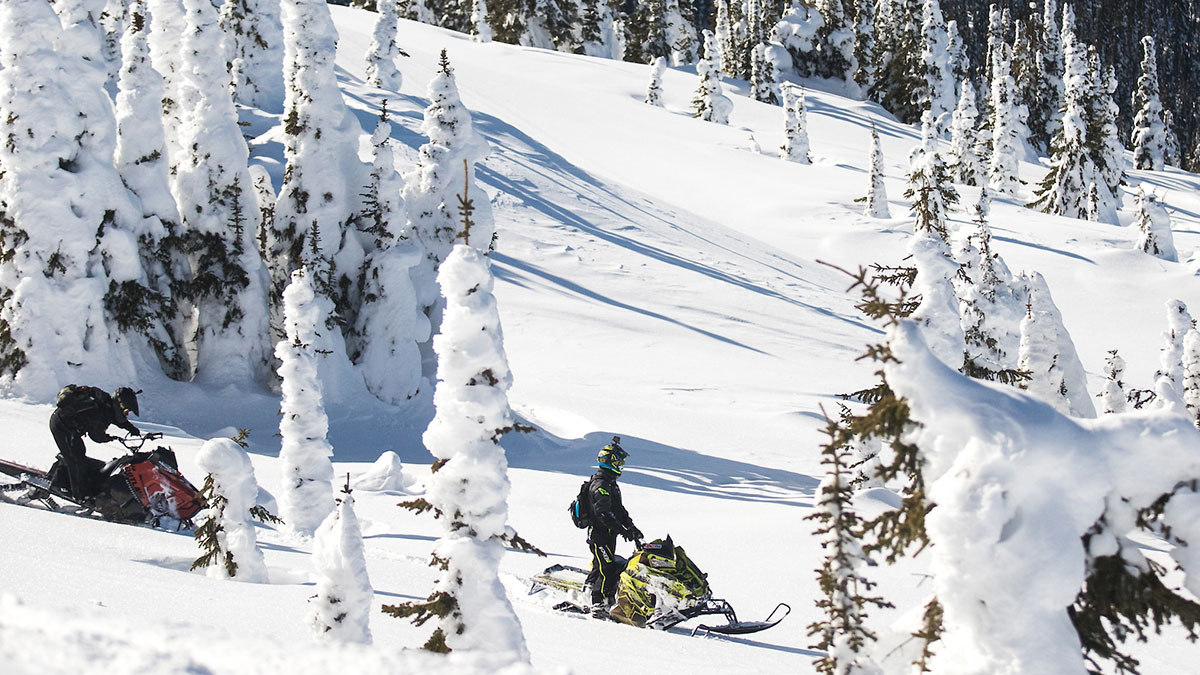
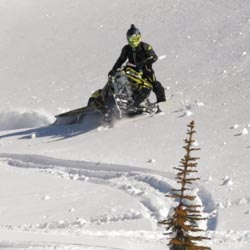
Backcountry snowmobiling provides the chance to ride in the shadows of towering mountain peaks and among rolling ridges. It offers perfect powder to carve while exploring sub-alpine lakes and bowls. For snowmobilers who hail from the East or Midwest, travelling west to ride in the mountains marks the trip of a lifetime.
For all its thrills, backcountry snowmobiling presents technical challenges and the threat of danger if you’re not prepared. To help riders maximize their time in the mountains, we traveled to Grizzly Lodge in British Columbia, Canada. The experts there explained three keys things to know before your next trip:
- Avalanche awareness and safety
- How to free a stuck sled from deep snow
- How to sidehill
Check out the videos to help ensure you’re ready for your next backcountry snowmobiling trip.
Avalanche awareness and safety
The first step in staying safe when riding is to keep your eyes on the terrain you’re entering for possible avalanche routes. Examples include slopes that include numerous bent-over or snapped-off trees. They are a good sign that snow has slid there and caused debris. Also, look for large cornices at the tops of big hills that the wind has created. They’re especially dangerous in the spring; the sun can shine on them and they can fail, which can trigger other slides in a step-down effect.
Don’t assume every big hill is safe to climb; it’s not the case in the mountains. People often grow so focused on riding that they forget to look around and notice the terrain. And it can occasionally get them into trouble. Stop and take a look around before entering a new area. Choose your route wisely so everybody stays safe.
Adam Trainer, Owner of Grizzly Lodge
Ride with a probe, beacon and shovel
At minimum, no one should ride in the mountains without an avalanche beacon, a probe and a shovel. Some riders also like to wear airbags they can deploy in the event of an avalanche to help keep them on the surface of the snow.
Check out how to use a beacon in the case of an emergency in the video.
Before any ride, make sure everybody in your group has his or her probe, beacon and shovel. Ensure, too, that everyone understands how to use them. Everybody should put on their beacon and turn it on. Check battery life. If the batteries are below 60 percent, change them. You don’t have to throw them out – you can use them in your headlamp or something else.
Designate a group leader and have him or her ensure everyone’s beacon functions as designed. Then have someone check the group leader’s beacon.
What to do in a slide situation
Once the group is riding, here are the steps to take in a slide situation.
- Move away from potential overhead hazards.
- Identify how many riders are missing.
- Have the group leader ensure everybody’s beacons are on “search”.
- Delegate somebody to call for help.
- Send the remaining people in search of the missing riders. The group leader begins looking using his beacon while somebody else follows with a probe. The rest of the group should follow with shovels. Once you’ve drawn within a few meters of the missing rider, begin what’s called “fine searching”. Get low to the ground to ensure you’re getting an accurate reading. As you scan the beacon across the snow, the number should decrease. Once it increases, mark a line in the snow. Return to where the numbers were smallest and repeat the process until you’ve marked a small square. In the center, begin probing every 6 inches until you hit the rider. Leave the probe in the snow and dig the person free.
Check avalanche conditions online
Various groups publish bulletins online that provide insight into avalanche potential in your area. Check them each morning before you ride. Make sure you understand the information. A couple examples are included here.
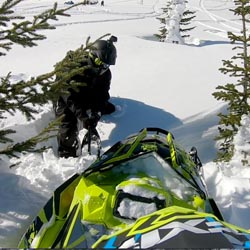
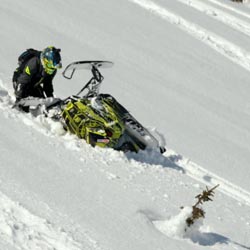
How to free a stuck sled from deep snow
When backcountry snowmobiling, you’re eventually going to get stuck. The experts at British Columbia’s Grizzly Lodge offer a couple quick and easy methods for freeing your snowmobile.
Ski-pull method
You should always ride with a buddy for safety. He or she can help free your sled if you get stuck. Unless the sled is completely buried, this technique works most of the time.
- Position one person near the skis and the other near the throttle.
- On the count of three, one person pulls on a ski while the other burps the throttle.
Sled-roll method
Sometimes it’s easier to roll the sled over rather than dig it out with a shovel, especially if you’re on a hillside.
- Start the sled and rev the engine to spin the snow out of the track.
- Roll the sled onto its edge.
- Pull the ski a few times to roll it over right-side-up.
If you bury your sled in a tree well when backcountry snowmobiling or other area with no exit, you’ll have to use your shovel. Make a path, free the track and then hit the throttle.
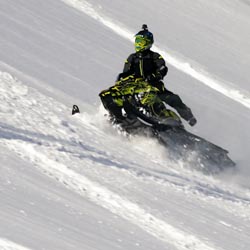
How to sidehill when backcountry snowmobiling
Effective backcountry snowmobiling requires the ability to sidehill. Although more challenging than it looks, keeping a few key pointers in mind goes a long way toward mastering this technique, as the video shows.
Anticipate the terrain
Understand the terrain and prepare yourself for how the sled will react. If you’re approaching a hill on your right-hand side, for example, keep in mind that the snowmobile will want to lean down to your left.
Keep your eyes up and counter-steer
Your sled will naturally follow your eyes. If you look down, the sled will go down. Turn the skis down the hill, which allows the snowmobile to lean into the hill. Keeping your eyes up, counter-steer away from the hill.
Adjust your weight for balance
To help you get started and position your sled up against the hill, put either your left or right foot (depending on which way you’re leaning) forward on the running board. Hold your leg out for balance. This allows you to place your weight above the snowmobile on the top side of the hill.
You don’t necessarily have to hold your leg out. You can often ride in the neutral position with one foot on each side. It takes a little more counter-steering and throttle control to keep the sled on the hillside.
Use the throttle and brake for control
Burp the throttle, which will help raise the sled out of the snow and lean it into the hill. Use the balance of the sled and the throttle to control your trajectory along the side of the hill. Keep the position of your skis in mind. The further down the hill you point them, the more the snowmobile will lean into the hill and want to go uphill.
You can use the skis to push into the hill, which will stand the snowmobile up and let you go down the hill.


Comments
Share: