Most modern vehicles are equipped with a cabin air filter. If you’re unsure about your vehicle, check the owner’s manual. The cabin air filter helps remove pollen, dirt, road dust and other contaminants from the air you breathe inside the vehicle’s cabin. Like the engine air filter, it gets dirty and requires periodic servicing for best performance. Here’s how to change a cabin air filter.
This example uses a 2003 Honda CR-V. The precise directions for your vehicle will vary. Check your owner’s manual for instructions. Use our Product Guide to find the right filter for your vehicle.
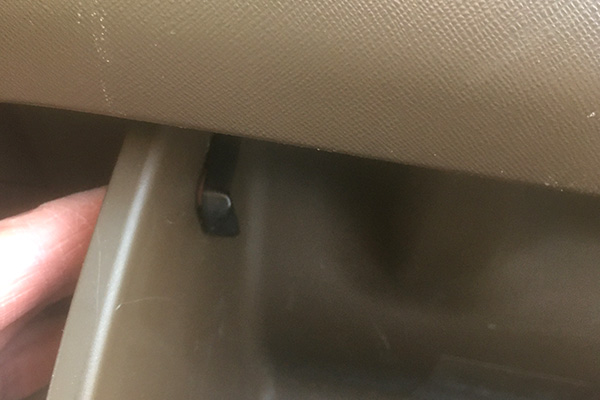
Step 1: Unhinge the glovebox
Remove the contents from the glovebox. Locate the plastic tabs and pop them loose so the glovebox swings all the way open. This provides access to the cabin air filter housing.
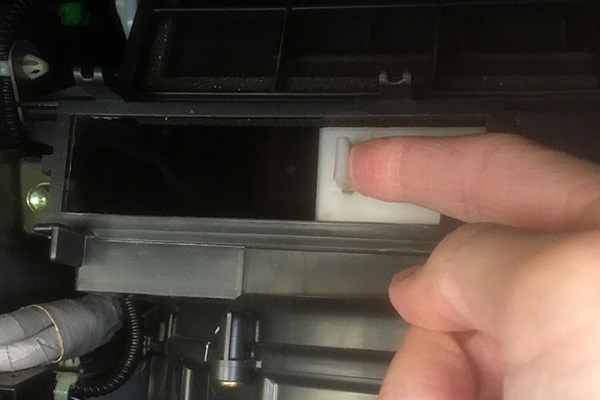
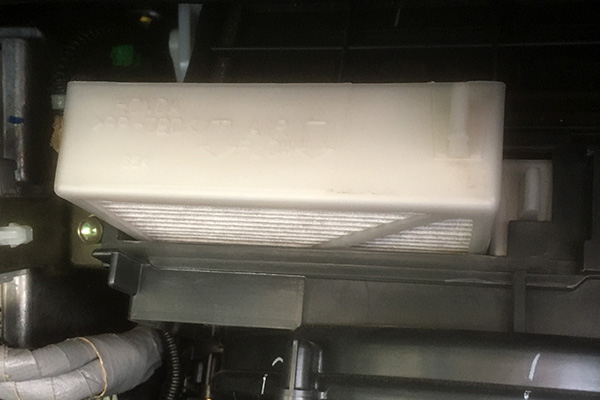
Step 2: Remove the old cabin air filter
Remove the cover from the housing and remove the filter. Work slowly in case it’s packed full of dirt – you don’t want to jar the filter and spill dirt everywhere. On this vehicle, there’s a second cartridge to remove. Slide it over and remove it from the housing.
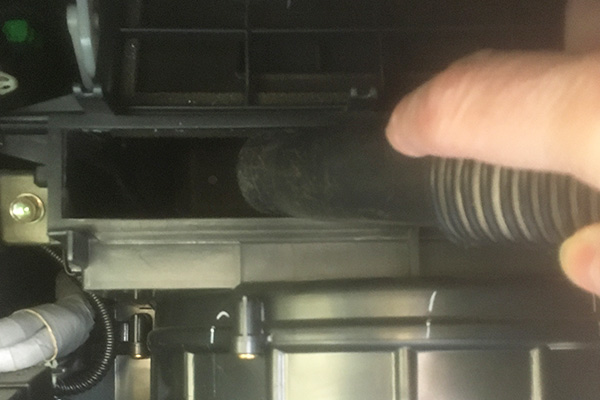
Step 3: Vacuum the filter housing
Using a shop vac, clean loose debris from the filter housing. This ensures the housing is clean for the new filter.
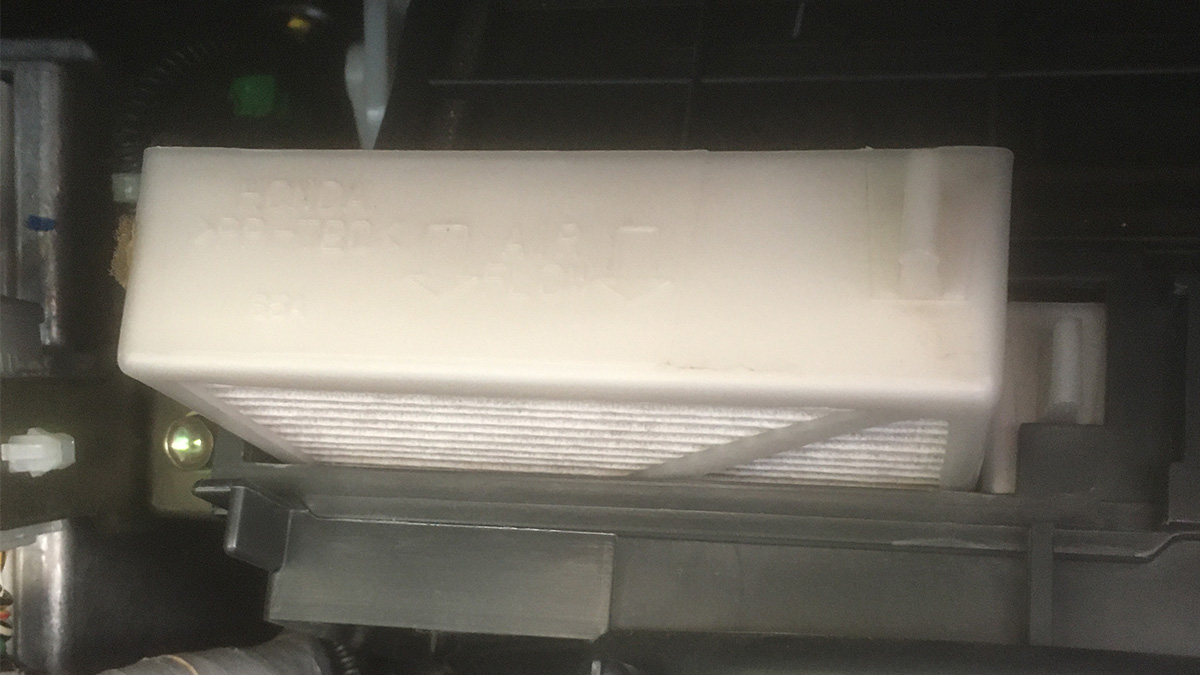
Step 4: Install the new filters
Check the side of the new filter cartridge for an orientation arrow. The filter is designed for the air to flow through it in a certain direction. Ensure the filter is properly installed. Slide the first filter to the right and install the second cartridge.
Step 5: Reinstall the glovebox
With the new filter installed, replace the housing cover and snap the tabs into place that secure the glovebox. Place its contents back inside and push it closed. That’s it; you’ve installed a new cabin air filter.
Why change my cabin air filter?
As noted, the cabin air filter removes pollutants from the air, which enhances driver and passenger comfort. It also helps prevent the blower motor from ingesting leaves and other debris, which can increase motor noise, not to mention cause a problem with the blower motor.
Neglecting to change the cabin air filter can also lead to mold growth in the filter, which can create a bad smell in the vehicle.
A dirty filter restricts airflow, which can contribute to increased condensation on your windows in wet, cold weather.
Pollen stuck in the filter can trigger symptoms for allergy sufferers. If the filter is dirty and you neglect to change it, you may notice increased allergy symptoms.
How often should I change my cabin air filter?
Service intervals depend on operating conditions and the recommendations in your owner’s manual. Driving in dusty, dirty conditions and during high-pollen season will cause the filter to accumulate contaminants more quickly. Check your owner’s manual for the change intervals. The automaker may suggest changing the filter more often if you frequently drive on dusty gravel roads.
If the cabin air starts to smell like mildew or mold, or you allergies act up, change the cabin air filter.
AMSOIL offers WIX Cabin Air Filters. They trap harmful microbes in the filter media and reduce the opportunity for those microbes to be released into the air of vehicle occupants.
For European vehicles and some domestic vehicles, we offer MANN Cabin Air Filters. They offer optimum ventilation inside the vehicle through low flow resistance, filtering out spores, pollen, pollution, dust and exhaust consistently throughout the entire service interval.


Comments
Share: