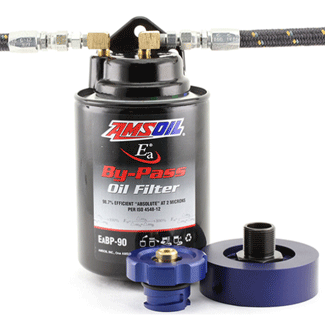
Most engine wear comes from particles 5-25 microns in size. The average full-flow oil filter, however, is only efficient for particles 20 microns and larger. This means particles under 20 microns can pass though the filter and cause engine wear. An AMSOIL bypass filter can capture particles down to 2 microns, effectively reducing engine wear. Here, we show you an AMSOIL bypass filter install.
AMSOIL Bypass Filter Install
For the demonstration shown in the video, we’re using a 2012 Ford* F-350* with a 6.7L Powerstroke* engine. The following AMSOIL bypass filter system is recommended for this vehicle:
• Ford 6.7L Single-Remote Bypass System (BMK33)
The system draws oil from the full-flow oil filter location and returns it through the filler neck.
First, Drain the Engine Oil
While the oil is draining, identify a good location on the truck to install the filter head onto which the AMSOIL bypass filter threads. Look for a location that will keep the filter out of harm’s way. Avoid mounting the head and filter in the following locations:
- Areas exposed to road debris thrown from the tires or from other vehicles.
- Areas above suspension travel or other components that might move.
- The engine itself due to excessive vibration.
On the truck used in this demonstration, the crossmember that supports the radiator provides a good location. On some vehicles, the frame rails provide a good mounting location. Be aware that rocks and road debris can affect the outside of the frame rails. If a rock flies up and punctures the filter, oil can leak from the system and leave you stranded.
The inside of the frame rails also presents challenges. The passenger’s side typically houses a large exhaust system, while the driver’s side often contains multiple brake and fuel lines.

Affix the Adhesive Template to the Mounting Location
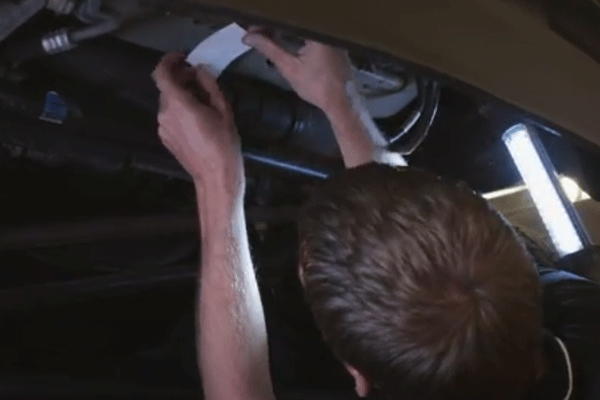
The AMSOIL bypass filter system comes with an adhesive template that shows where to drill the holes for mounting the head. Once the template is applied, use a center-punch to mark the hole locations and drill using the size of bit indicated on the template. Once completed, remove the template.
Each bypass kit comes with nuts and bolts for mounting. Sometimes, however, you’ll need to use additional hardware depending on your vehicle. On this AMSOIL bypass filter install, we’re using self-tapping bolts that attach directly into the crossmember. We’re also using Loctite to permanently bond the bolts in place.
Install the AMSOIL Bypass Filter
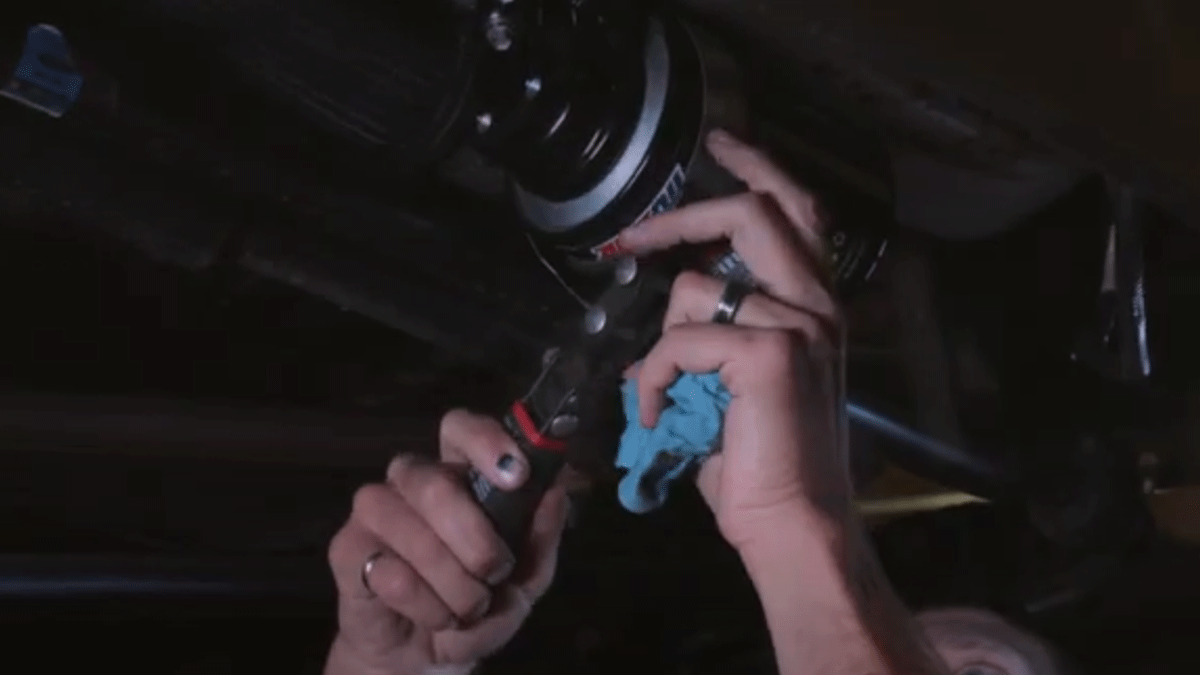
Once the head is mounted, thread on the bypass filter. If possible, fill the filter with motor oil first. Horizontally mounted filters may not allow for prefilling with oil. Using a dab of clean oil, lubricate the filter gasket. Spin it on and tighten it per the instructions on the label.
Use a paint pen to make an orientation mark on the filter. If the filter instructions recommend tightening one full revolution past the gasket touching the mounting head, use the mark as a reference to ensure exactly one revolution. Then write the date and mileage on the filter.
Install the Fittings
Now it’s time to install the oil lines that feed the AMSOIL bypass filter head and return the filtered oil to the engine.
First, plan how you’ll route each line. Avoid areas where the hoses could chafe against vibrating engine parts. Select the appropriate hose fittings and thread them into the filter head. Be mindful of a few key points when installing the fittings.
- Use thread sealant to ensure good connections.
- Make sure to tighten each fitting according to the instructions to avoid leaks.
- Tapered fittings require two to three revolutions past finger-tight.
Install the Puck
Next, install the appropriate hose fitting into the puck that goes between the full-flow filter and the engine block. The puck pulls pressurized oil out of a port and directs it to the AMSOIL bypass filter head.
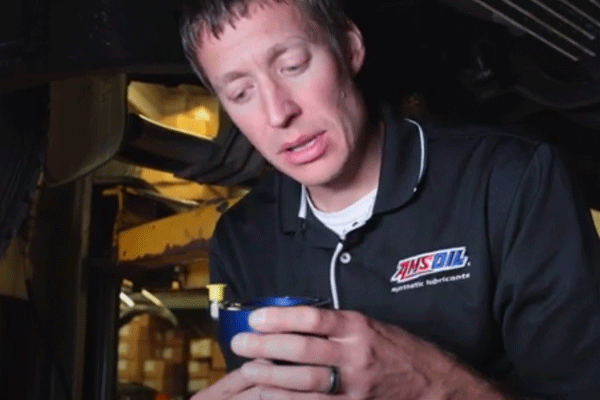
Lubricate the O-ring gasket on the puck with clean oil and thread it onto the existing stud of the engine using the thread adapter. Torque the thread adapter to 50 foot pounds. Fill the full-flow filter with clean oil and thread it onto the adapter.
Install the Oil Lines
The next step in our AMSOIL bypass filter install is to fit on the end of the hose prior to measuring the appropriate hose length. Make sure the end of the hose is cut squarely. Thread the appropriate piece of the fitting onto the hose. Bear in mind that the threads are reversed, meaning you need to turn the fitting counterclockwise. Once it’s secure, install the other portion of the fitting. Use a vise to secure your work.
Determine the correct length of the oil line depending on your installation. Then install a fitting on the other end following the same instructions given above. Now you can route the line from the AMSOIL bypass filter head to the fitting on the puck. Attach and tighten the fittings according to the kit instructions.
Next, remove the factory oil-filler cap and install the filler cap provided with the kit. Then route an oil line from the filler cap to the bypass head. Make sure the hose doesn’t rest on anything hot as you route it through the engine compartment. Connect to the outlet on the bypass filter.
Add Engine Oil to Complete the AMSOIL Bypass Filter Install
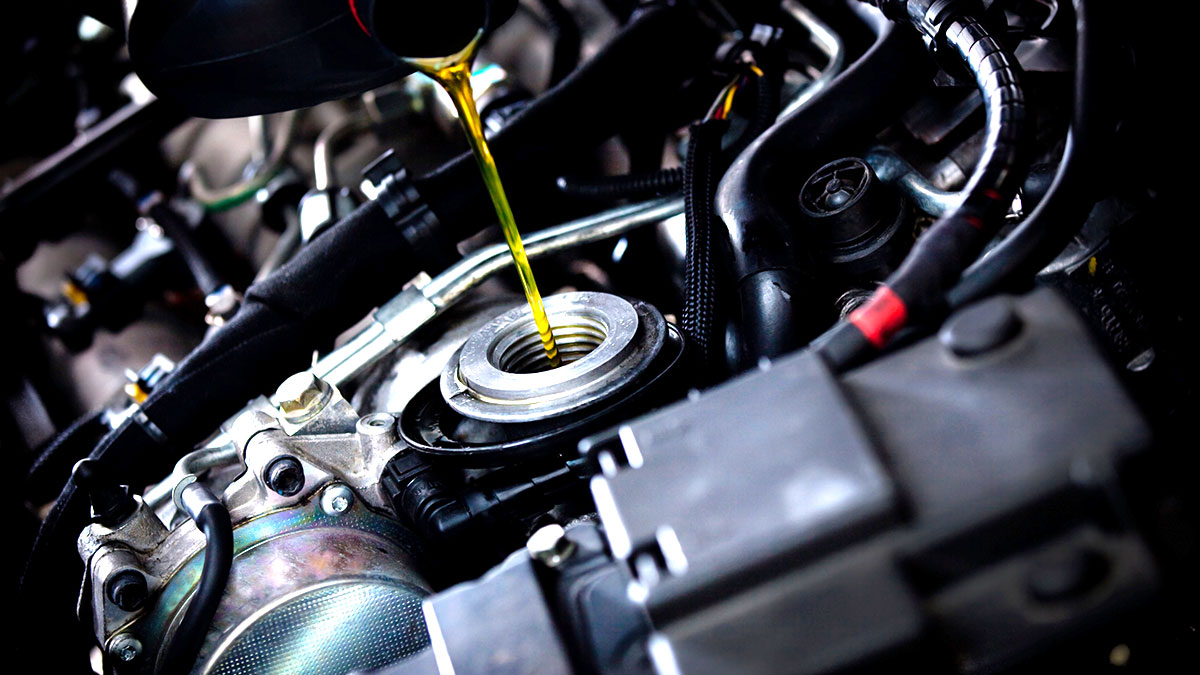
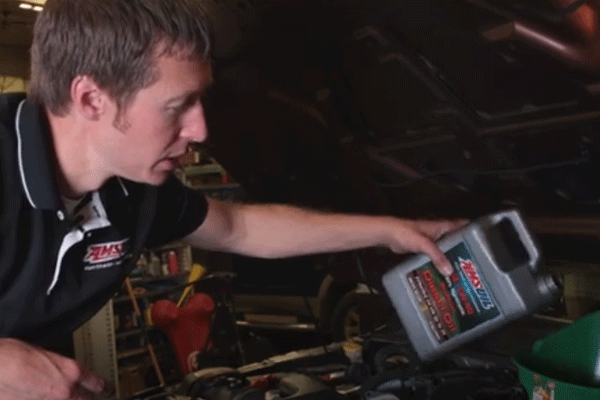
At this point, the AMSOIL bypass filter system is nearly complete. Add the appropriate motor oil to the engine. For this demonstration, we’re using AMSOIL Signature Series 5W-40 Max-Duty Synthetic Diesel Oil.
Adding the bypass filter and hoses will increase the system’s capacity. For now, however, add the recommended volume of oil for the vehicle.
Start the vehicle. While it’s running, check the hose fittings and other components for leaks. Once you’re satisfied there are no leaks, shut off the engine and let it sit a few minutes. Then check the oil level. You’ll likely need to add additional oil. Continue the process until the dipstick registers the appropriate oil level.
