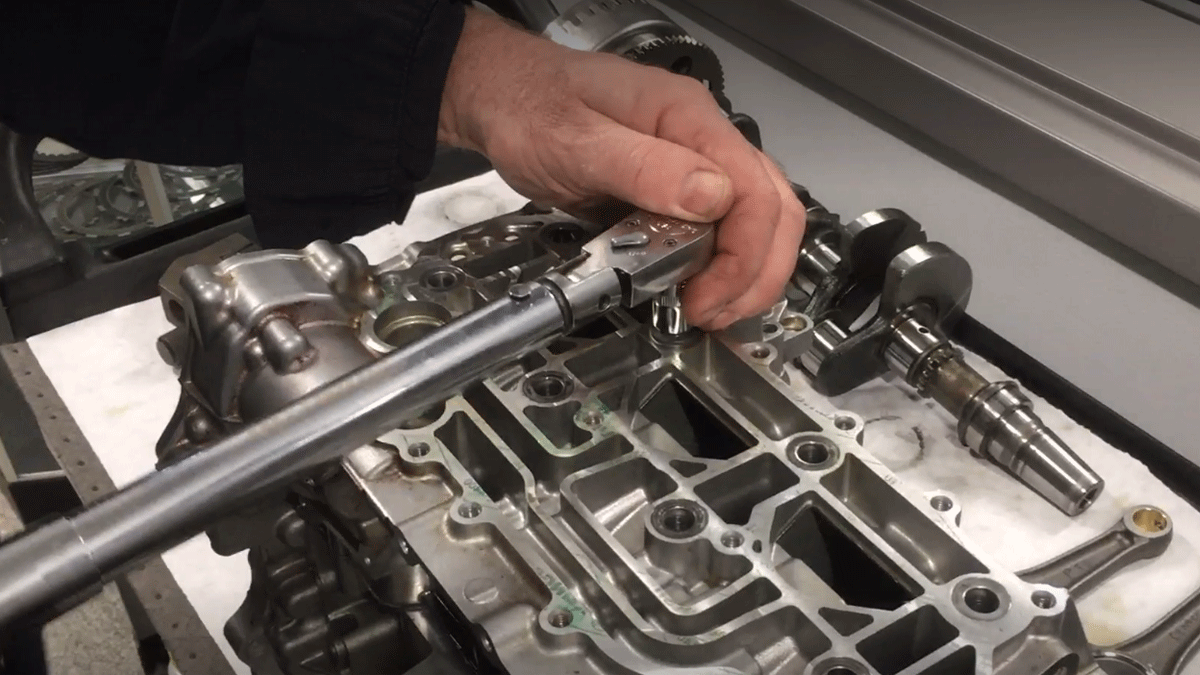
Sometimes “tight is right” is all you need when wrenching in the garage. But some fasteners, like lug nuts, valve-cover bolts or an oil-drain plug, require tightening to the proper torque to prevent stripping threads, warping components or freeing critical parts (like your wheels while cruising down the highway) from your vehicle. For those jobs, you need a torque wrench. And in this post, we show you how to use a torque wrench.
Torque Wrench Types
Torque is simply a twisting force that causes something to rotate. A torque wrench allows you to tighten a nut, bolt or other fastener to a desired torque to prevent over- or under-tightening.
There are several types of torque wrenches, but let’s focus on the most common:
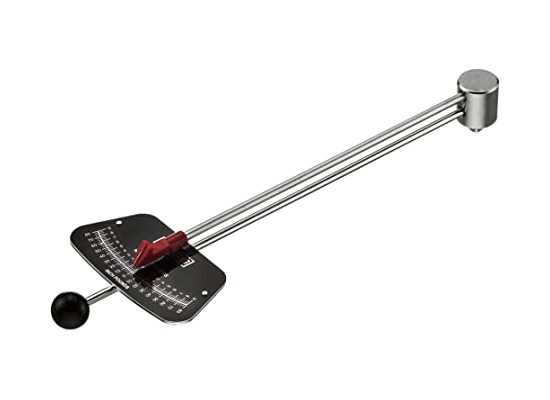
Beam-Style Torque Wrench
This is the most basic design available. It uses a long, flexible beam with a pointer on the end that corresponds to markings on a scale. As you tighten a fastener, the pointer indicates the amount of torque being applied. They provide accurate readings, are easy to maintain and last forever.
On the downside, they’re more difficult to read than modern digital or click-style wrenches. Plus, it can be a hassle to simultaneously apply force to the wrench and keep an eye on the scale if you’re working at an awkward position or in a tight area.
If you’re getting old, like me, you have to fuss with your reading glasses to read the scale, adding another layer of annoyance. Since beam-type wrenches don’t warn you when you’ve reached the desire torque setting with a “click” or “beep,” it’s easy to overtighten a fastener.
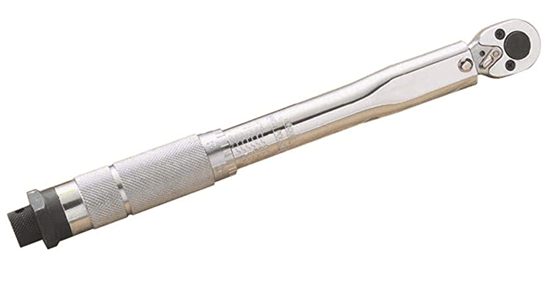
Click-Type Torque Wrench
This is probably the most popular choice for DIYers and beginners since it combines affordability with accuracy and ease of use. Bear in mind that you can’t set rolling torque with a click-type torque wrench; a beam or dial torque works great for that. You set the desired torque by rotating the handle until aligning the proper marks on the handle with those on the body of the wrench.
It sounds confusing, but the video here shows how it’s done:
How to Use a Torque Wrench: Setting up a Click-Type Wrench
One of the nice things about a click-type torque wrench is that it makes an audible click when you reach the desired torque. This serves as a red flag that tells you to stop tightening, which helps prevent over-tightening. However, the clicking sound doesn’t prevent you from continuing to apply force, so the key is to stop tightening as soon as you hear it, as shown here:
How to Use a Click-Type Torque Wrench
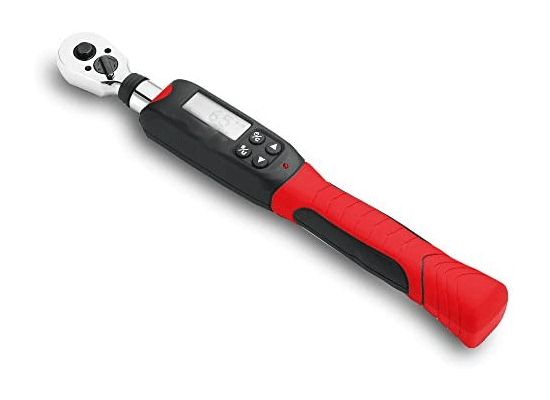
Digital-Type Torque Wrench
This is the most accurate type, hence the most expensive.
Most models allow you to preset multiple torque settings and retain settings as you use it, enhancing convenience. Once you reach the desired torque setting, the wrench warns you with a beep, buzz, flashing light, vibration or some combination thereof. Their advanced notification settings help you prevent over-tightening.
Digital wrenches require batteries and can be sensitive to use, so keep that in mind.
There are other types of torque wrenches, like the slip-type, split-beam type and deflecting-beam type, but the few listed here are the most common and will suit the typical DIYer just fine.
