

How do you know if trailer bearings need repacking?
The short answer: A seized bearing can ruin a spindle and cause you to shell out hundreds of dollars for a new axle. Check the seal. If it’s wet, you’re likely losing grease and you should replace the seal.
Despite their importance to your next vacation or trip to the lake, trailer bearings are easy to overlook. A seized bearing can ruin a spindle and cause you to shell out hundreds of dollars for a new axle. Here, we show you how to repack trailer bearings with grease.
Video transcript: Why It’s Important to Keep Your Bearings
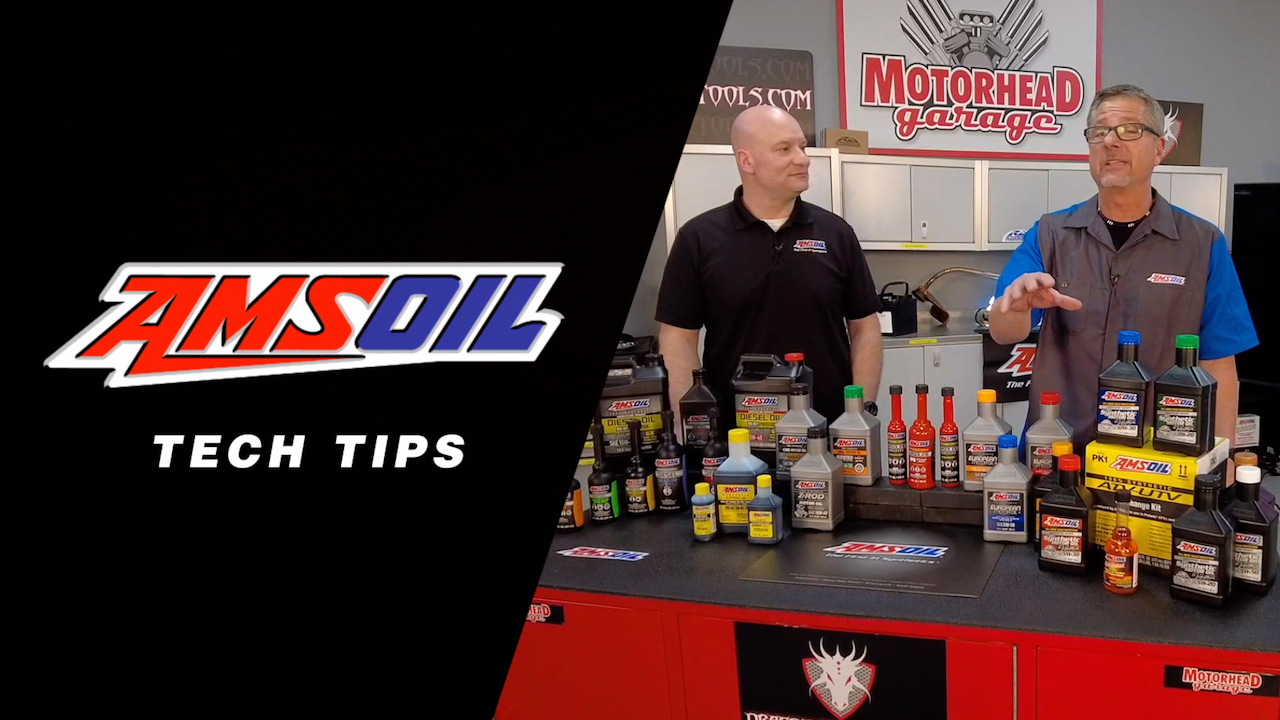
Featuring John Gardner, ASE Master Certified technician, automotive technology instructor and host of Motorhead Garage, with AMSOIL Director of Product Marketing Len Groom (author profile).
John Gardner: Tapered wheel bearings. You have roller bearings. We also have ball bearings. Now these things have to carry immense amount of weight, both axial and radial, up and down, side to side. You better have a fluid that’s up for the challenge. Welcome to this AMSOIL tech tip.
We’re talking about bearings, specifically axle bearings. Well, what does that mean? That means in your axle somewhere, you’re gonna have some bearings. I’ll show in the table here, but this one actually has a bearing here on the outside.
This is an axle bearing out here. It supports the axle out here, but a lot of times they leak. So the fluid not only has to lubricate all of this, it has to go out here and lubricate those bearings as well. Now, that could be a pretty tedious job if you have to change them, so you want to try to avoid that in the first place.
To do that, well, you have to go inside the differential. To go inside the differential, you have to remove the cover. Once you do that, depending on your axle, your axle design, you may have to pull c clips out or forward sometimes. Just slam them from the outside.
You don’t have to go in there. But this one, have to go inside of there and actually remove this little c clip. That’s the only thing holding your axle in. Then you can go ahead and pull the axle completely out.
I told you it’s a pretty big job. You have to have some specialty tools. Once you have that out, can go ahead and put the driver in there. Once you put the slide hammer in there with a couple of good blows, you should be able to knock that bearing out.
Now once you knock it out, just check your differential, make sure it’s in good shape, and then you’ll use a driver and you go ahead and put it back in there and make sure that’s already seated. Once you do that, you can replace the seal. Like I said, that’s a pretty big job. This axle here has bearings here on the inside and the outside.
Len, to do all that work, I’d like to avoid it in the first place. How can we do that?
Len Groom: Well, you can use a decent gear lube to start with. Something that we do at AMSOIL very well is our gear lubes. We’ve got different viscosities for any of the different vehicles. As these vehicles continue to search for fuel mileage, we’re finding that the gear lubes are getting lighter in viscosity and that makes the job that much more difficult because the fluid is inherently thinner.
Thin is not necessarily great when we’re dealing with all of the pressure and heat that’s developed by a differential. So you have to make sure that you’re building it properly. So good film strength, good base oils, proper amount of additive to make sure that it’s resisting oxidation.
John Gardner: Yeah. You’re doing the axle, the axle bearings, depending on the axle itself, and all the way on the outside, so it has to move as well.
Len Groom: Right. It’s got to move in all temperatures.
Right? It has to be thin enough to move in the cold, but thick enough to protect in the heat. So it’s kind of you need the best of both worlds. You have to understand the application and then formulate properly. Yeah.
John Gardner: That’s a good idea. Axle seals going bad, well, that could be a huge hassle. We’re talking about a damaged differential, brake shoes, pads are all ruined. Why not keep them protected with the best differential fluids and so many other awesome products? Just go to AMSOIL.com.
Step-by-Step: How to Repack Trailer Bearings
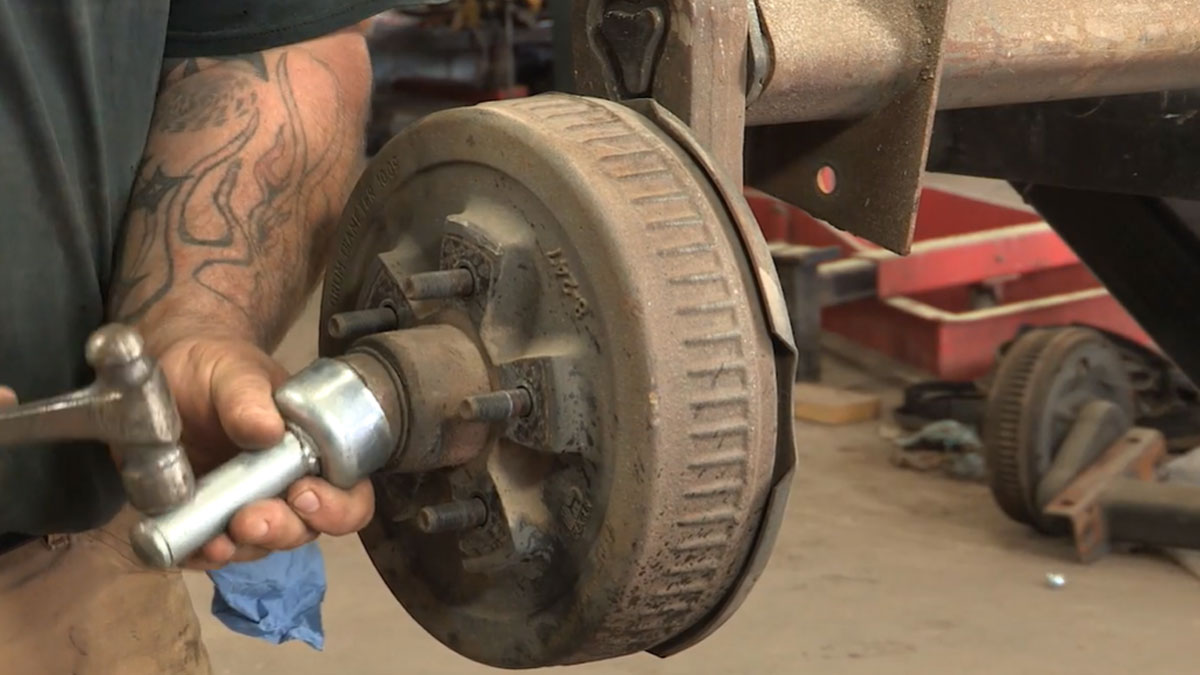
First, remove the wheel. Then remove the dust cap. You can use a screwdriver and hammer to accomplish this. Once the dust cap is off, remove the cotter key and remove the nut using a channel-lock pliers.
Next, pull the hub out a little and pull out the outer bearing and washer. Keep the bearing as clean as you can. You can reuse it if it’s in good shape. Then, pull the hub all the way off; the inner bearing and seal should stay in the hub.
Check the seal. If it’s wet, you’re likely losing grease and you should replace the seal. Use a screwdriver to remove the seal and inner bearing. Check bearing condition for wear.
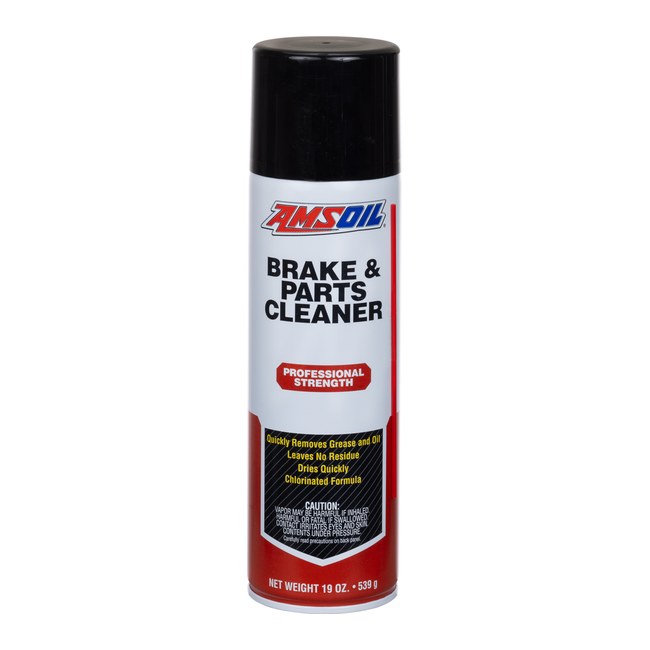
Use a rag to wipe the grease and debris from the bearing. You can use brake cleaner to cut through the grease. Examine its condition. If you notice wear or it feels rough as you turn it, replace the bearing.
Check for wear
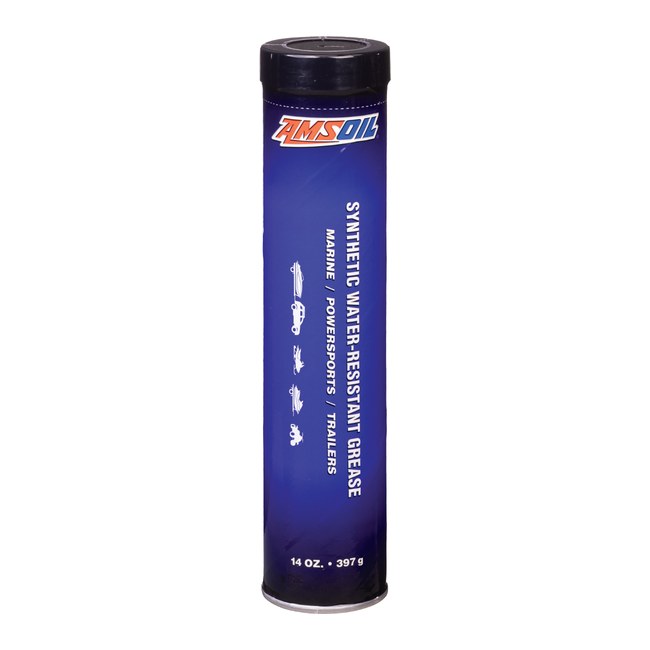
First, check the seal for moisture and plan to replace the seal if it is wet. Next, use a screwdriver to remove the seal and inner bearing. AMSOIL Synthetic Water Resistance Grease helps protect bearings in the event of water intrusion and is highly recommended for vehicles used in wet environments, including boat and snowmobile trailers.
Use a rag to wipe the grease and debris from the bearing. Brake cleaner can help cut through the grease. Examine the condition of the bearing and if you notice wear or it feels rough when rotated, replace the bearing.
Repacking
Once the bearing is clean, or you’ve acquired a suitable replacement, it’s time to pack it with grease. There is a readily available and inexpensive bearing packing tool available at most auto, hardware and farm stores, shown below. Clamp the bearing in the tool and apply grease until the bearing is full.

Repack the bearing using a tool
Once the bearing is clean, it’s time to pack it with grease. You can buy a special tool that doesn’t cost much at most hardware stores for this purpose. Clamp the bearing in the tool and apply grease until the bearing is full. Place it back in the hub and replace the seal. Use a hammer to lightly tap the seal until it’s seated.

Repack the bearing by hand
You can also pack the bearing by hand. Fill your palm with grease and rub it into the nooks and crannies of the bearing until it’s full of grease. Make sure to apply grease to both sides.
Now, slide the hub back on the axle and install the outer bearing. Install the outer washer and nut. Take care not to overtighten the nut, otherwise the bearing may overheat. Tighten the nut, then back it off a quarter-turn until the wheel spins freely. Don’t forget to install the cotter key. Put the dust cap back on and you’re done.
Make sure to pack the bearings once a year, and your trailer should work great all season.
Reseating
Place the bearing back in the hub and replace the seal. Use a hammer to lightly tap the seal until it’s seated.
Now, slide the hub back on the axle and install the outer bearing and the outer washer with the proper torque. Do not overtighten the nut or the bearing may overheat. If you don’t have a torque wrench, tighten the nut, then back it off a quarter-turn until the wheel spins freely. Finally, install the cotter pin to lock the nut in place, put the dust cap back on, remount the wheel and you’re done.
Routine Maintenance
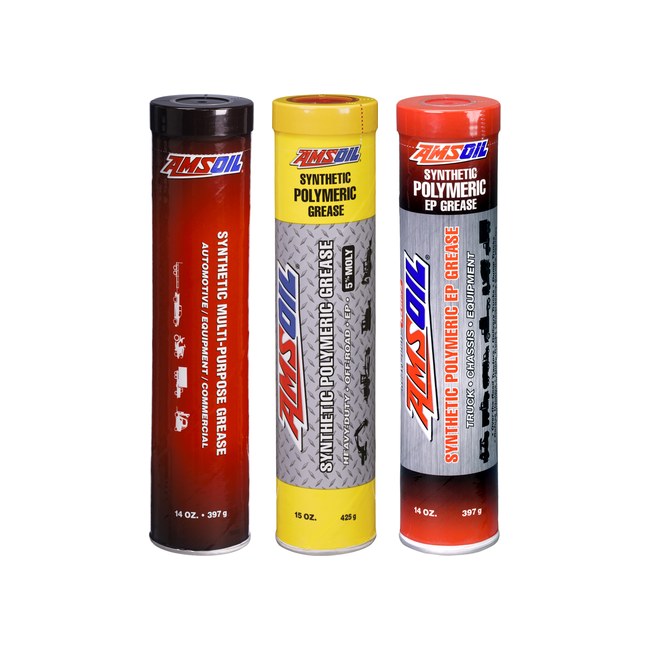
Bearings that are repacked once a year as part of routine maintenance will last a long time and protect your wheels and axles from catastrophic failure. AMSOIL has a full line of premium grease products to protect your wheel bearings and other equipment, even in the harshest conditions.


Comments
Brad Nelson is an AMSOIL Technical Writer II who develops content about lubricant technology, product performance and vehicle maintenance. He works with engineers and product specialists to translate testing, application requirements and approved performance claims into clear customer guidance. Nelson’s work includes AMSOIL Blog articles, AMSOIL Magazine features and technical explanations concerning motor oils, gear lubricants, vehicle systems and maintenance practices.
Share: