
Few people have unlimited time to fish, so to maximize your opportunity for a successful fishing season, we solicited a few tips from professional anglers John Gillespie and Pete Maina.
In the Midwest, fishing openers typically occur in early or mid-May. Dates can differ depending on region, species and fishery; check local regulations for precise dates where you want to fish.
Fishing Regulations by State:
Alabama – Alaska – Arizona – Arkansas – California
Colorado – Connecticut – Delaware – Florida – Georgia
Hawaii – Idaho – Illinois – Indiana –Iowa
Kansas – Kentucky – Louisiana – Maine –Maryland
Massachusetts – Michigan – Minnesota – Mississippi – Missouri
Montana – Nebraska – Nevada – New Hampshire – New Jersey
New Mexico – New York – North Carolina – North Dakota – Ohio
Oklahoma – Oregon – Pennsylvania – Rhode Island – South Carolina
South Dakota – Tennessee – Texas – Utah – Vermont
Virginia – Washington – West Virginia – Wisconsin – Wyoming

Here are John Gillespie and Pete Maina‘s recommendations for making your fishing season successful.
Sort Out & Set Up Your Tackle Boxes
Sorting lures, hooks and other tackle is perfect therapy on a Saturday afternoon. Purging your collection of rusted or damaged items and organizing everything delivers unmatched satisfaction. It also ensures you’re not fumbling around the boat in search of your chartreuse jig heads or perch-pattern crankbaits.
“I arrange my tackle boxes according to the species I’m after,” said Gillespie. “I have a walleye box, bass box, panfish box and trout box. All are labeled so they are easy to find in the boat.”

Prep Your Rods & Reels
Inspect and clean your fishing rods and reels prior to heading out for the day.
Play close attention to line condition. “It’s silly and wasteful to lose fish due to line breakage, so part of your rod prep should be to check the main line for strength and frays,” said Maina. He recommends Seaguar* Smackdown Braid fishing line. “And always start with new, fresh fluorocarbon leader material.”
Gillespie recommends changing all fishing line prior to the start of the season. “I use a power line so I can spool all the reels with the same line. Then, when I’m fishing, I can adjust the leader material to fit the species I am targeting on any given day,” he said.

Set Up For Multiple Species – But Know Your Target
Anglers often head out on fishing opener in search of a specific species of fish, like muskie or walleye. This lets you prepare your rods and tackle beforehand so you’re ready to start casting once you hit the fishing grounds.
“It’s good to have the boat ready for multiple species and situations, but have a main target species and plan, including the chosen body of water and structures you will be targeting,” said Maina.
Every angler knows that reality doesn’t always align with expectations, so have a Plan B ready. Maina recommends a little visualization to help. “Think the day through and prioritize structure and methods you think will work best.
“This way you can prep rods and tackle for the best presentations,” he said. “Having thought of secondary structure targets and methods will ensure you have the proper set up ready, including live bait, bobbers, sinkers and all the miscellaneous items for your chosen presentation.”
Remember The “Boring” Details On Fishing Opener
Obsessing over the hottest new lures, fishing tactics and weather patterns means we sometimes miss a few nuts-and-bolts items.
In Maina’s experience, here’s what you’re most likely to forget when you head out on the morning of fishing opener:
- Proper landing net for the species
- Boat plug
- Sunscreen
- Rain gear (no matter the forecast)
- Proper release tools (pliers, cutters)
“Make sure your outboard motor, electronics, trolling motor and livewells are operable, too,” Maina added.

Prep Your Boat & Trailer Before Fishing Opener
You can’t catch fish if you never get past the landing.
Before fishing opener, prepare your boat, outboard, kicker motor, trailer and other equipment. If you encounter a problem, like a flat tire on your trailer, this provides time to fix it so you don’t waste half the morning running to the hardware store when you should be fishing.
- Remove boat from storage
- Start outboard & kicker motors to ensure they run
- Charge batteries for all electronics
- Check trailer tire pressure & condition
- Ensure trailer lights work
- Check trailer & boat registrations
Change Lower-Unit Oil
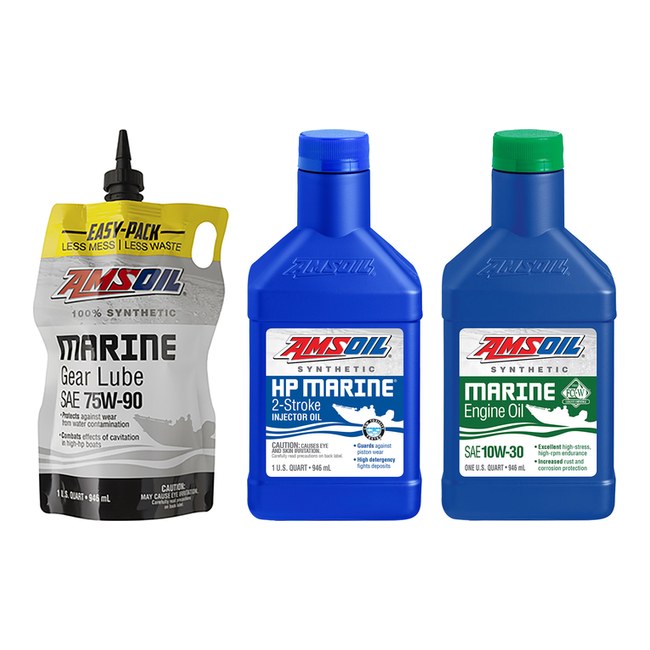
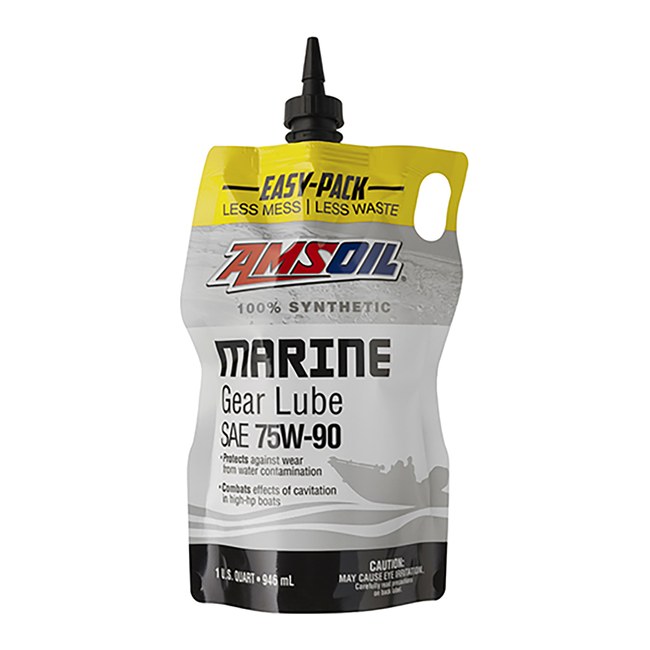
Maina and Gillespie both recommend AMSOIL Synthetic Marine Gear Lube in the lower unit. It delivers advanced outboard protection against power loss and gear wear, even with up to 15% water contamination.¹
He also recommends removing the prop and cleaning out any fishing line that’s stuck; it can damage seals and cause leaks if left unattended.
“With the AMSOIL easy-pack, it takes me about five minutes to change lower-unit oil and is mess-free,” said Gillespie.
Maintain The Fuel System
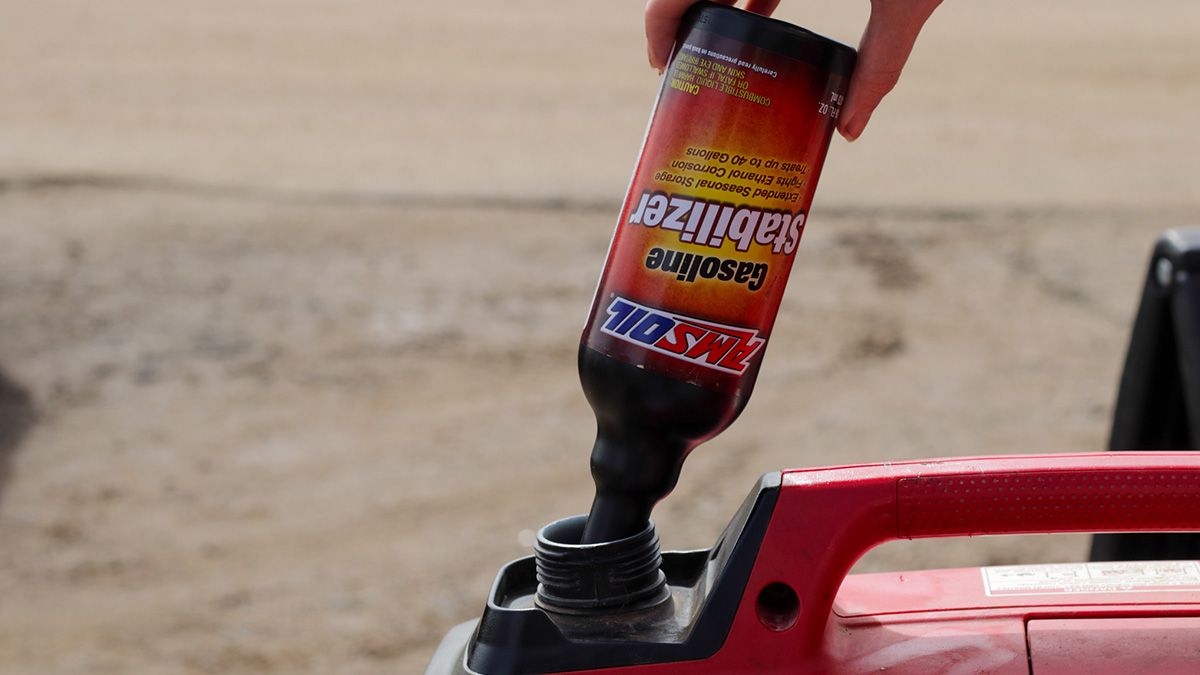
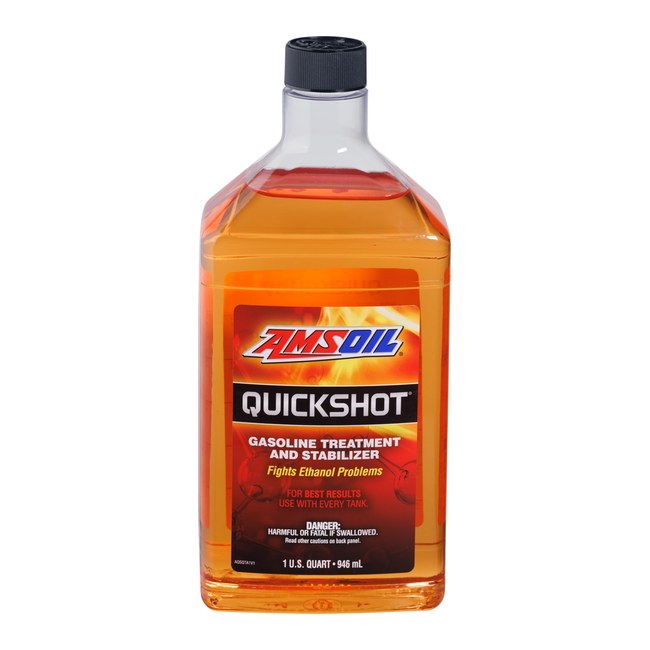
Fuel-system maintenance is also vital since ethanol, present in most fuel today, has an affinity for water and can cause phase separation, in which ethanol/water mixtures fall to the bottom of the tank. When the mixture is pulled into the combustion chamber, it can lead to a lean-burn situation and damage the engine.
AMSOIL Quickshot® helps prevent ethanol phase separation while cleaning deposits from the fuel system for maximum power and operability.
Grease Trailer Bearings
“There’s nothing worse that having your bearings go out on the way to the lake,” said Gillespie. He greases the bearings each spring and fall with AMSOIL Synthetic Water-Resistant Grease. It resists water washout and helps protect bearings so you can focus on fishing, not making repairs.
Video transcript: How to Maintain Your Trailer Bearings
Welcome to Tech Tips. I’m Len Groom. Today we’re talking about trailer bearings. How many times have you seen somebody on the side of the road because they didn’t maintain their trailer bearings?
Well, we went out and we talked to some industry experts on what they do to maintain trailer bearings. Let’s take a look. The foundation of your vacation rides on your bearings. Spend a little time.
Check your bearings. Pack your bearings. Otherwise, you’re going to end up with problems like this gentleman did. This bearing seized up.
He ended up wrecking a spindle, so he had to buy a new axle. They can cost anywhere from $500 to $2000. So just spend a little time. Check your bearings before you head out.
I’m going to show you how to do that. We already have the wheel off. Next thing we’re going to do is we’re going to pull the dust cap off which we have a special tool for. It looks something like this.
But you can also use a hammer and a screwdriver just to pop the cap off. So we’ll pop that off, and then we’ve got a cotter key which you’re going to remove that. Just bend your tabs and just pull that out. You’re going to have to save that because you’re going to reuse that.
Take your nut off. The best thing for this is just the channellocks. They work the best. Set that on a clean rag.
Next thing you’re going to do is you want to pull the hub out a little bit. You’re going to catch the bearing, and there’s usually a washer here. Just go like that. Pull your outer bearing and your washer out.
Keep that as clean as you can. You can probably reuse that if it’s in good shape yet. And you’re going to pull your hub all the way off, and your inner bearing and seal should stay in your hub. Now that we’ve got the hub removed, you’ll notice that the seal is wet.
So that means you’re losing grease. So what we’re going to do is we’re going to pop that seal out and we’re going to replace it. You could also use a screwdriver for this. So you just pop that out, and you pop your inner bearing.
And we’ll clean those, make sure those are good before we put everything back together. Now that we’ve got the bearings out here, I’m going to show you how to clean them. What we’ve got here is just a rag. I’m going to wipe the big grease chunks off here, just kind of wipe them down here a little bit, get some of that stuff off.
And just kind of look them over. It seems like there’s a lot of wear or they roll rough. It means they’re probably shot. These ones here don’t look too bad.
Now what I’m going to do here is — you can use brake cleaner to clean them up real good, get all the old grease off. I’m going to go get them cleaned up, and we’ll see what we’ve got. All right. Now that we’ve got everything cleaned, I’m going to show you how to pack the bearings.
Now, what I’ve got here is a special tool. You can get this at any hardware store, any automotive store. They’re pretty cheap. I’ll show you how to do it both ways, with the tool and by hand.
The first thing you do here is unscrew that. Set your bearing down on there and screw the top back on. And try to get her pretty centered there. And just tighten that down.
Now we’re going to grab the grease gun and we’re just going to start pumping grease in there. I recommend using water resistant grease. It seems to work the best. And we’ll just pump in there until the bearing is full of grease.
As you can see there, it’s starting to come out. We’ll give her a little more here, and I think that’s pretty good. And you just unscrew it, and I did the inner bearing here. So we’ve got that.
Grease is all the way through. She’s nice and — nice and greased up. So we’re going to drop that back in the hub. And I’ve already get a new seal here because the old seal was shot.
We’ll drop that inner bearing in. We’ll get the seal. What I do here is I just grab a little hammer, and I just tap the seal in all the way around like so till she’s flush. She’ll look something like that.
Now I’m going to show you how to pack another bearing by hand. What I do is I fill my palm up with grease. And what you’re going to want to do is try to get grease in the little crack here, both sides. So what you’re going to want to do is go like this with your palm.
Just kind of rub her in there. Do that all the way around. And once you think you got that pretty good, do the same on the front side. Just fill her up, something like that.
All right. Now that we’ve got everything greased, new seal in, what we’re going to do is we’re going to put the hub back on the axle. So you just slide her on. And you grab your outer bearing here and put that in there, the spindle.
Push her in there. You’re going to grab your washer and you’re nut like so. The biggest thing is you don’t want to overtighten these because you’re going to smoke your bearings again. So what you’re going to do is you’re going to tighten them.
You’re going to bring them back a quarter turn till she spins nice. And don’t forget to put your cotter key back in there, otherwise you’ll lose your nut. Tap that in there. Bend your cotter key over and put your cap back on.
I’m going to use that little fancy tool we’ve got here That’s how you manually pack your bearings. Now, they do have another system that’s called the EZ Lube, and I’ll show you that. Now, here we’ve got the EZ Lube. This is the way to go if you can.
What happens here is the spindle is drilled out, and there’s two holes back here. This will be your grease zerk. You put your grease gun on here, and what happens is it goes through your spindle, comes out these two holes. So it’ll pack your back bearing.
And, as soon as that’s packed, got enough grease, the grease moves forward. It’ll fill up the cavity in the hub, come up to your front bearing. Once that’s full, it’ll come out and you’ll see the grease which you know the cavity, both bearings are greased. Now, this is the way to go.
It’s easy. You don’t have to tear the hub down. You don’t have to do nothing. Just put your grease gun on there, pump until the grease comes out the front of your hub.
But the cap back on and you’re good to go. I showed you manually how to pack your bearings. If you’re lucky enough to have the EZ Lube, that’s the way to go. Guys, pack your bearings once a year and you’re good for the season.
Some really good information on maintaining those trailer bearings. Speaking of grease, don’t forget about AMSOIL’s water resistant grease designed to maintain and extend the life of those bearings as well as dealing with water. Thanks for watching. We’ll see you next time.
Change Outboard Motor Oil
If you’re running a four-stroke motor, it’s best to change oil prior to storage in the fall so contaminants don’t sit in the engine all winter.
If you forgot, start the season right with an oil change using AMSOIL Synthetic Marine Engine Oil. It delivers excellent high-stress, high-rpm endurance while fighting rust and corrosion, to help extend engine life.
For Everything Else
“AMSOIL Metal Protector is handy in the boat for so many things, like protecting tools, motors and reels against rust,” said Maina. “In freezing temps, it helps battle line and rod-guide freezing.”
Gillespie agrees. “I spray it on my fishing tools to prevent rust,” he said. “I use MP on my trailer hitch and even on the bow mount – always carry a can of AMSOIL MP.”
Follow these tips to maximize your success throughout the fishing season.
¹Based upon AMSOIL testing of AMSOIL Synthetic Marine Gear Lube 75W-90 in ASTM D3233 and ASTM D892.
This article is part of our Marine Engine Maintenance guide. See every article in the guide.