

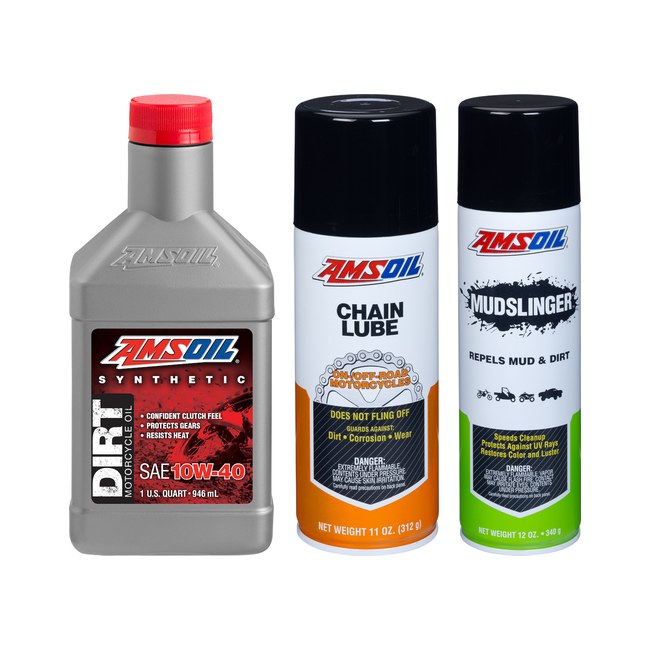

Whether you’re new to dirt bikes or a seasoned veteran, you don’t want to waste money on someone else’s junk. Here, our resident two-wheeled experts offer tips on what to look for when buying a used dirt bike.
Check the hours on the bike
Some bikes come from the factory with an hour meter installed. Sometimes, enthusiasts install an aftermarket hour meter. If the bike is equipped with an hour meter, check the amount of time on the bike.
On a two-stroke bike, higher hours come with less risk. Two-strokes can often last two or three times longer than four-strokes. And, while they may lose some power over time, they’re less likely to suffer significant engine damage that requires expensive repairs.
Things are different when buying a used four-stroke dirt bike, however. They typically require a top-end rebuild about every 50 hours. Otherwise, the piston can wear out and cause expensive engine damage. Ask the owner if the bike has been rebuilt. Search online for recommended rebuild intervals. If you consider buying a high-hour four-stroke dirt bike that hasn’t been rebuilt, the price should reflect that; use it as a negotiating tool.
Check the engine oil
Ask the owner about his or her maintenance practices. How has the bike been maintained? On four-strokes, how often did they change oil? Since dirt bikes only hold about one quart of oil, most riders change oil frequently.
Pull the dipstick and look at the oil, if possible. Look for shiny particles in the oil, which indicate the presence of metal and excessive wear. Particles can indicate a bearing, transmission gear or other component is failing.

Examine the rear suspension, swing arm and linkage
This is an important step when buying a used dirt bike.
Push down hard on the seat. The bike should rebound in a controlled manner, not like a pogo stick. Climb aboard the bike and bounce on the seat to ensure it offers controlled dampening.
Inspect the rear shock for oil leaks by looking for oil and dirt buildup at its base. If oil leaks and collects on the shock, dirt will stick to it. A rear-shock rebuild costs at least $100, so keep that it mind if you notice problems. Riders normally can’t rebuild a rear shock themselves because they don’t have access to pressurized nitrogen or the special tools required.
Check the swing arm for excessive play, which holds the rear wheel to the frame. Also inspect the linkage to which the shock connects. Have someone lift the rear of the bike an inch or two off the ground. Try to pull the back tire from side to side to check for lateral movement. Any movement indicates bad bearings or bushings.

Check the front suspension
This is one of the most abused parts of the bike, meaning it’s something to pay close attention to when buying a used dirt bike. The front suspension absorbs the punishment of mile after mile of non-paved surfaces and catching big air. As such, they require periodic maintenance, which some owners overlook.
As with the rear shock, check for oil leaks. Run your hand over the tubes to check for oil. Look for dirt buildup where oil may be leaking. Examine fork condition, too. The front suspension requires new oil and possibly seals every 50-100 hours, which may run you up to $200 for a rebuild. Check out our step-by-step video to do it yourself.
Video transcript: How to Rebuild Dirt Bike Forks
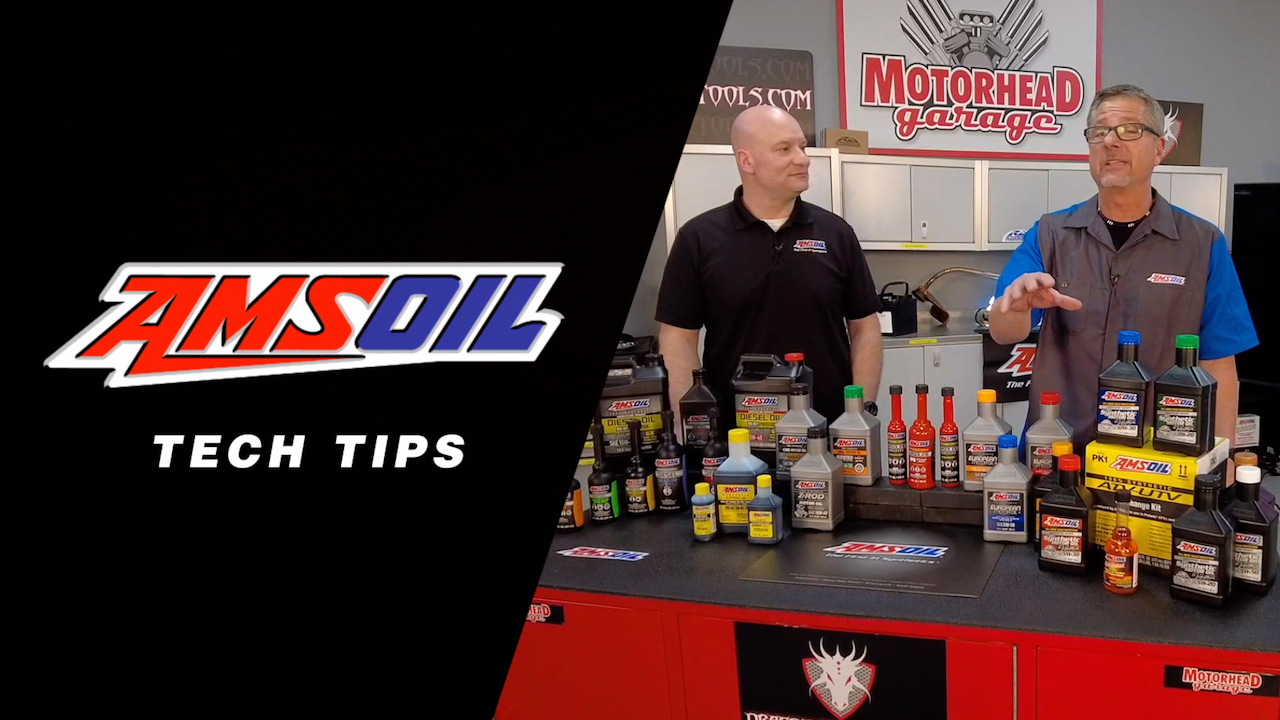
Today we’re rebuilding your dirt bike forks. Welcome to Tech Tips. I’m Len Groom. Today we’re going to hand it off to Ben Grembowski in the AMSOIL Mechanical Lab to see how to rebuild your dirt bike forks.
Today I’ll be showing you how to replace your fork seals, your fork bushings and changing out your suspension fluid. The forks I have here today are off of a 2009 Honda* CRF450R. These forks here are KYB 48 ml AOS forks. AOS stands for air over spring.
Some of the common reasons to a fork seal leaking are going to be bad bushings, which will cause this lower fork leg to move and cause an oil leak; also any dirt or debris that gets in there that could cause a ripped oil seal. And also, if you get a rock chip or nick in this lower fork tube, that can run past the seal and rip it and cause a leak as well. You’re going to first need an owner’s manual or some sort of instructions on how to do the fork seals. You’re going to need suspension fluid, at least 2 quarts to do the one fork leg.
You’re going to need your fork seals and fork bushings, inner and outer. You’re going to need a sealed driver for the correct size fork that you’re working on. A seal bullet. This is to help install the seal.
A fork cap hex wrench, another fork cap wrench, a torque wrench that does foot-pounds; soft hammer. Some standard screwdrivers, picks, nitrile gloves. You’re going to need a 17 and a 19 mm socket and some contact or brake cleaner, a drain pan and graduated cylinder. The first thing you’re going to want to do with your suspension is check where your compression and rebound clickers are at.
You’re going to need a standard screwdriver to do this. So you going to want to start with the compression on the top. You’re going to want to count the clicks as you turn in. So one, two [counting] twelve.
Now, you don’t want to force it when it gets down there. It should be a very noticeable click. And when it stops that’s where you stop. Do not force it.
Now that we know our clicks, we’re going to write that down. This was 12 clicks out on compression. Okay. Once you found your clicks, you’re going to want to release or pull all of the compression off.
So you’re going to basically unscrew the compression valve all the way until it stops. There we go. Next we’re going to want to do the rebound, which is usually located on the bottom of the fork. Same thing as the compression.
We’re going to count the clicks inward [counting]. Just like the top, you don’t want to force it. When it stops is when you’re done there. And just as the compression we’re going to release all the rebound off the fork as well.
The reason we’re doing this is for disassembly. It helps for bleeding and assembly. Now, you want to make sure to write down the amount of clicks out for your rebound and compression. The next thing we’re going to do is we’re going to want to drain the fork oil out of the outer chamber here.
To do that, we’re going to have to loosen this cartridge cap nut. I have a spare triple clamp today that I can use to hold it. Otherwise, you can do it on the bike as long as you loosen your top triple clamp bolts first. And then you can get this wrench on there and just get this cap loose.
If you don’t have any of those things you can just squeeze in a vise. If you have some soft jaws, squeeze on here to hold it to get this cap loose. So we’re going to want to get this on there just like that. Take our 10 ml, tighten these pinch bolts up just snug so we can hold it.
Get our cap wrench. And we’re going to want to loosen this clamp. There we go. We got it loose.
Now we can remove the triple clamp. You’re going to want to get a drain pan so that we can tip this fork upside down and let it drain out, so I’m going to set this on the floor. Okay. We’re going to want to unthread this top.
Just spin that chock body and slide this down a little bit. And now we’re going to tip this upside down for 5 to 10 minutes and let it drain all the fork oil out. Okay. Now that we’ve let that drip-drain for at least 5 or 10 minutes, flip that up.
We’re going to start this just a few threads so that it doesn’t drip. Grab a rag. All right. So we’re going to want to mount this fork in the vise.
It’s best if you have some soft jaw clamps like this or copper or pieces of wood or something to clamp against. I’m going to put on a set of gloves. What we want to do is we want to loosen this rebound adjusting nut so that we can loosen the bottom of the cartridge. So this is a 17 ml.
And loosen. Okay. Now, once you get the threads out and you can feel it stop, we’re going to want to compress the spring. We’ll stick a 14 ml wrench to hold on that lock nut and the bottom of the fork lug.
So now that this is exposed, we can grab our 17 ml and a 15 mm wrench to hold on your lock nut. We’re going to loosen this. We’re going to remove this rebound adjustment nut. Now, it’s important to pull this rebound adjustment rod here out because it will fall out, and you don’t want to get it damaged.
So we’ll set this aside. So I’m going to compress and remove the wrench. Make sure that goes back in. Okay.
Now we’re going to want to remove the cartridge, so we unthread top here that we started. Slide this down. Now, the cartridge is going to come out. There should be a spring with it.
Take all this out, and we’re going to set this aside for now. Now we’re going to want to remove the dust seal here. You’re going to grab a small standard screwdriver and a hammer. You’re going to want to find — get this screwdriver just on the edge of the seal.
Light tap; pop it out. We’re going to want to grab our picks, and we’re going to want to remove this little retaining ring in here. This holds the oil seal on. Slide that ring down.
Now we’re going to want to separate the lower tube from the upper tube just like just like that. And now what you have left is your lower fork tube. You’ve got your oil seal, dust seal, retaining washer and your bushings all left on here. So we’re going to want to remove these now because we’re going to be replacing them.
The inner bushing here, there’s a little slit in it. Take your flat-head screwdriver, separate it, kind of pry it up over the ledge. We’re going to remove that. Set that aside.
Now we can pull off our other bushing, retainer, oil seal clip and dust seal. Now we’re going to remove this from the vise and go back over on the table here. Lay it out in the order it came apart. I’ll grab the fork seals I took off earlier.
Dust seal, ring, oil seal, washer, bushing, bushing. We want to remove this spring on this fork. It just slides off. Set that aside.
You want to remove that washer for that spring and the spring seat. You want to pull our O-ring off, set that aside. Our rebound adjuster, we’ll do the same thing. Remove the O-ring there and set that aside.
This copper ceiling washer, set that aside. Set that down. And now we’re ready to bring the parts over to the parts washer and clean them up so we can begin assembly. And now we’re just going to want to use some parts washer fluid.
You can also use contact cleaner. If you don’t have a parts washer, you can just clean these into a drain pan, you know. But if you do have a parts washer it’s best to use that. So you just want to make sure to clean inside and outside of each of the tubes, clean the inside of the outer tube.
Make sure you get inside the lower fork tube as well. So when you’re done washing all your parts in the solvent tank, you want to clean them off with compressed air to make sure you get all of the solvent off there. If you don’t have compressed air, you can just let them drip dry or evaporate until they’re dry and ready to assemble. We’re going to move on to the cartridge.
What we want to do is remove the compression assembly and free piston which is underneath here. We’re going to need our hex tool that goes on here and our wrench from earlier, hold on the outside. But first I want to clamp this in the vise. And you don’t want to clamp it too tight, just firm enough so that it holds it in place.
You’re also going to want some sort of container to put the compression valve in when you take it out. Okay. Now that we have that loose, an easier way to remove this is to push up on the lower damping rod. And you’ll see it just comes right loose.
And you can pull that off. We’re going to set this in here for now. Now we want to drain the oil out of this too. We’re going to tip it upside down, move the damping rod back and forth to kind of get all the oil out.
And you’re just going to want to let this sit upside down for 5 to 10 minutes to drip-drain. All right. While the cartridge housing is draining, this is the compression valving and this is called the free piston. As oil leaks past these seals and O-rings here, it gets trapped on the outside of this housing and can crack it.
And it’s very common on these forks that you will pull them apart and these will be cracked or in a bunch of pieces. And I’ll use this one here that I have as an example. So the fix for that is a 3 mm drill bit. And what you want to do is drill some relief holes to let that pressure by.
And you just need to be above this seal housing or the seal head right here and in between this little ribs. So all you’re going to do is drill one hole here, and then go 180 degrees and drill another hole there. That will prevent this from breaking. This one here has already been done.
As you see, there’s a hole on the center and then another hole on this side. And that’s just to let that oil pressure come by. Wipe off all that dirty oil, and while you’re doing that inspect the O-rings and just kind of look things over and make sure everything’s tight and that there isn’t any obvious damage. It’s okay to use a little bit of brake clean — Brake & Parts Cleaner that’s O-ring safe.
Okay. I’m going to bring this back to the parts washer and spray it off with air so we can begin assembly. Now that all the parts are clean, I just want to briefly hold this in the vise. I’ve got my clean container, and I’m using AMSOIL Light 5 Shock Oil for the cartridge and the outer chamber.
But to get this initially soaking in oil we’ll fill this up, and by doing this it just speeds the process of bleeding all the air bubbles out of the valving in this. And now for filling the oil into the cartridge here and the bleeding process, there’s transfer ports here. I’m going to tape those so they’re closed off. And you can use Painter’s Tape, really any tape.
I choose Painter’s Tape just because it doesn’t leave any residue on there. Make sure it’s sealed. And I’ll use up the rest of this oil. So similar to when you’re pouring a beer, you want to pour it in at an angle to try to avoid putting as much — as little air bubbles as possible.
Now, you’ve got to move this shaft. We want to move in very slowly because otherwise the oil will shoot out of the top. What we’re doing here is we’re just moving it back and forth and letting that oil bleed past the valving. Do that a little bit and then we’ll get some more oil.
We’ll set this in the vise. Okay. We’re just topping the oil off to just below the threads in there. And in the manual they have a different process of putting oil in here, but I find that this method works best.
It’s a little bit more — there’s a little bit more oil wasted, but in the end all the air bubbles are bled out and we know the cartridge is properly filled with oil. So all I’m doing now is moving this damping rod up and down to dislodge any air bubbles. It also helps to use the plastic end of a screwdriver. And you can tap on the damper body.
And if you’re unsure if there is, just use a flashlight. You can kind of look into the oil and see if there’s any air bubbles left in there. So you want to go over to the compression valving here. And I spin it around, kind of move it up and down.
And all I’m doing with this is trying to, like I said before, get all of the air bubbles out of the valving before I put it into the cartridge. To put the compression valving in, we want to make sure our damping rod is all the way out extended, our oil level is right to the bottom of the threads and we’ve got no air bubbles in the oil. So now what we want to do is top this off. It will drip out the side a little bit.
We’re going to take our valving out and transfer right to here. Now, when we put our compression valving in, you’re going to spill a bunch of oil on the side. You want to rotate the valve and put it in at an angle to try to eliminate as much air bubbles as possible. You’re going to spill oil out.
Eventually you’re going to get it so it’s straight up and down. Don’t force it. Just let it drop. It will eventually stop here.
And you can feel just a light pressure that it’s firm. So now what we’re going to want to do is we’re going to want to move that lower damping rod up while applying just very light pressure to this valving. Okay. Now you’re going to want to bleed these systems.
So you’re going to want to hold on the compression valving very lightly, and you’re going to want to push up on the damping rod. Now, the compression valving will rise with the damping rod while you’re pushing it in. Eventually it will stop. And at that point you only want to push about 15 to 20 mm further and then fully extend the damping rod back out which will help suck it in.
So you’re going to want light pressure on the top here. And you can see as that rises up as you push in and then slight pressure as you fully extend that damping rod and also at this end. It will take a few times to get this so that you’re basically almost at the threads is as far as you want to do it. So now you can feel that the threads are going to touch, so now we want to tighten this into the cartridge body.
We’ve got all of our air bled out from the valving. So this will require moderate pressure to get the threads to start. Torque spec for this is 21 foot-pounds. And it’s not much.
And now it’s tight. So we can wipe this off. Now what we want to do is pull this from the vise. We’re going to pull our tape off.
Now we want to get any trapped oil out. There will be resistance on that rod. You just need to push it until it stops. Make sure all that oil drains out of those two holes.
Now we’re going to put her back in the vise, and now we’re going to check action of the cartridge to make sure it’s performing correctly. So with the cartridge secured in the vise you’re going to want to hold one hand here and push up on the damping rod until it stops. So you’re going to compress it. While listening inside there, you’ll be able to hear if there’s any air bubbles, which I do not hear any.
And now you want to let go. Now, depending on what pressure spring you have in your compression valving will dictate how far this extends out. With my pressure spring there should be about 20 mm that I can pull it out further, and as you can see there is. We’ll do a couple more times just to ensure everything is good.
And you also want to check to make sure that there’s no oil squeezing out underneath here because there is a seal in here. We didn’t change that or remove this shaft during this oil change, but that is something to check when it’s fully compressed to make sure there’s no oil coming out. And there isn’t. So now I’m putting fork seals on.
We’ve got our clean lower fork tube. What we want to do on the fork tube is you want to inspect the surface to make sure there’s no nicks or deep scratches. So anything that you can feel with your fingernail, if it were nicked, use some 400-grit emery cloth or higher and you can sand the scratch down. And you always want to sand perpendicular to the fork tube.
A little indentation from a nick as long as it doesn’t have a raised sharp edge is okay. The seal should be able to compensate for that. But you just don’t want anything raised up or sharp that will catch your seal and cause it to leak. So now we’re going to put our fork seals on and new bushings.
We have this tool which is called a seal bullet. This goes on here. And all this does is there’s a little sharp machine edge there that would catch your seal and rip it when you install it. So if you don’t have a seal bullet, these are only a few bucks.
But if you don’t you can run some electrical tape over it. You can even put a heavy duty bag over this part of the fork just to get your seals on. Okay. I’ve got some gloves on.
Grab a little fresh oil. All you’re going to want to do is dip your finger in there and kind of just get oil all over the area you’re going to put the seals on. So the first thing that we’re going to want to put on is our dust seal. Keep in mind this is an upside-down fork, so everything is going to go as if it was being installed this way.
So the first thing to go on is our dust seal. We’ll get that on. When you get to that machined edge, just kind of ease it past it and slide it down here. Next is our retaining clip for the oil seal.
Slide that on. Next is your oil seal. Now, the oil seal, it doesn’t hurt to grab a little oil and just kind of put a little bit on the inside of the seal lip and a little bit on the outside. Slip it on.
Just kind of work it past that spot. Next we’re going to have our spacer. And just as we took it off we’re going to have the cupped edge up on this one and the flat edge down. And we have our new bushings.
Now, not everybody changes bushings when they do fork seals. I do. Bushings are pretty cheap. They’re only a few bucks per bushing, and it’s just good insurance when you change your seals to do the bushings too.
Generally when your seal goes bad your bushing’s gone bad. But if you were reusing them, you’d want to make sure that there was no wear on the inside Teflon coating and on the Teflon coating here. Obviously, these are brand-new so we’ll be okay. We’ll put our first one on.
We can put a little oil on it. Slide that in. Now, this bushing, which is the inner bushing, you’re going to have to remove the shock bullet now. It’s on there pretty tight.
And all you have to do is kind of wiggle that on and it clips into place and should spin freely. We’re ready to put the outer spring tube on. We’ll do the same thing. We’ll put a little oil on the inside here to ease for installation.
You’re just going to want to slide this on to this end and slide it down to about here. I’ll flip this around to make it easier for people to see. So this is where the seal driver comes to play. There are seal drivers you can purchase at any parts store.
You want to make sure you get the right size for your fork. This is a 48-mm fork, so this is a 48-mm seal driver. So what we’re going to want to do is we want to make sure that we have our spacer there. And we’re going to take our oil seal and we’re going to leave our retaining ring and dust seal up there.
So we’ve got the seal driver which splits in half, one half on here, one half on here. And you’re just going to want to hold it tight. And most seals aren’t going to need much force. But you’re going to tap the seal in into the outer fork tube.
Now, to know when it’s seated, you have to use a flashlight. And you want to make sure that the seal is below where the retaining clip clips in. And you’ll know because it feels solid when you hit it with a seal driver. So our seal is all the way in.
We want to take our clip. And these are — there’s an open end of your clip here. I tend to lean that end into the groove. And you kind of just push.
Push it in with your fingers. You can use a standard screwdriver to make sure. And you should hear a clip when it drops in. I’d like to use a seal driver just to be even.
You’re not going to be pounding on this. You’re just pushing. I don’t know if you guys could hear that, but it clipped in. You want to just double check, make sure that that retaining clip is in its groove.
Now you can just slide with your hand on the dust seal, and you can just slide by hand and push that one in. Now we’re going to be putting the cartridge and spring back into the fork. Before we bring our cartridge over there, we want to put the O-ring and spring seat onto the cartridge. So we inspect our O-ring.
This one’s okay so we’ll put that on the cartridge. Pick that up into its seat. Next we want to put our spring seat on. Inspect that Teflon bushing.
This one’s okay. We’re not going to be replacing that one so we’ll install that. And everything’s going to go on just the way it came off. Before we set this jam nut, you need to basically bottom it out onto the damping rod.
Not force, just finger tight until it’s all the way down so that we have space to install our rebound valve on. We’ll assemble the rebound assembly right now, put our ceiling washer on there. Just like the other one, check the O-ring. Make sure that’s okay.
Put that back on. We’ll take this stuff over to the fork body over there. But what we’re going to do first is put the spring washer in. Make sure we get that seated at the bottom there.
There we go. And next we’ll put our spring in. Now we’re going to mount this back in the vise. Grab our cartridge assembly.
And you’re going to want to put that in, guiding it between the spring until it bottoms out. Now I’m going to use the rebound adjusting rod to guide or at least to tell me where I’m at so I can get — and I’m going to have to push. There we go. So that’s on there.
Now, don’t forget. Put the rebound adjustment rod in. It doesn’t matter which way this one goes on this fork. Slide that in.
You’ll feel it stop. Now we’re going to assemble this with that backed off. We’re going to hand-tighten this. This won’t be bottomed out or you want to make sure it’s bottomed out on the damping rod.
There will be a space in between the jam nut and the rebound assembly here. The torque spec for this right now is 21 foot-pounds. So, as I torque this, I’m going to hold the jam nut because that’s going to spin as well. As we get closer, you’re going to basically butt the jam nut up against the rebound assembly and get 21 foot-pounds, which is what I got.
You’re going to want to pull your stop out of here and just guide this back in so that the threads are just beginning to touch. Now we’ll tighten this into the fork leg. It’s snug. Now, the torque spec on this is 41 foot-pounds, so we’re going to set our torque wrench to 41 foot-pounds.
And there we go. So now you’ll want to refer to your owner’s manual for the correct oil volume. It’s generally measured in cc’s, which is also milliliters. Because this is done at a suspension company, AMSOIL Racing, they call out 320 cc’s for this.
Every suspension company will send a sheet with your suspension that will have the correct oil volume that they’re using in your forks, so always follow that. When you’re pouring fork oil in, try to angle the fork a little bit. And make sure that the top tube is all the way down so that you can try to pour around the compression tube. Make sure you get all of it out.
And once you have that you can just slide this up. And we’re just going to snug the top cap on so that we can go over and torque that to the proper torque spec. So just like when we took it off, we’ll want to use our triple clamp to hold the fork tube. Snug these bolts up.
We’re going to use our cap wrench. Put that on there, our torque wrench, which our torque spec on this is 22 foot-pounds which I’ve set the torque wrench to. And that’s all it takes. And now the final step after you wipe off all the residual fork oil that you had on there from working on it is we’re going to want to set our clickers back to where we had them.
So, if you remember, we had backed the clicker all the way out, so we’re going to need to go all the way in. You’ll feel it stop so we stopped here. The setting on this was the compression was 12 clicks out, so we’re going to measure that [counting]. So we’re good there.
We’ll do the rebound. And we were 10 clicks out on the rebound [counting] so we’re all set. We’ve got our clickers back to the right position. We’ve got our new seals in.
Everything’s tight. You can check the action of it. But that’s how you install fork seals and change your fork oil and install new bushings. So there you have it.
As you can see, there’s a lot of steps involved. If you need to, you can pause. You can rewind this video to see anything that you might want to get more detail on. Be sure you’re understanding what’s going on before you undertake this process.
Thanks for watching. We’ll see you next time.
Examine the tires and wheels
While you’re looking at the suspension, check tire and wheel condition. Dirt bikes go through tires rather quickly, so worn tires can influence your negotiation when buying a used dirt bike. Look for cracks or checking, which indicate the bike isn’t used much or the owner isn’t changing tires often.
Run your fingers over the spokes. They should all be tight and in good shape. Loose spokes indicate the rim is out of true, which could mean the owner hit one too many rocks or other obstacles. New rims are expensive and a possible reason to walk away if you’re not willing to spend the money to replace them.

Listen to the engine & shift through the gears
No inspection of a used dirt bike is complete without starting the engine.
It should start readily and run smoothly. Watch for excessive smoke from a two-stroke, which might take a few seconds to even out after it’s started cold. Listen for any abnormal sounds or loud noises that might indicate piston knock. Rev the engine; it should sound smooth.
Take a ride if you can. This is your chance to ensure the bike pulls well through the gears and shifts smoothly. Ensure the clutch doesn’t slip or grab. You should be able to progressively shift through the gears with no issues and easily find neutral.
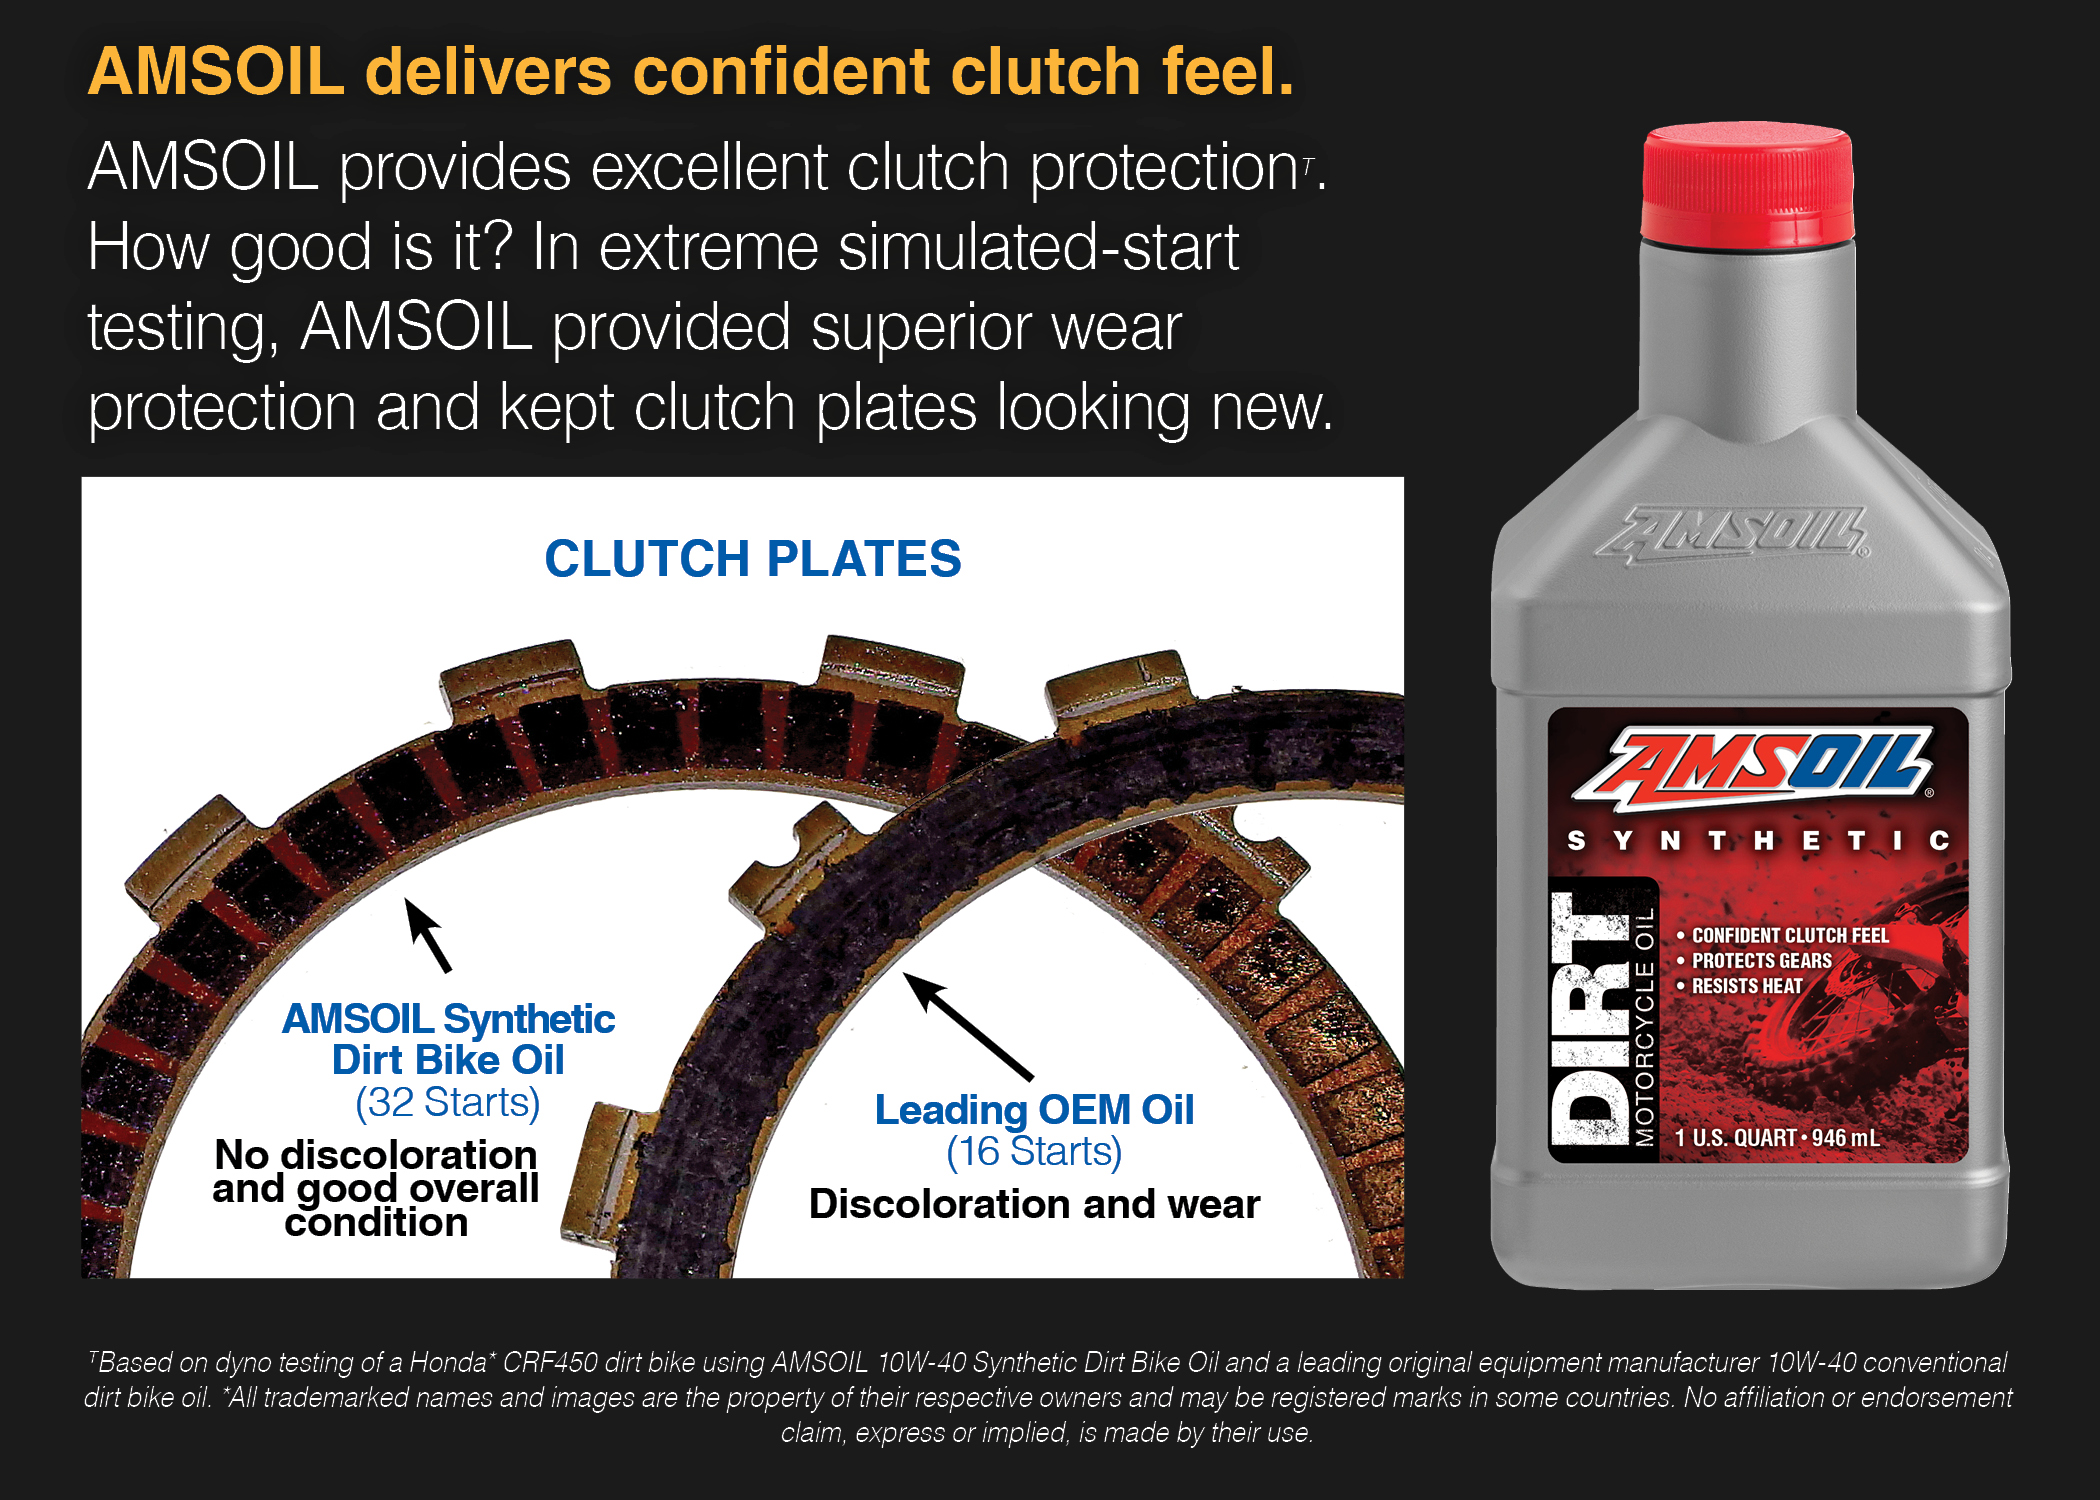
A slipping or grabbing clutch is a great diagnostic tool; it can point to worn oil, low-quality oil, worn clutch plates or even a faulty transmission.

Give it a general visual inspection
Walk around the bike and look it over closely. Is the plastic destroyed? That’s an indication the bike was ridden hard and spent too much time on its side. Look at the side cases of the motor where the rider’s boots rub. A lot of wear means the bike has accumulated a lot of miles.
On a two-stroke, look for dents in the expansion chamber, which often bears the brunt of falls. Look for scratches and general wear-and-tear that indicate the bike has been abused. Are the ends of the handles beat up? Again, that indicates the bike has spent too much time on its side.
What size dirt bike do I need?
It’s important to understand what size bike you need when buying a used dirt bike.
Size your bike based on your skill level. If you’re new to the sport, be honest about your abilities and choose accordingly. Don’t buy a powerful 450 assuming you can “ride your way into it.” Too much power and too much bike increase your chances of having an accident and ruining what can be a great hobby.
If you’re new or you’re smaller in stature, lean toward a 125 or 150. A dirt bike of this size is easier to handle, less expensive to purchase and maintain, and often delivers excellent power, particularly modern bikes.
If you’re an intermediate rider or larger in stature, a 250 will provide a frame about the same size as a 150, but with more power.
Use a good dirt bike motor oil
After you buy your bike, make sure to use a good motor oil to get the most years and best performance from your ride.
AMSOIL Synthetic Dirt Bike Oil‘s superior friction-durability properties help minimize clutch slippage, fade and chatter, giving riders consistent clutch feel during takeoffs or when maneuvering around obstacles on the trail.
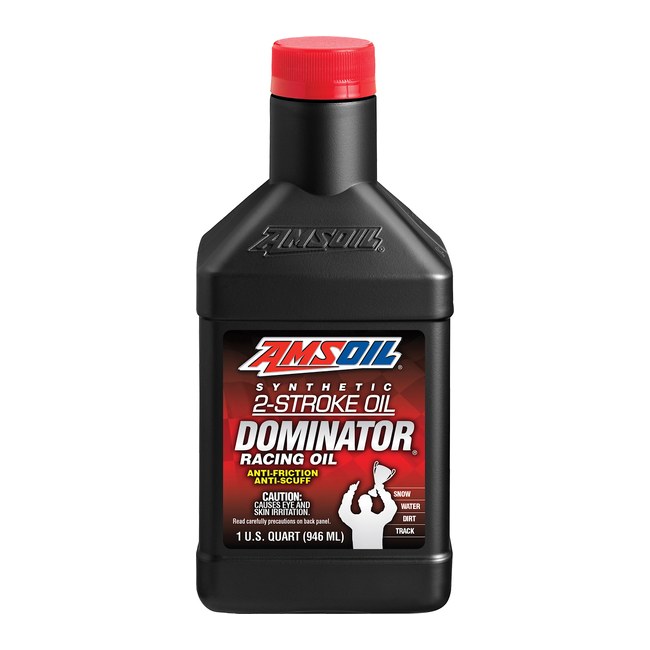
In two-stroke bikes, we recommend AMSOIL DOMINATOR Synthetic 2-Stroke Racing Oil.
- Excellent film strength for high-heat, high-rpm motors
- Anti-friction formula for maximum power
- Burns clean; helps prevent ring sticking and plug fouling
- Protects coated and non-coated racing pistons
This article is part of our Motorcycle Oil and Maintenance guide. See every article in the guide.
This article is part of our Motorcycle Oil and Maintenance guide. See every article in the guide.


Comments
David Hilgendorf is an AMSOIL Technical Writer who develops content for automotive, powersports and industrial audiences. His work includes technical data sheets, magazine articles, blog posts, white papers, product literature and application guidance. Hilgendorf works with engineers, laboratory personnel and technical specialists to communicate lubricant testing, product performance, maintenance practices, metalworking fluids, grease, motorcycles, marine equipment and industrial reliability.
Share: