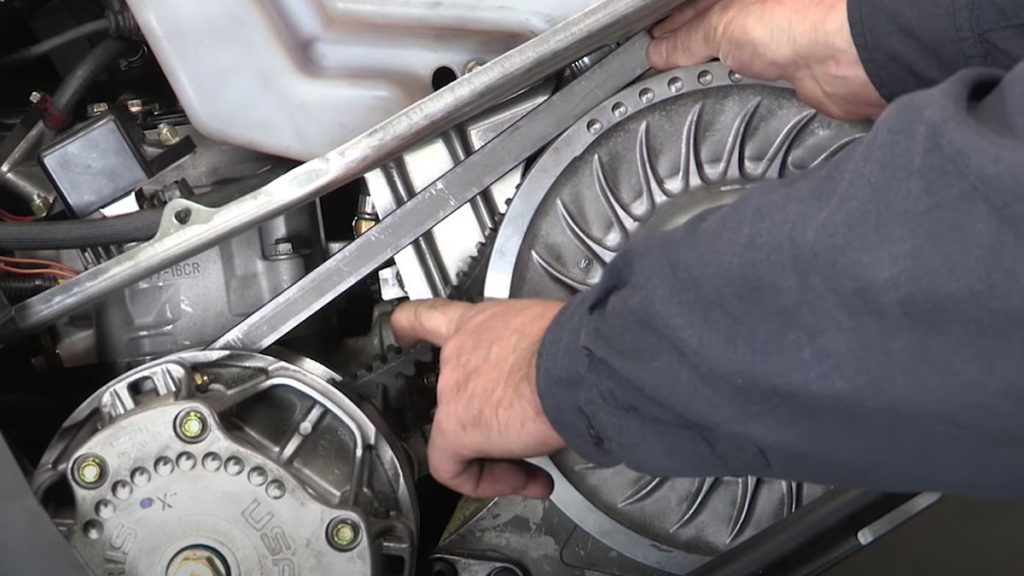
Setting the proper snowmobile belt deflection is one of the easiest things you can do to ensure your sled performs at its peak level. In this video, we show you how it’s done.
How to adjust snowmobile belt deflection
Total Time: 20 minutes
Check existing belt deflection
Place a straight edge between the clutches and pull down on the center of the belt. Midway between the clutches, use a tape measure or ruler to measure the distance between the belt and the straight edge. This is the belt deflection.
Adjust the belt
If the belt deflection is incorrect (check your owner’s manual for the correct measurement), either tighten or loosen the belt to achieve the correct measurement. Loosen the jam nut on the secondary clutch using an Allen wrench. Turn the adjuster counterclockwise to draw the sheaves together.
Roll the belt through the clutches
With the belt loose, grab ahold of it and roll it through the primary and secondary clutches. You’ll see it rise in the secondary sheaves, which tightens it.
Take a second measurement
If you tighten it too much, just turn the adjustment screw in the opposite direction to loosen the belt. Doing so will push the sheaves apart. As you’re doing this, you’ll notice the belt dropping in the sheaves. This indicates it’s loosening. The lower the belt rides, the looser it will be. Take another measurement and continue this process until achieving the correct belt deflection.
Tighten the jam nut
Once you’re finished, tighten the jam nut. Be sure to insert the Allen wrench first to hold the adjustment and then tighten the jam nut. If you just tighten the jam nut, you’re going to turn the adjuster at the same time and affect the belt deflection.
With your snowmobile belt deflection correctly set, your sled is ready to perform at the top of its game. Make sure to use the best snowmobile oil to keep your engine protected. And do miss our other snowmobile-maintenance posts:
