

As fun as it is to own a boat, they can create headaches if you neglect maintenance. Follow these boat maintenance and boat engine maintenance tips to help you avoid expensive repairs and stay on the water.
Video transcript: How to Service Your Boat
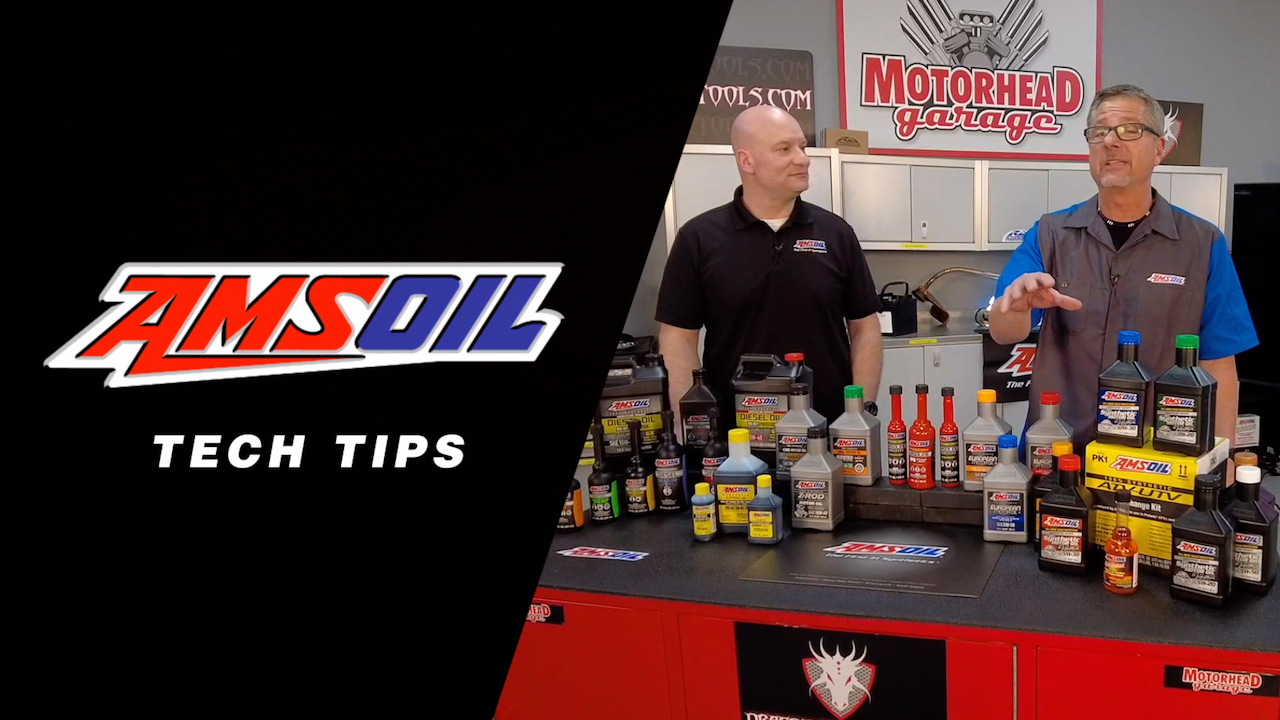
Featuring John Gardner, ASE Master Certified technician, automotive technology instructor and host of Motorhead Garage, with AMSOIL Director of Product Marketing Len Groom (author profile).
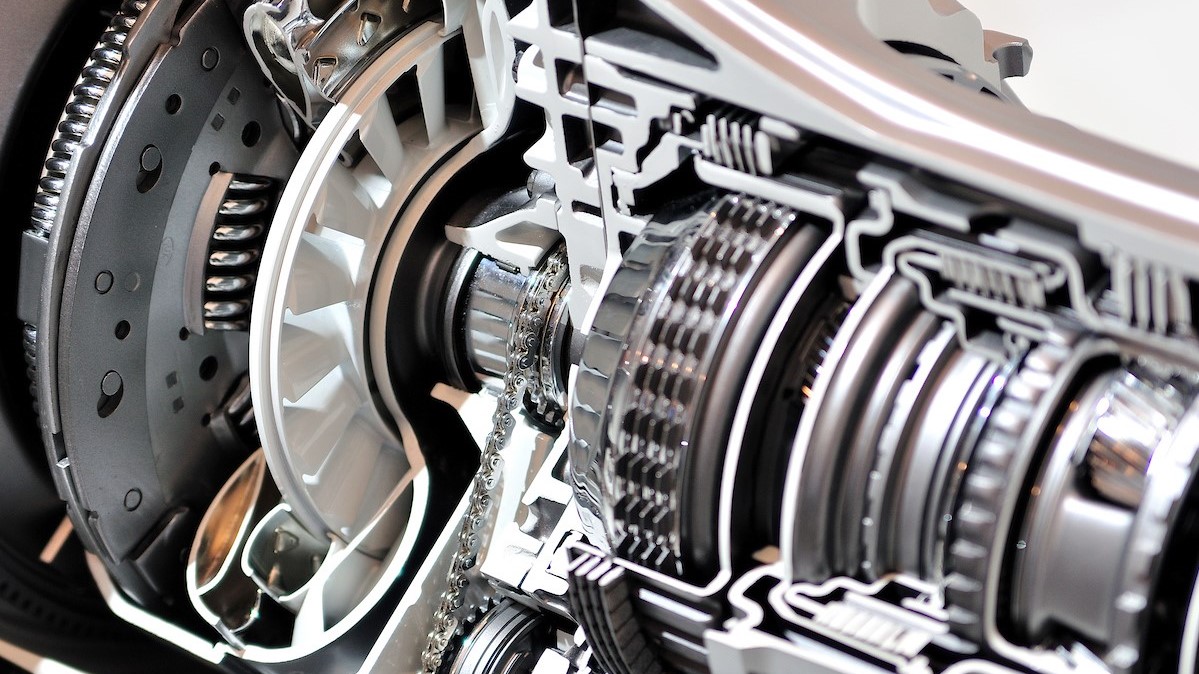
John Gardner: Nothing worse than ruining a good day out on the pontoon boat with a motor failure. Welcome to this AMSOIL tech tip. We’re talking about boat motors and service and when you do that well it’s all about the four-stroke cycle on this one It’s just like a car. Matter of fact, you can see the internals all here. You got the crank shaft, bearings, everything going on. But Len, there’s a lot more going on because it’s sitting on the water. And I know engines, when you shut an engine down, the camshaft position, one of those valves is going to be open, it’s inevitable.
Len Groom: Correct, you can’t avoid it. One of those valves is going to be open and when it’s open, the exhaust on these are wet. So, you’ve got wet exhaust, you’ve got harsh environment meaning it’s damp. So, you have to figure that in when you’re building the oil. People like to use off the shelf passenger car motor oil in these outboards and it’s a bad idea for that reason. Harsh environment, very wet, very damp, we build in extra rust and corrosion protection right into the product so that you don’t have to worry about it when the boat is sitting and you’re not around, you’ve got to go to work, the boat sits by the dock, you’re protected.
John Gardner: Yeah, you don’t leave your car in the water all day, so that’s fine. When it gets to a boat, that’s a whole different ballgame. And we’ll talk about the certification here in a minute. But another thing, these things also run rich and there’s a term called blow by in the industry.
You get some of that stuff going down in the oil. We’re not getting normal stuff going down in the oil. We’re getting that environment down in the oil. That’s a problem too.
Len Groom: That’s correct. These love to what we call fuel dilute. So when they’re running slow, you’re putting around the lake, it’s not really getting that warm. So we formulate the product to have a very robust backbone. The base oils are very, very strong so they can take the fuel dilution and still provide protection.
John Gardner: Now there’s a label on here. These oils are not created equal, this is the most impressive thing. Tell me about that, the certification.
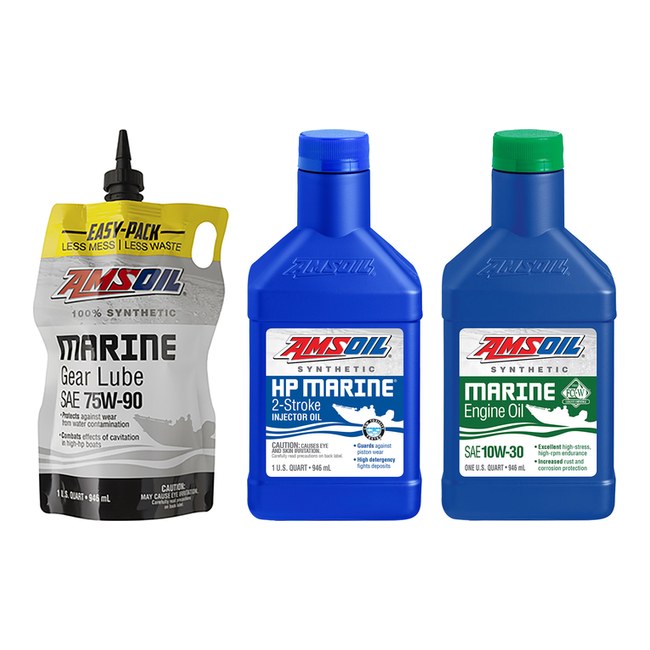
Len Groom: Yeah, we actually do certify all of these products. These are all NMMA FC-W catalyst compatible products. So all the latest and greatest specs, they are licensed.
So you heard it from the pro here.
John Gardner: Make sure when you go to get oil, you put the right oil in. Go to AMSOIL.com for your oil needs and so much more.
Boat Maintenance Checklist
Check Trailer Tire Pressure & Condition
Let’s start with a step that’s easy to overlook: boat trailer maintenance. You can’t get to the fish if you fail to get to the lake. It’s not uncommon to see someone pulled over alongside the highway because their trailer tire blew out.
Boat trailer tires typically run at higher psi than automotive tires. Check the sidewall for the correct pressure, which is likely around 50 psi.
A low tire equals a hot tire, and hot tires are more likely to blow out.
Check for weather cracking. Trailer tires often sit outside year-round, exposed to the sun. Replace cracked tires and store your boat and trailer with the tires elevated and covered during the off-season.
Grease Trailer Bearings
Like the tires, trailer bearings are easy to overlook. They are submerged in water every time you launch and load your boat.
Although the hub seals are designed to keep water out, age and neglect can allow water intrusion, which invites rust and corrosion.
Rust acts like sandpaper and scours the ball bearings, causing them to run hotter and boil the grease out, worsening the problem.
Grease the bearings as part of boat maintenance at least once a year with a high-quality synthetic grease designed to resist water washout, such as AMSOIL Synthetic Water-Resistant Grease.
Check out this video to see how to grease boat trailer bearings.
Video transcript: How to Maintain Your Trailer Bearings
Welcome to Tech Tips. I’m Len Groom. Today we’re talking about trailer bearings. How many times have you seen somebody on the side of the road because they didn’t maintain their trailer bearings?
Well, we went out and we talked to some industry experts on what they do to maintain trailer bearings. Let’s take a look. The foundation of your vacation rides on your bearings. Spend a little time.
Check your bearings. Pack your bearings. Otherwise, you’re going to end up with problems like this gentleman did. This bearing seized up.
He ended up wrecking a spindle, so he had to buy a new axle. They can cost anywhere from $500 to $2000. So just spend a little time. Check your bearings before you head out.
I’m going to show you how to do that. We already have the wheel off. Next thing we’re going to do is we’re going to pull the dust cap off which we have a special tool for. It looks something like this.
But you can also use a hammer and a screwdriver just to pop the cap off. So we’ll pop that off, and then we’ve got a cotter key which you’re going to remove that. Just bend your tabs and just pull that out. You’re going to have to save that because you’re going to reuse that.
Take your nut off. The best thing for this is just the channellocks. They work the best. Set that on a clean rag.
Next thing you’re going to do is you want to pull the hub out a little bit. You’re going to catch the bearing, and there’s usually a washer here. Just go like that. Pull your outer bearing and your washer out.
Keep that as clean as you can. You can probably reuse that if it’s in good shape yet. And you’re going to pull your hub all the way off, and your inner bearing and seal should stay in your hub. Now that we’ve got the hub removed, you’ll notice that the seal is wet.
So that means you’re losing grease. So what we’re going to do is we’re going to pop that seal out and we’re going to replace it. You could also use a screwdriver for this. So you just pop that out, and you pop your inner bearing.
And we’ll clean those, make sure those are good before we put everything back together. Now that we’ve got the bearings out here, I’m going to show you how to clean them. What we’ve got here is just a rag. I’m going to wipe the big grease chunks off here, just kind of wipe them down here a little bit, get some of that stuff off.
And just kind of look them over. It seems like there’s a lot of wear or they roll rough. It means they’re probably shot. These ones here don’t look too bad.
Now what I’m going to do here is — you can use brake cleaner to clean them up real good, get all the old grease off. I’m going to go get them cleaned up, and we’ll see what we’ve got. All right. Now that we’ve got everything cleaned, I’m going to show you how to pack the bearings.
Now, what I’ve got here is a special tool. You can get this at any hardware store, any automotive store. They’re pretty cheap. I’ll show you how to do it both ways, with the tool and by hand.
The first thing you do here is unscrew that. Set your bearing down on there and screw the top back on. And try to get her pretty centered there. And just tighten that down.
Now we’re going to grab the grease gun and we’re just going to start pumping grease in there. I recommend using water resistant grease. It seems to work the best. And we’ll just pump in there until the bearing is full of grease.
As you can see there, it’s starting to come out. We’ll give her a little more here, and I think that’s pretty good. And you just unscrew it, and I did the inner bearing here. So we’ve got that.
Grease is all the way through. She’s nice and — nice and greased up. So we’re going to drop that back in the hub. And I’ve already get a new seal here because the old seal was shot.
We’ll drop that inner bearing in. We’ll get the seal. What I do here is I just grab a little hammer, and I just tap the seal in all the way around like so till she’s flush. She’ll look something like that.
Now I’m going to show you how to pack another bearing by hand. What I do is I fill my palm up with grease. And what you’re going to want to do is try to get grease in the little crack here, both sides. So what you’re going to want to do is go like this with your palm.
Just kind of rub her in there. Do that all the way around. And once you think you got that pretty good, do the same on the front side. Just fill her up, something like that.
All right. Now that we’ve got everything greased, new seal in, what we’re going to do is we’re going to put the hub back on the axle. So you just slide her on. And you grab your outer bearing here and put that in there, the spindle.
Push her in there. You’re going to grab your washer and you’re nut like so. The biggest thing is you don’t want to overtighten these because you’re going to smoke your bearings again. So what you’re going to do is you’re going to tighten them.
You’re going to bring them back a quarter turn till she spins nice. And don’t forget to put your cotter key back in there, otherwise you’ll lose your nut. Tap that in there. Bend your cotter key over and put your cap back on.
I’m going to use that little fancy tool we’ve got here That’s how you manually pack your bearings. Now, they do have another system that’s called the EZ Lube, and I’ll show you that. Now, here we’ve got the EZ Lube. This is the way to go if you can.
What happens here is the spindle is drilled out, and there’s two holes back here. This will be your grease zerk. You put your grease gun on here, and what happens is it goes through your spindle, comes out these two holes. So it’ll pack your back bearing.
And, as soon as that’s packed, got enough grease, the grease moves forward. It’ll fill up the cavity in the hub, come up to your front bearing. Once that’s full, it’ll come out and you’ll see the grease which you know the cavity, both bearings are greased. Now, this is the way to go.
It’s easy. You don’t have to tear the hub down. You don’t have to do nothing. Just put your grease gun on there, pump until the grease comes out the front of your hub.
But the cap back on and you’re good to go. I showed you manually how to pack your bearings. If you’re lucky enough to have the EZ Lube, that’s the way to go. Guys, pack your bearings once a year and you’re good for the season.
Some really good information on maintaining those trailer bearings. Speaking of grease, don’t forget about AMSOIL’s water resistant grease designed to maintain and extend the life of those bearings as well as dealing with water. Thanks for watching. We’ll see you next time.
Change Lower-Unit Gear Lube
The lower unit houses gears, bearings and seals that require a quality gear lube to perform properly and last as designed.
The pinion gear concentrates extreme pressure on the ring gear teeth, especially during throttle bursts. If the lubricant film weakens (due to water intrusion, most likely) and fails to keep the gear teeth separated, they can chip and lead to failure.
This can also occur if you neglect to service the lower unit annually and allow the lubricant to deplete to a dangerously low level. The lubricant’s extreme-pressure properties are key to providing superior gear protection.
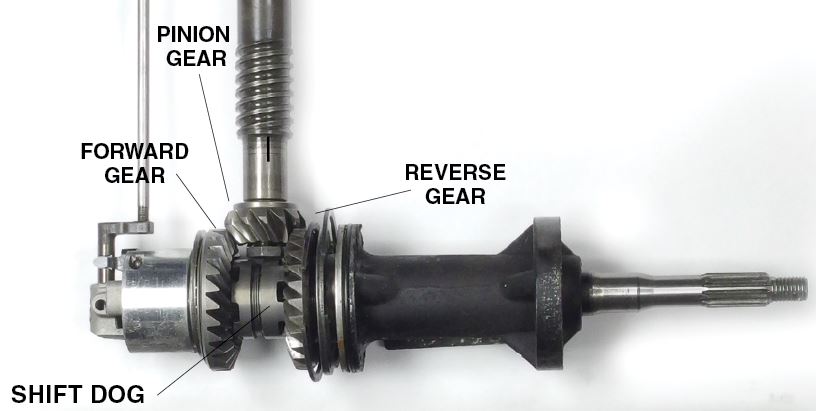
The shift dog is another area of concern.
It contains large teeth that mate with similar teeth on the forward or reverse gears, connecting the drive shaft to the prop.
If your outboard frequently pops out of gear, it’s likely due to rounded-over shift-dog teeth as a result of wear.
The shift dog is typically made of softer metal than the gears so it wears out instead of the gears, which are more expensive to replace.
Strong anti-wear properties are vital to ensuring the lower unit shifts properly and stays in gear.
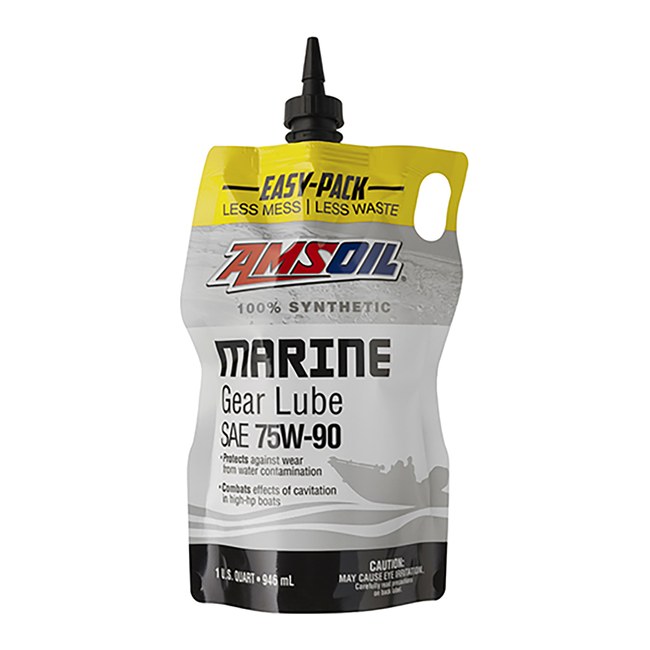
Changing lower-unit gear oil can be a hassle when using rigid conical bottles or messy gear-lube pumps. The AMSOIL easy-pack makes the job much easier and cleaner. Check out the video to see it in action.
Video transcript: How to Use the AMSOIL Easy-Pack to Change Outboard Motor Lower-Unit Oil
Welcome to Tech Tips. Today we’ll be changing the lower unit oil on an outboard motor. Changing oil in the lower unit isn’t a difficult process, but it’s extremely important. The process is the same whether it’s a small outboard or a large inboard.
We recommend that you’re changing the oil every fall for seasonal use people. The first thing you need to do is assemble the proper tools. For this project, all you need is a flat-end screwdriver, a drain pan and a rag. Locate the drain plug and the vent plug.
In this case, the drain plug is located here and the vent oil-level plug is here. What you want to do is loosen the vent plug. Then you move down to the drain plug and remove that. While it’s draining, you can remove the vent plug.
While the fluid is draining, it’s a good time to check its condition. A milky or creamy appearance would indicate water intrusion, and that means you could have a bad seal. At that point you need to find the problem before proceeding. The condition of this fluid looks very good, so we’re going to proceed.
Okay. To refill this lower unit, I’m holding the traditional option. We’ve got a pump. We’ve got the traditional gear lube bottle that you’ll find in any parts store.
Once we start adding fluid to this, the motor will fill up. And this pump usually results in some type of a mess because the hose is still full of fluid. If the quart runs dry before we’re done filling the motor, we have to try and swap another one on there. Anyone who’s done this understands that this can be messy.
Instead of all that mess, today we’ll be using the AMSOIL easy-pack to refill this lower unit. What you need to do first is just snip the end down about 1/8 of an inch. So you just want to push forward on the easy-pack a little bit, turn it and it will thread itself right into the hole. Once you thread it in, you’re going to gently squeeze on the pack.
And you’ll start pushing oil into the motor into the lower unit. Once you see it come out the vent plug on the top, that means it’s full, okay? Once it starts pushing out of the top, we’re going to put the vent plug back in. Tighten your vent plug.
Now you’re ready to remove the easy-pack and put your drain plug back in. Once the plugs are all tight, clean up any excess oil and you’re done. So there you have it. A few simple steps and your outboard is ready for another season.
Thanks for watching. We’ll see you next time.
Check The Prop For Debris
While you’re changing the gear lube during your boat maintenance routine, remove the prop and check for wrapped fishing line or other debris. It can damage the seal that keeps water out of the lower unit, allowing water intrusion.
Boat Engine Maintenance: Change Oil & Filter
Engine oil is your lone defense against breakdowns and poor performance due to wear and deposits.
For best boat engine maintenance, change oil every fall prior to storage. That way you remove the acidic byproducts of combustion and ensure fresh oil is available to protect components against corrosion during storage. Don’t forget to change the oil filter, too.
Use an engine oil specifically designed for marine engines.
Contrary to popular belief, motor oil has no natural ability to prevent rust or corrosion. Instead, special rust and corrosion inhibitors must be added to the formulation to provide the required protection, and some oils simply don’t contain the correct additives in the correct concentration.
Rust and corrosion protection are vital given your engine’s exposure to water.
When you shut down the engine, some of the valves remain partially open, allowing damp air to infiltrate the combustion chamber. Rust and corrosion begin to form, creating contaminants that flake off and populate the oil, where it acts like sandpaper and scours metal surfaces until engine failure results.
To avoid this scenario, use an oil specifically formulated for marine engines, such as AMSOIL Synthetic Marine Engine Oil.
Treat Fuel Continuously During The Season
Most people are accustomed to using automotive fuel additives periodically. In marine applications, however, it’s best to use fuel additives with every tank of fuel.
Ethanol, present in most gasoline sold today, has a natural affinity for water. If moisture collects in your gas tank, it can bond with the ethanol and reduce performance.
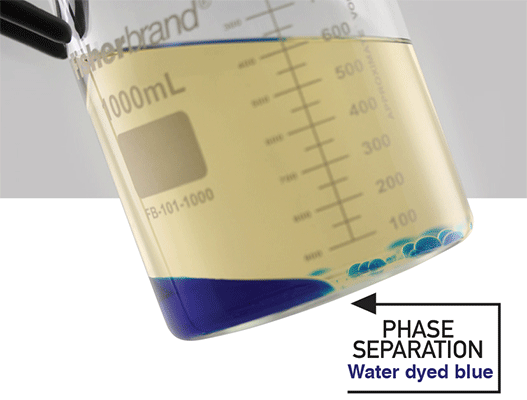
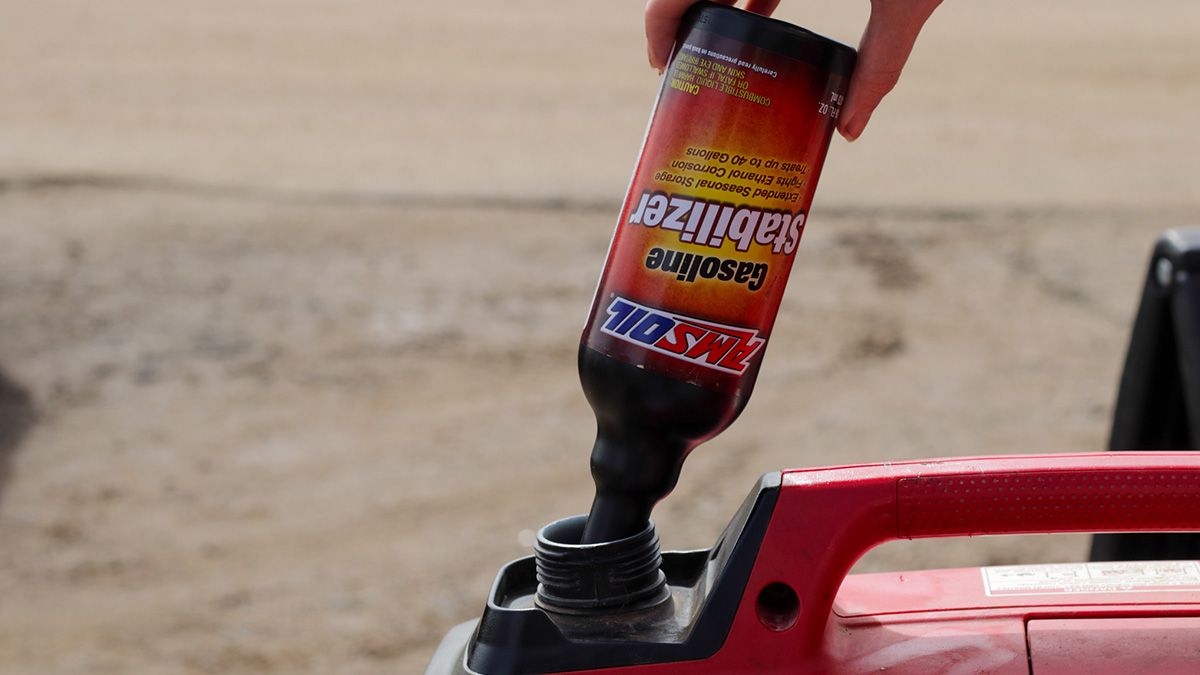
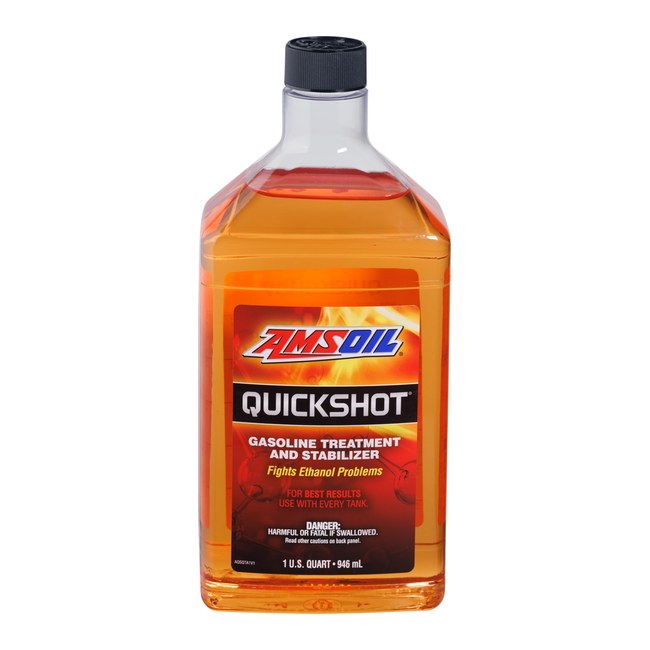
Treat fuel with an additive designed to keep water dispersed in the fuel tank and prevent phase separation, such as AMSOIL Quickshot®. Continuous use also helps prevent formation of performance-robbing deposits, varnish and gums.
Grease Tilt Tube
Rust and corrosion can form on the tilt tube, preventing the motor from raising or lowering and restricting steering.
At the end of the season, grease the tilt tube using a water-resistant grease. In addition to protecting against rust and corrosion, seasonal greasing also eases steering input.
Drain & Clean The Livewell & Bilge
Transporting invasive species is a huge problem in some areas.
It’s a good idea to clean your bilge and livewell to prevent inadvertently introducing invasive species to an area river or lake.
When cleaning, avoid using caustic chemicals – they can harm the environment, not to mention your fish. Instead, buy biodegradable cleaners that are specifically recommended for cleaning the bilge or livewell.
Some boaters use warm water and baking soda. Simply let it soak for a while, scrub with a soft brush and rinse clean.
Cover Your Boat When Not In Use
The sun’s UV rays can turn your beautiful boat into trailer trash in just a few short years if you fail to protect it.
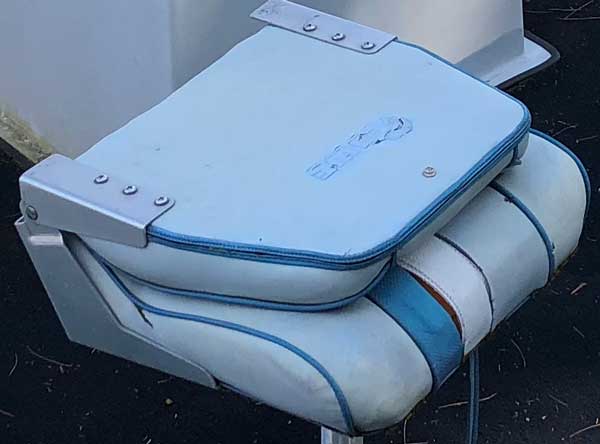
A covered boat lift is the best method. It’s effective without the hassle of unfurling and applying a cover every time you finish a day on the water.
Most enthusiasts can’t afford a covered lift or don’t have room for one. In this case, take the time to cover your boat when you’re done using it.
It may be frustrating to apply a cover, especially if it’s windy, but you’ll reap the benefits in the form of not having to reupholster your boat seats or replace carpet. Once the seat fabric dries out and cracks, it’s just a matter of time before the cushion deteriorates and the seat becomes useless.
Boat Maintenance: Wash & Wax
Another key entry on any boat maintenance checklist is to periodically wash and wax the hull on fiberglass boats. Otherwise, the coating can oxidize and deteriorate.
Also, neglecting to clean upholstery or canvass invites mildew, so clean everything periodically with chemicals designed specifically for marine applications.
Take these boat maintenance steps and your boat should deliver excellent service for years.
This article is part of our Marine Engine Maintenance guide. See every article in the guide.
More from the Company of Enthusiasts
AMSOIL was founded by enthusiasts, and the Company of Enthusiasts series profiles the riders, racers and builders who run the products covered here.