


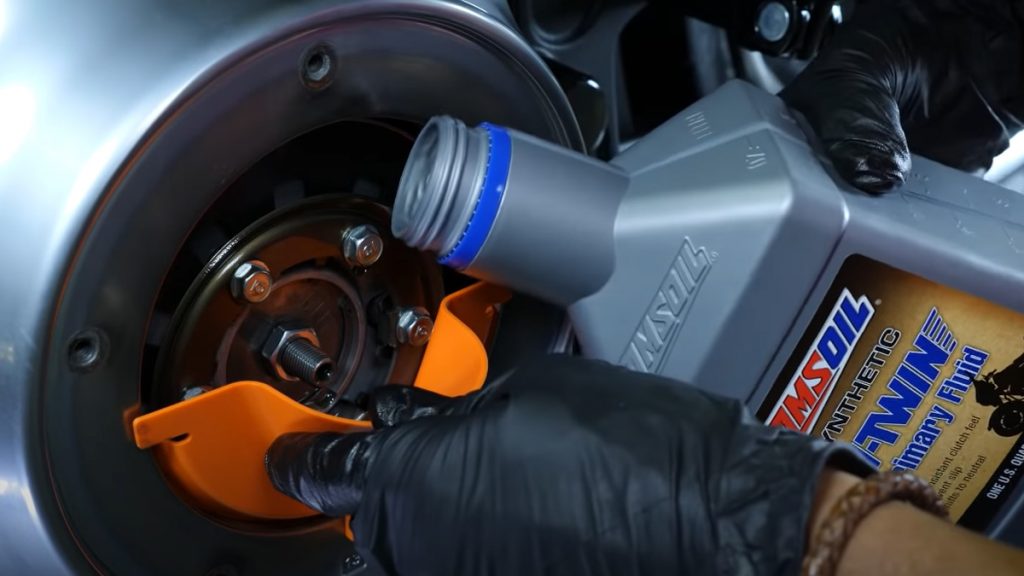
The short answer: To change Harley-Davidson* primary oil, remove the drain plug under the primary case with a 5/8-inch socket, fit a new O-ring and torque the plug to 14–21 ft-lb, replace the primary cover gasket, then refill through the cover (about one quart on a Softail) and check the level. Confirm the capacity for your model in the owner’s manual.
Periodically changing primary oil guards against chain, gear and bearing wear while helping prevent clutch slip for confident takeoffs. It’s a simple job you can do with basic tools and a little know-how. Here’s how to perform a Harley-Davidson* primary oil change.
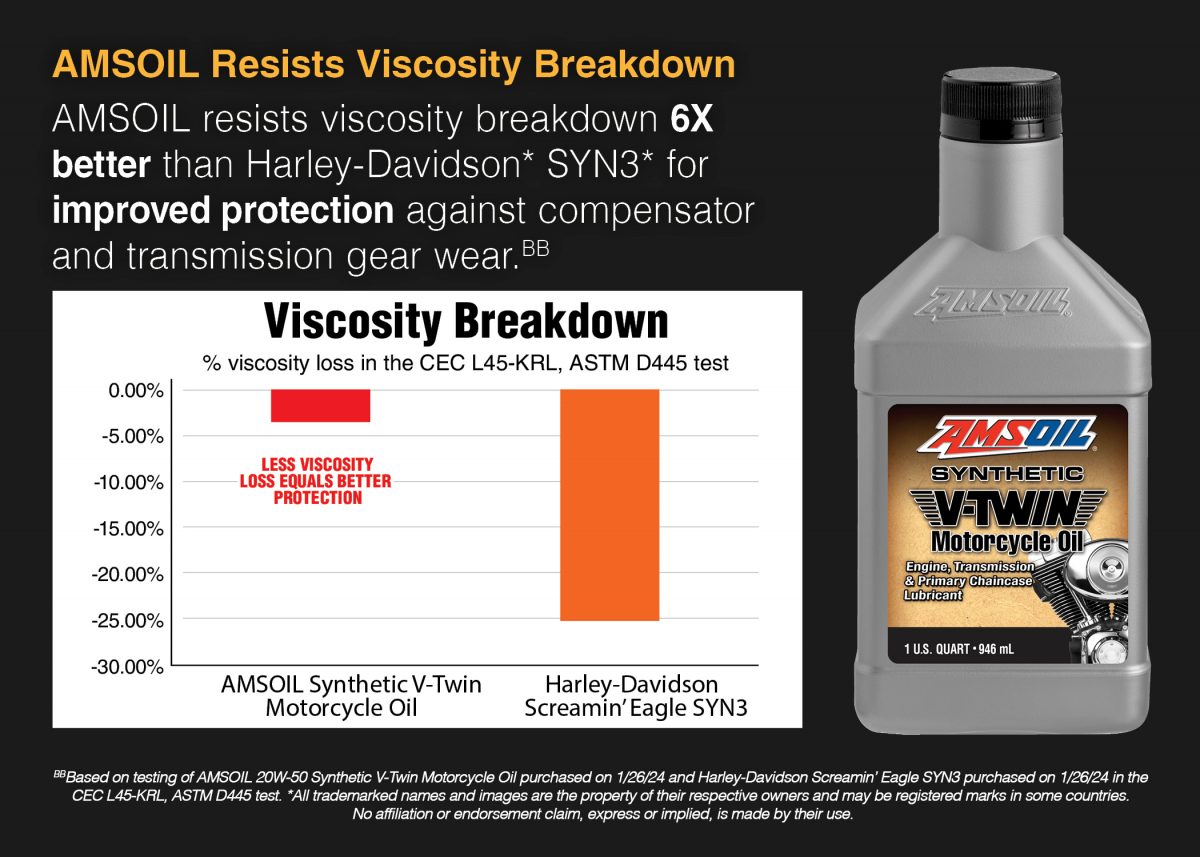
Likewise, AMSOIL Synthetic V-Twin Primary Fluid is “over-engineered” to protect primary chaincase components. Its viscosity is like an SAE 50 motor oil. Formulating it as a straight-weight lubricant naturally offers an advantage in shear stability over multi-viscosity lubricants. This helps the fluid remain thicker, which helps it cling to the compensator without being “flung off” as easily for maximum protection.
In Harley-Davidson motorcycles, the compensator acts as a shock absorber to prevent engine vibration from affecting the transmission. Compensator wear often leads to a knocking or ticking noise. Synthetic V-Twin Primary Fluid also clings well to the chain for excellent wear protection. And its wet-clutch-compatible formulation meets JASO MA/MA2 requirements.

For this demonstration, we’re using a 2014 Harley-Davidson Softail Fat Boy Lo.

Tools you need for a Harley-Davidson primary oil change
- Primary funnel
- Drain pan
- New O-ring
- 5/8-inch socket
- T27 torque bit
- Socket wrench
- Torque wrench
- Primary cover gasket
- AMSOIL Synthetic V-Twin Primary Fluid
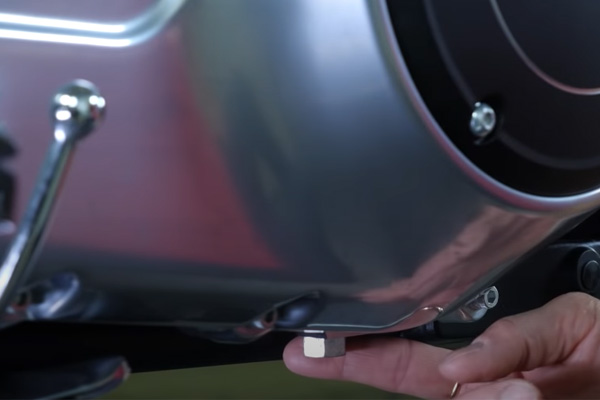
- Locate the primary-fluid drain plug, which is right below the primary case.
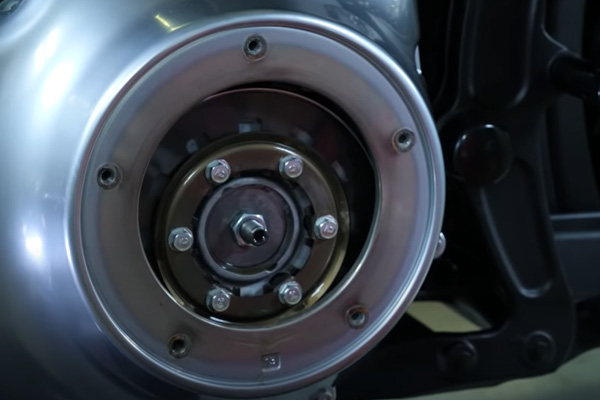
- Next, use the socket wrench and T27 torque bit to remove the primary cover. There are five bolts; make sure you set them somewhere safe so you don’t lose them. Set the primary cover aside.
Drain the primary oil
- Slide your drain pan in place, then use the 5/8-inch socket and socket wrench to loosen the drain plug. Remove it the rest of the way by hand so it doesn’t fall into the drain pan.
- Next, replace the gasket on the primary case cover. You should be able to pull the old one right out. The new gasket should drop right into place, then set the cover aside.

- Clean the drain plug and install the new O-ring. Start it by hand and then snug it up with a socket wrench and 5/8-inch socket. Set the torque wrench to 14-21 foot-pounds of torque and tighten the plug.
Fill the primary with oil
- It helps to use a funnel designed for a primary case. Harley-Davidson Softails require one quart of primary fluid. Be sure to check your owner’s manual or the AMSOIL Product Guide for the correct primary oil capacity for your bike.

- Once you’ve filled the primary case with fluid, double check the fluid level visually. The primary fluid should touch the bottom of the clutch plate.
- Finally, replace the primary cover. After hand-tightening each bolt, use a torque wrench and T27 torque bit to tighten them to the proper setting. Your torque wrench should be set at 84-108 inch-pounds of torque. Remember to tighten them in a star pattern much like the lug nuts on a car tire.
That’s all there is to performing a Harley-Davidson primary oil change. Make sure you dispose of the used oil properly. For your specific bike, consult the owner’s manual for oil capacity and viscosity, or check out the AMSOIL Product Guide.
Check out how to change oil on a Harley-Davidson motorcycle and how to change transmission fluid on a Harley-Davidson.
This article is part of our Motorcycle Oil and Maintenance guide. See every article in the guide.